版权声明:此博客为个人博客,不涉及商业用途,仅提供学习参考,内容均来自个人原创以及互联网转载和摘录。 --------------------- 本文来自 路西法Lucifer 的CSDN 博客 ,全文地址请点击: https://blog.csdn.net/qq_37495786/article/details/82770224
前言:
springboot与servlet整合的两种方式,整合步骤如下:
springboot整合servlet方式一:
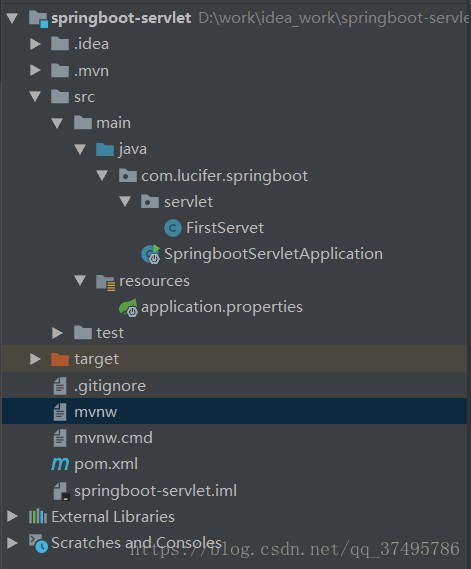
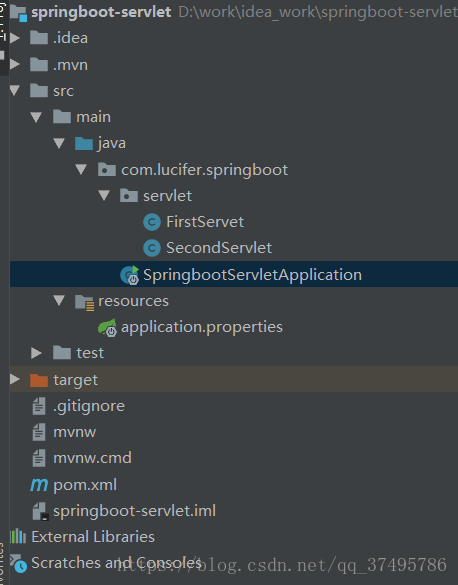
项目结构:
pom.xml:
<?xml version="1.0" encoding="UTF-8"?>
<project xmlns="http://maven.apache.org/POM/4.0.0" xmlns:xsi="http://www.w3.org/2001/XMLSchema-instance"
         xsi:schemaLocation="http://maven.apache.org/POM/4.0.0 http://maven.apache.org/xsd/maven-4.0.0.xsd">
    <modelVersion>4.0.0</modelVersion>

    <groupId>com.lucifer.springboot</groupId>
    <artifactId>springboot-servlet</artifactId>
    <version>0.0.1-SNAPSHOT</version>
    <packaging>jar</packaging>

    <name>springboot-servlet</name>
    <description>Demo project for Spring Boot</description>

    <parent>
        <groupId>org.springframework.boot</groupId>
        <artifactId>spring-boot-starter-parent</artifactId>
        <version>2.0.5.RELEASE</version>
        <relativePath/> <!-- lookup parent from repository -->
    </parent>

    <properties>
        <project.build.sourceEncoding>UTF-8</project.build.sourceEncoding>
        <project.reporting.outputEncoding>UTF-8</project.reporting.outputEncoding>
        <java.version>1.8</java.version>
    </properties>

    <dependencies>
        <dependency>
            <groupId>org.springframework.boot</groupId>
            <artifactId>spring-boot-starter</artifactId>
        </dependency>
        <dependency>
            <groupId>org.springframework.boot</groupId>
            <artifactId>spring-boot-starter-web</artifactId>
        </dependency>
        <dependency>
            <groupId>org.springframework.boot</groupId>
            <artifactId>spring-boot-starter-test</artifactId>
            <scope>test</scope>
        </dependency>
    </dependencies>

    <build>
        <plugins>
            <plugin>
                <groupId>org.springframework.boot</groupId>
                <artifactId>spring-boot-maven-plugin</artifactId>
            </plugin>
        </plugins>
    </build>


</project>
SpringbootServletApplication:
package com.lucifer.springboot;

import org.springframework.boot.SpringApplication;
import org.springframework.boot.autoconfigure.SpringBootApplication;
import org.springframework.boot.web.servlet.ServletComponentScan;


/**
 * @ServletComponentScan
 * 在springboot启动时会扫描@WebServlet,并将该类实例化
 */
@SpringBootApplication
@ServletComponentScan
public class SpringbootServletApplication {

    public static void main(String[] args) {
        SpringApplication.run(SpringbootServletApplication.class, args);
    }
}
FirstServet:
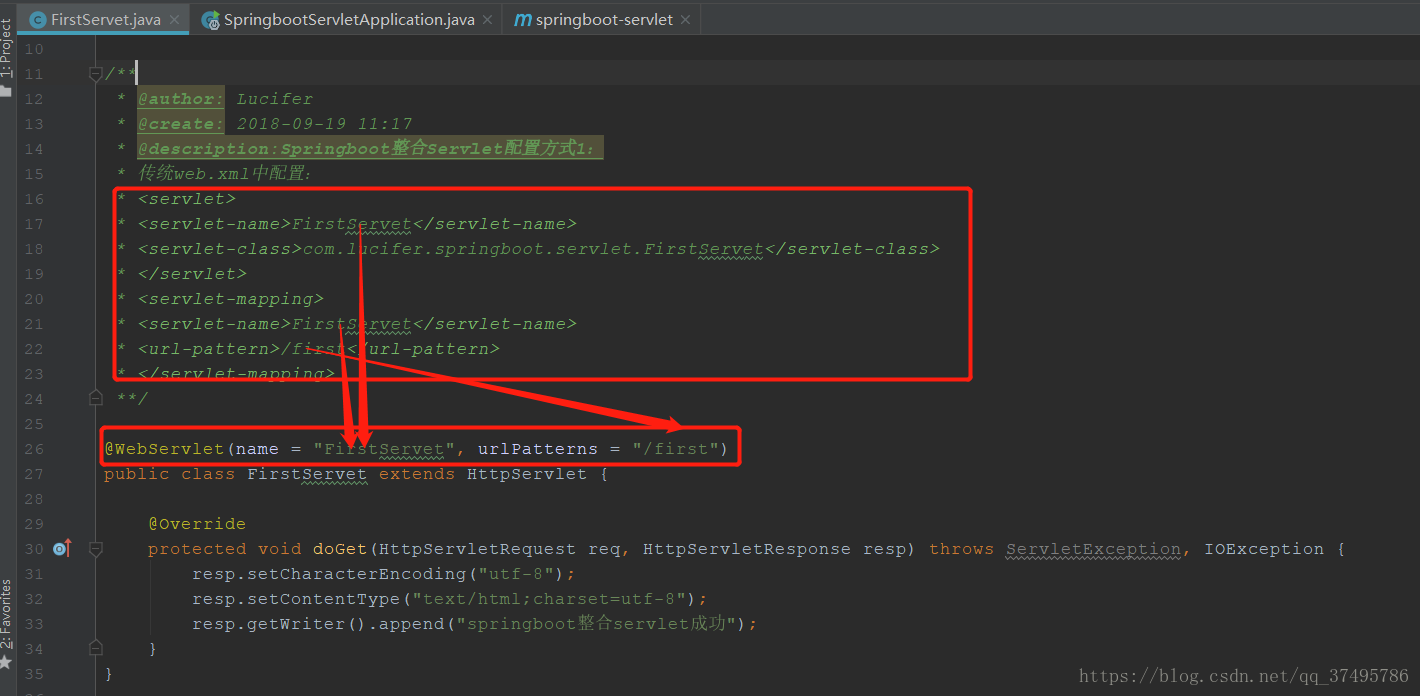
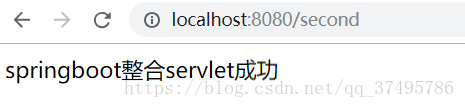
启动项目,浏览器输入localhost:8080/first,

ps:整合过程中新手很容易遇坑的地方:原本我的项目结构是这样的,如下图:
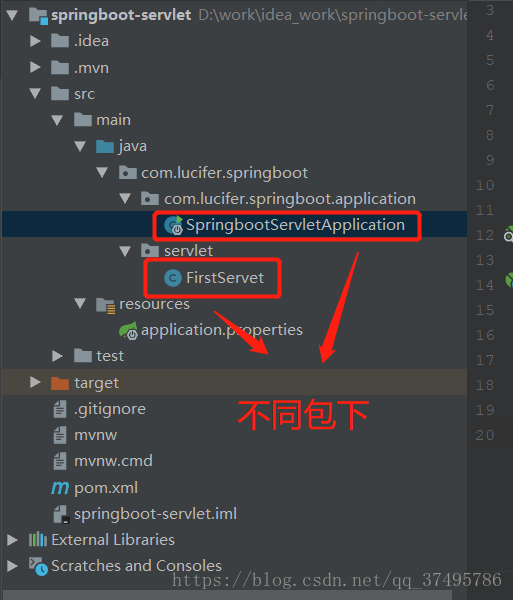
这时候启动项目,控制台无报错,浏览器输入地址,404,原因就是因为com.lucifer.springboot.servlet这个包没有扫描到。
那百度了,按照百度查到的资料,加了扫描包的注解,没用,效果依然凉凉。
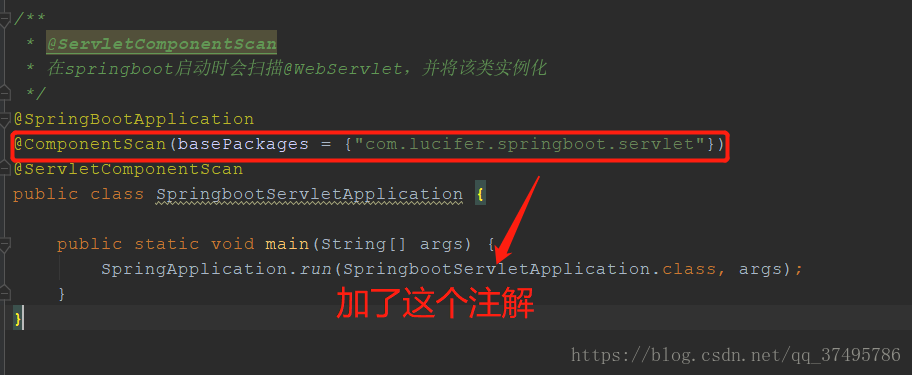
因此这里就把启动类放在com.lucifer.springboot包下,FirstServet就包在子包com.lucifer.springboot.servlet下,启动类的扫描默认是扫描与该启动类同包以及其子包下的类。
springboot整合servlet方式二:
项目结构:
SecondServlet:
package com.lucifer.springboot.servlet;

import javax.servlet.ServletException;
import javax.servlet.http.HttpServlet;
import javax.servlet.http.HttpServletRequest;
import javax.servlet.http.HttpServletResponse;
import java.io.IOException;

/**
 * @author: Lucifer
 * @create: 2018-09-19 14:39
 * @description:
 **/
public class SecondServlet extends HttpServlet {

    @Override
    protected void doGet(HttpServletRequest req, HttpServletResponse resp) throws ServletException, IOException {
        resp.setCharacterEncoding("utf-8");
        resp.setContentType("text/html;charset=utf-8");
        resp.getWriter().append("springboot整合servlet成功");
    }
}
SpringbootServletApplication:
package com.lucifer.springboot;

import com.lucifer.springboot.servlet.SecondServlet;
import org.springframework.boot.SpringApplication;
import org.springframework.boot.autoconfigure.SpringBootApplication;
import org.springframework.boot.web.servlet.ServletRegistrationBean;
import org.springframework.context.annotation.Bean;


@SpringBootApplication
public class SpringbootServletApplication {

    public static void main(String[] args) {
        SpringApplication.run(SpringbootServletApplication.class, args);
    }

    @Bean
    public ServletRegistrationBean getservletRegistrationBean(){
        ServletRegistrationBean bean=new ServletRegistrationBean(new SecondServlet());
        bean.addUrlMappings("/second");
        return bean;
    }

}