1.App的控制方式
一般而言,App的控制由两部分组成:界面和逻辑。
这里界面的布局由资源文件(res文件夹)来控制,其中主要的布局文件是res下layout文件夹下的xml文件,安卓开发使用xml控制布局,res其他文件均为其服务。其中,xml文件是一种结构化数据存储的文件形式,在开发中很是常用,与json类似。
而逻辑也就是业务逻辑的主要处理由java目录下的java代码来控制,java丰富的包以及虚拟机的运行方式,提高了安卓开发的速度和效率。
2.初写layout布局文件
在原来的默认项目的基础上,双击res下的layout里的目前唯一的一个文件,activity_main.xml文件,其实这是IDE帮开发者生成的一个MainActivity的布局文件。我们看到如下的界面。
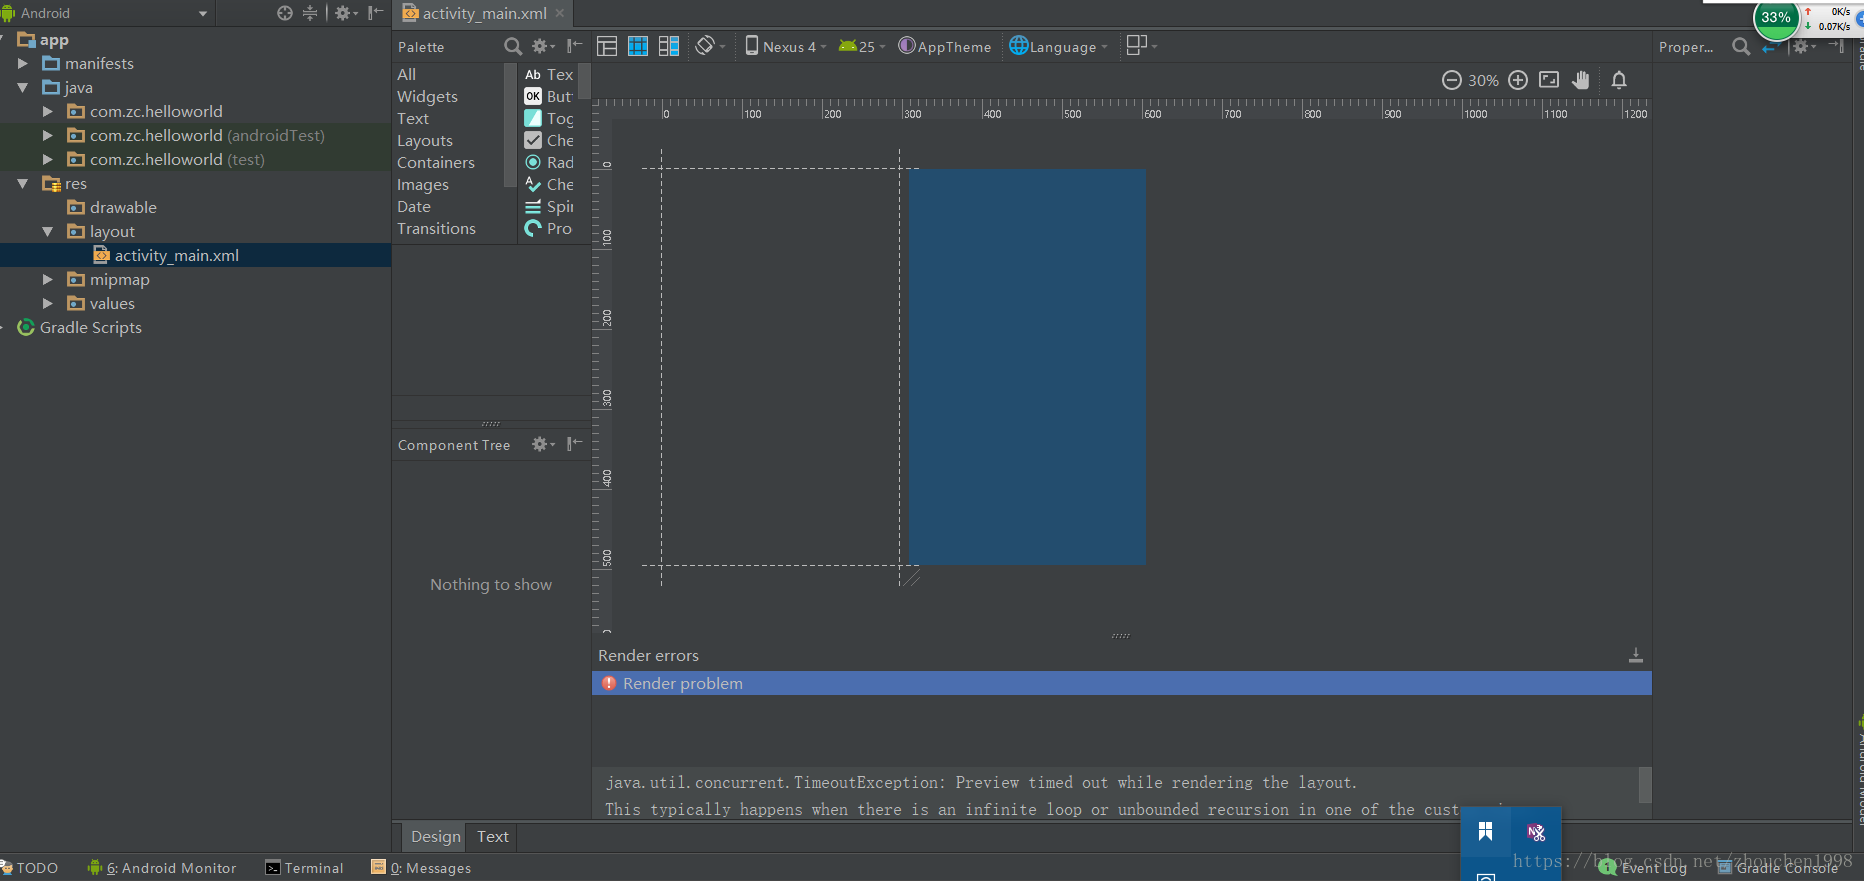
显然,这是一个图形拖动的布局设计界面,这种图形化的绝对设计方法是不合理的,因为安卓的手机版本很多,屏幕分辨率各不相同,代码控制的相对布局方法才是合适的。(这里建议且只建议这么书写布局文件)
选择下图的Text即切换编辑方式。

经过上面的操作,看到了如下的代码文件。(右侧是预览效果,自行决定开启还是关闭,新手建议开启)
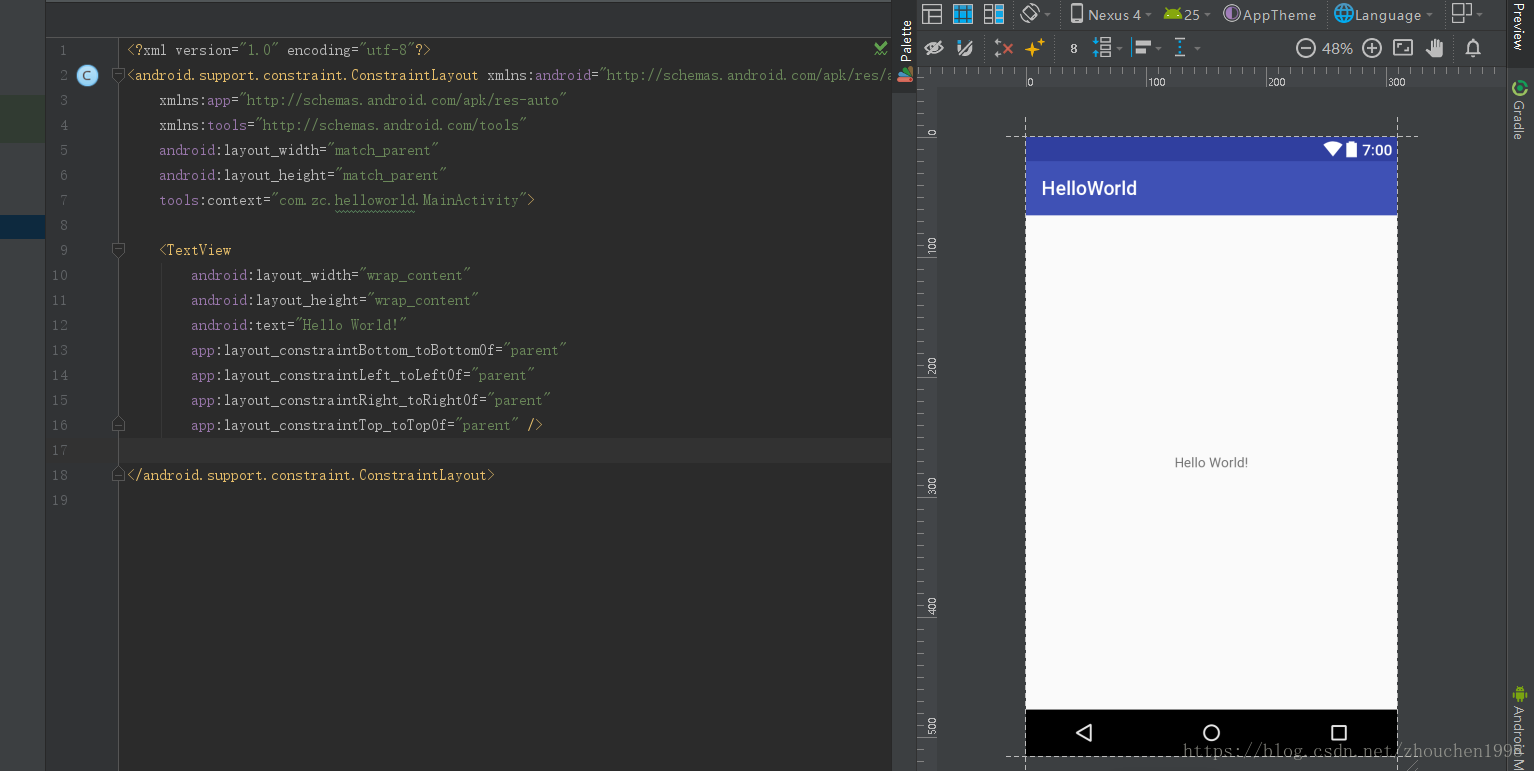
可以看到,这个文件的xml配置在第一行。(xml语法可以在w3cschool上学习,很简单)
随即的就是一个安卓第三方包的布局,cons布局。(后面会介绍两种基本布局:Relativelayout和LinearLayout,这是比较基础实用的)我们修改布局文件为Linearayout(指定线性布局方向为垂直)。运行程序。
<?xml version="1.0" encoding="utf-8"?>
<LinearLayout xmlns:android="http://schemas.android.com/apk/res/android"
    xmlns:app="http://schemas.android.com/apk/res-auto"
    xmlns:tools="http://schemas.android.com/tools"
    android:layout_width="match_parent"
    android:layout_height="match_parent"
    tools:context="com.zc.helloworld.MainActivity"
    android:orientation="vertical"
    >
    <TextView
        android:layout_width="match_parent"
        android:layout_height="wrap_content"
        android:text="Hello World 1"/>
    <TextView
        android:layout_width="match_parent"
        android:layout_height="wrap_content"
        android:text="Hello World 2"/>
    <TextView
        android:layout_width="match_parent"
        android:layout_height="wrap_content"
        android:text="Hello World 3"/>
    <TextView
        android:layout_width="match_parent"
        android:layout_height="wrap_content"
        android:text="Hello World 4"/>


</LinearLayout>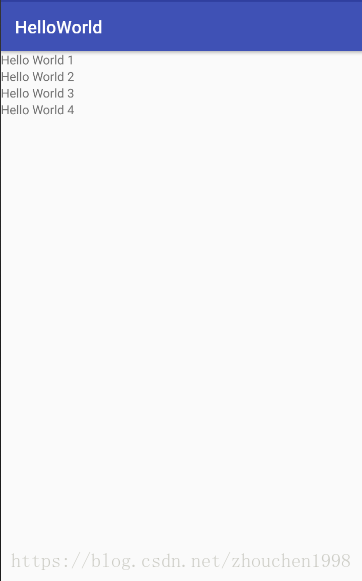
此时发现,顶部的bar不是我们想要的,修改mainfests目录下AndroidManifest.xml,在根节点中找到application节点有这样一个属性。
android:theme="@style/AppTheme"显然,可以看到这个主题是来自res下的style里面的定义。(这里两种处理:1.修改style的定义,不改动mainfest这个文件;2.修改manifest文件为其他主题,这个主题自己定义在style里面。我选择法1)
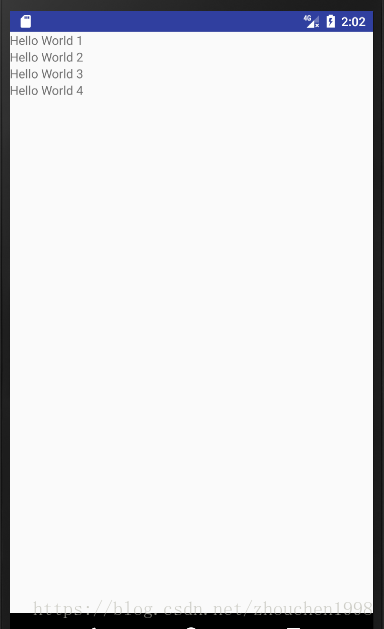
修改如下。

此时重新运行,得到想要的结果了。
3.初写java代码已经绑定组件
选择非测试的java代码包中的activity文件,打开。
package com.zc.helloworld;

import android.support.v7.app.AppCompatActivity;
import android.os.Bundle;

public class MainActivity extends AppCompatActivity {

    @Override
    protected void onCreate(Bundle savedInstanceState) {
        super.onCreate(savedInstanceState);
        setContentView(R.layout.activity_main);
    }
}
这个代码比较简单,继承了安卓开发支持包里的AppCompatActivity。现在来让组件关联到java代码里面,以便业务逻辑的处理。
要想获得组件的控制,必须要唯一确定组件,这里开发为每一个组件提供了id这个属性,且封装到了R中。(R是资源文件)
修改xml布局文件如下。(为了方便演示加了一个按钮组件)
<?xml version="1.0" encoding="utf-8"?>
<LinearLayout xmlns:android="http://schemas.android.com/apk/res/android"
    xmlns:app="http://schemas.android.com/apk/res-auto"
    xmlns:tools="http://schemas.android.com/tools"
    android:layout_width="match_parent"
    android:layout_height="match_parent"
    tools:context="com.zc.helloworld.MainActivity"
    android:orientation="vertical"
    >
    <TextView
        android:id="@+id/tv_01"
        android:layout_width="match_parent"
        android:layout_height="wrap_content"
        android:text="Hello World 1"/>
    <TextView
        android:id="@+id/tv_02"
        android:layout_width="match_parent"
        android:layout_height="wrap_content"
        android:text="Hello World 2"/>
    <TextView
        android:id="@+id/tv_03"
        android:layout_width="match_parent"
        android:layout_height="wrap_content"
        android:text="Hello World 3"/>
    <TextView
        android:id="@+id/tv_04"
        android:layout_width="match_parent"
        android:layout_height="wrap_content"
        android:text="Hello World 4"/>
    <Button
        android:id="@+id/btn_01"
        android:layout_width="wrap_content"
        android:layout_height="wrap_content"
        android:text="I am Button"/>


</LinearLayout>
java代码修改后的。(已经注释)
package com.zc.helloworld;

import android.support.v7.app.AppCompatActivity;
import android.os.Bundle;
import android.view.View;
import android.widget.Button;
import android.widget.TextView;

public class MainActivity extends AppCompatActivity {
    private Button btn;
    private TextView tv_01,tv_02,tv_03,tv_04;

    @Override
    protected void onCreate(Bundle savedInstanceState) {
        super.onCreate(savedInstanceState);
        setContentView(R.layout.activity_main);
        bindViews();
//        绑定得到组件后,为按钮添加点击事件
        btn.setOnClickListener(new View.OnClickListener() {
            @Override
            public void onClick(View v) {
//                获得当前文本内容,并添加一个字符串后设置新的文本内容
                String t1 =  tv_01.getText().toString();
                tv_01.setText(t1+"Java is beautiful");
                String t2 = tv_02.getText().toString();
                tv_02.setText(t2+"Java is beautiful");
                String t3 =  tv_03.getText().toString();
                tv_03.setText(t3+"Java is beautiful");
                String t4 = tv_04.getText().toString();
                tv_04.setText(t4+"Java is beautiful");


            }
        });

    }

    private void bindViews() {
//        使用AppCompatActivity的findViewById方法找到指定的组件并且和变量绑定
        btn = (Button) findViewById(R.id.btn_01);
        tv_01 = (TextView) findViewById(R.id.tv_01);
        tv_02 = (TextView) findViewById(R.id.tv_02);
        tv_03 = (TextView) findViewById(R.id.tv_03);
        tv_04 = (TextView) findViewById(R.id.tv_04);

    }

}
运行结果如下。
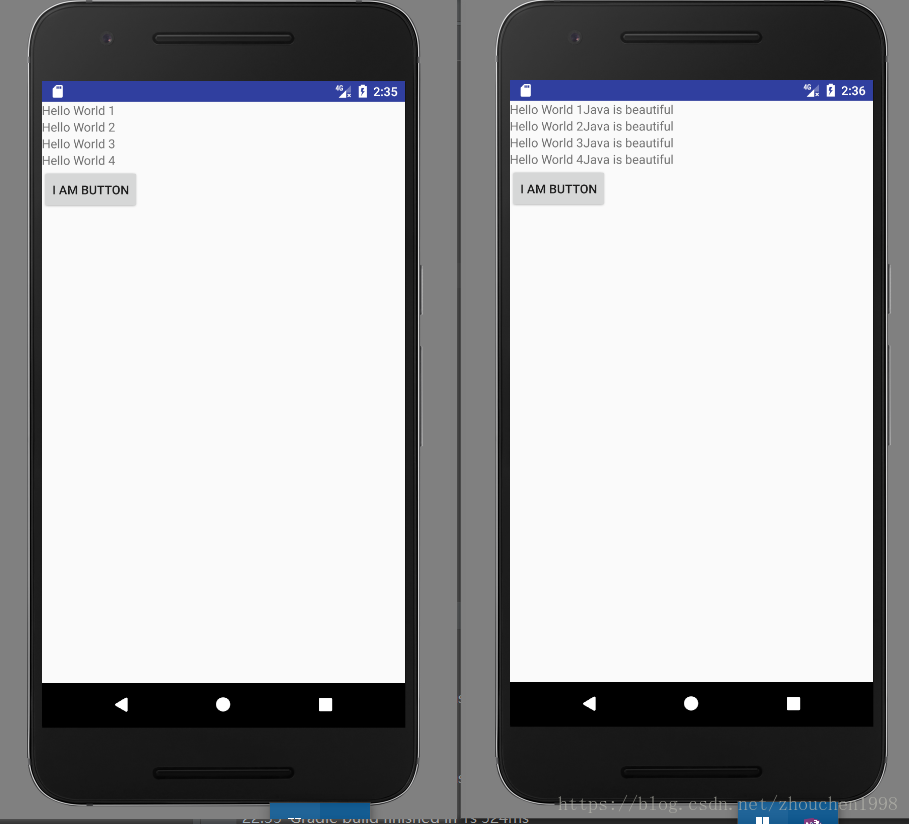
这次已经了解了app开发的最基础的流程和文件编辑结构。