前言:thymeleaf肯定得导入pom文件了
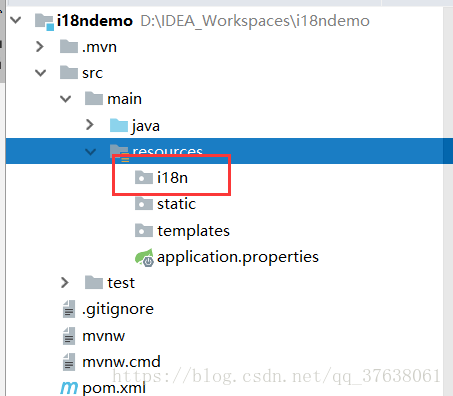
1.先在resource下新建一个文件夹,用来存国际化的配置文件
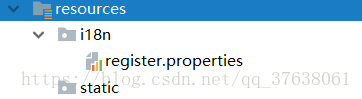
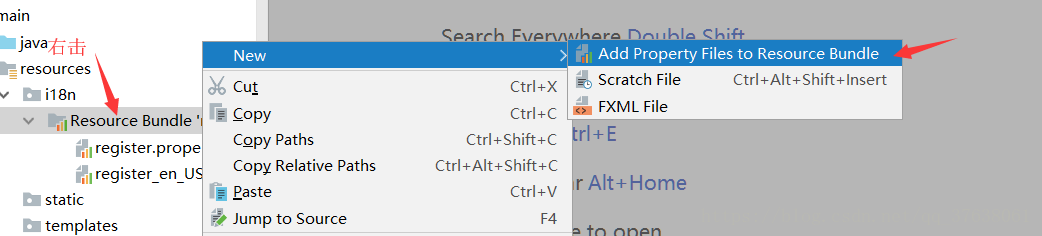
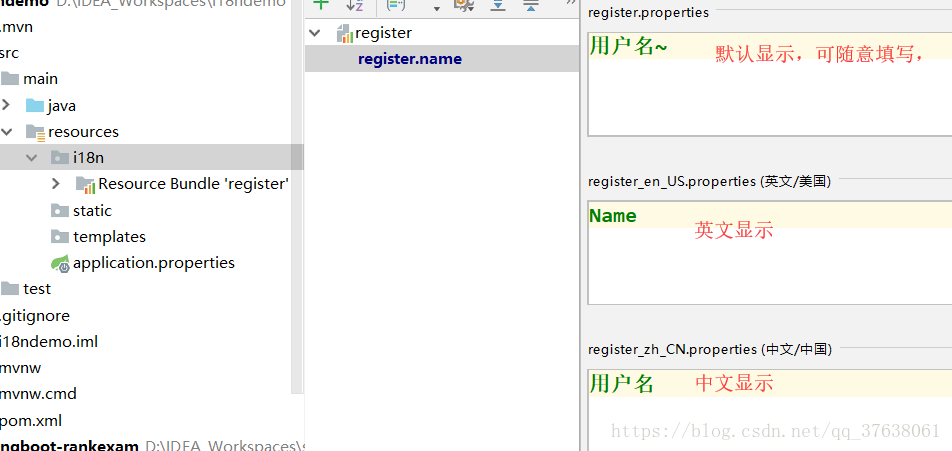
2.在 i18n 下 新建一个register.properties(现在idea还没有识别出来是在进行国际化配置)
现在长这样
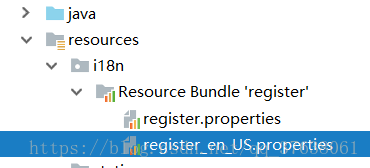
再建一个 register_en_US.properties
你会发现它神奇的变了(idea识别了你在国际化配置)接下来就好办了,再来配个中文的
idea很智能的在左侧生成了一个中文的,

如果左侧没有的话。点击右侧的加号
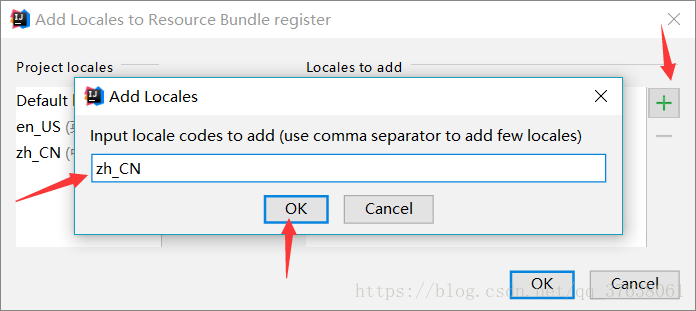
这样也是可以的
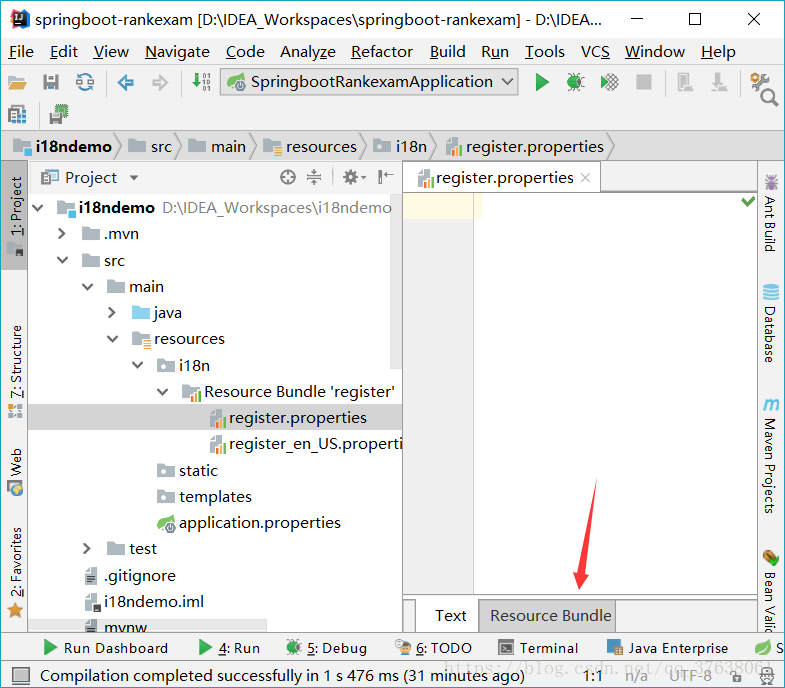
接下来,编写配置文件
点这个
然后
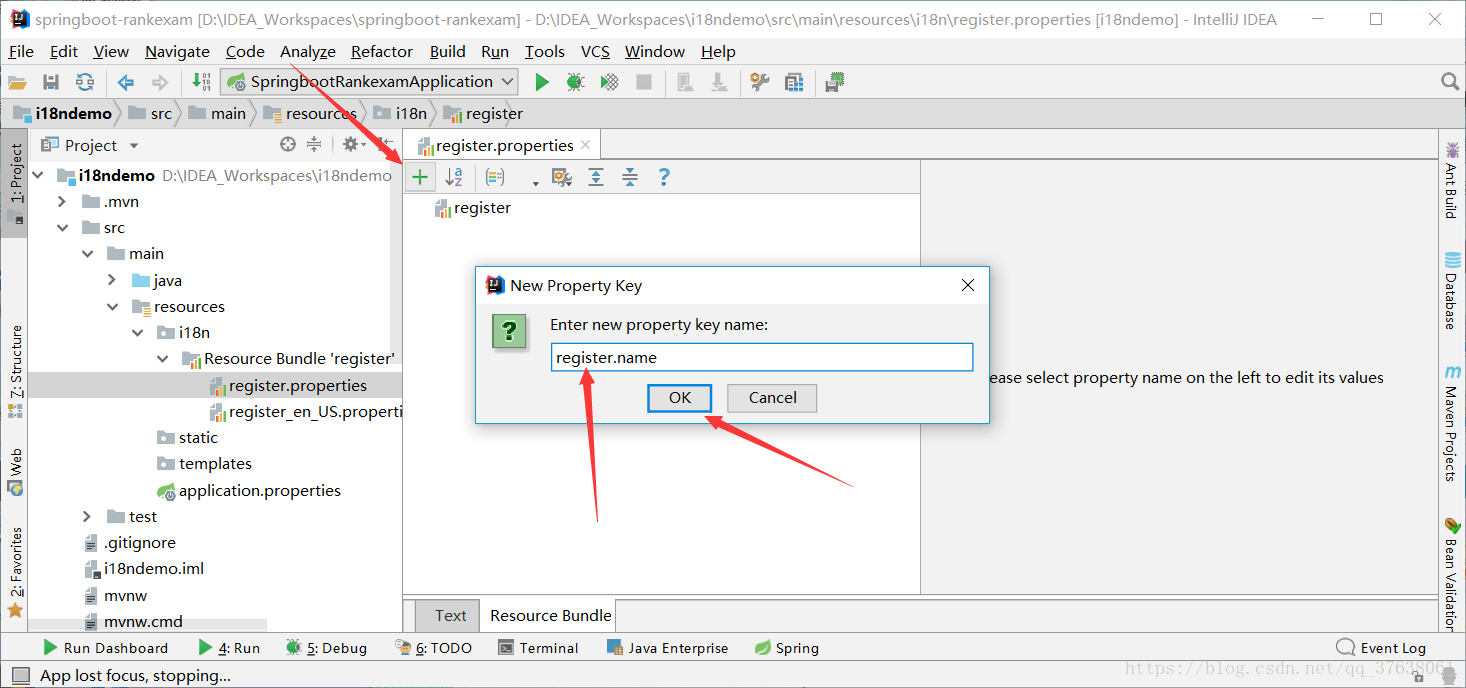
最后
到此为止一个国际化的配置就配好了,如果还有其他的需要配置的,自己设置就好。
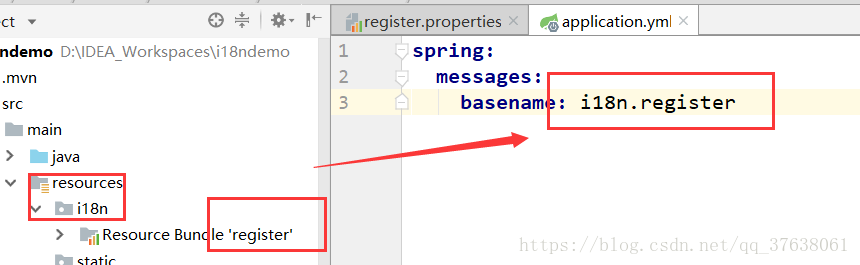
接下来编写springboot的配置文件,我使用的是yml文件

spriungboot默认没有生成application.yml,需要自己新建一个,右击resources,新建一个File,吧application.yml填入即可
右边具体写什么,是由左边的文件名构成的,
spring:
  messages:
    basename: i18n.register
  thymeleaf:
    cache: false
#后面这两行是取消了thymeleaf的缓存,之后修改页面的时候,按完 ctrl s之后再按ctrl F9,直接刷新页面就好了,不用再重启服务器了 |
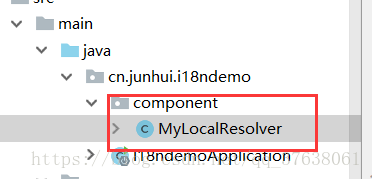
在java下新建一个 解析区域信息的类
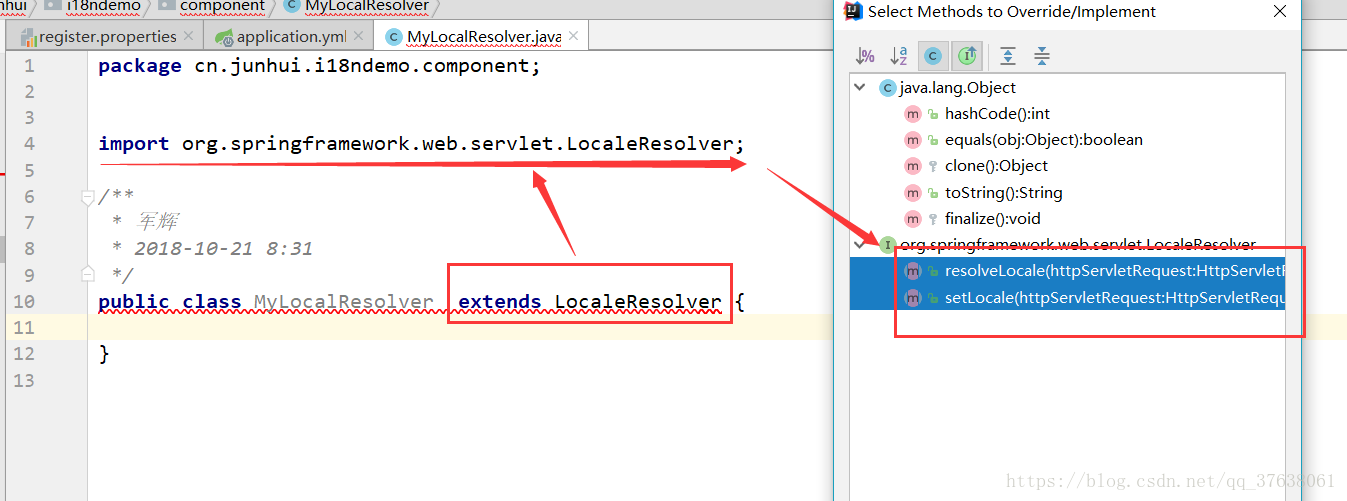
这个类需要实现
org.springframework.web.servlet.LocaleResolver;
一定要导入正确的包,否则,后果不堪设想,在导包正确的情况下,同时按下 Ctrl 和 O键,选中下面的两个,点击ok
package cn.junhui.i18ndemo.component; import org.springframework.util.StringUtils; import org.springframework.web.servlet.LocaleResolver; import javax.servlet.http.HttpServletRequest; import javax.servlet.http.HttpServletResponse; import java.util.Locale; public class MyLocalResolver implements LocaleResolver { /* 重写本地区域化信息 */ @Override public Locale resolveLocale(HttpServletRequest request) { String lan = request.getParameter("lan"); Locale locale = Locale.getDefault(); if (!StringUtils.isEmpty(lan)) { String[] split = lan.split("_"); locale = new Locale(split[0], split[1]); } return locale; } @Override public void setLocale(HttpServletRequest httpServletRequest, HttpServletResponse httpServletResponse, Locale locale) { } } |
我用红色标记的是之后在超链接上携带的字符串,大家可以随意编写,只需要跟以后的一样就行
再编写一个配置类,
package cn.junhui.i18ndemo.config; import cn.junhui.i18ndemo.component.MyLocalResolver; import org.springframework.context.annotation.Bean; import org.springframework.context.annotation.Configuration; import org.springframework.web.servlet.LocaleResolver; import org.springframework.web.servlet.config.annotation.WebMvcConfigurationSupport; @Configuration public class MyMvcConfig extends WebMvcConfigurationSupport { @Bean public LocaleResolver localeResolver() { return new MyLocalResolver(); } } |
导包的时候注意一点,千万不要导错包,
接下来还需要一个Controller
package cn.junhui.i18ndemo.controller;

import org.springframework.context.annotation.Configuration;
import org.springframework.stereotype.Controller;
import org.springframework.web.bind.annotation.GetMapping;
import org.springframework.web.servlet.ModelAndView;

@Controller
public class i18nController {
    @GetMapping("/i18n")
    public ModelAndView toIndex() {
        return new ModelAndView("Testi18n");
    }
}
|
配置基本写好了,接下来来个页面测试一下
<!DOCTYPE html> <!--导入thylemeaf的命名空间--> <html lang="en" xmlns:th="http://www.thymeleaf.org"> <head> <meta charset="UTF-8"> <title>国际化测试</title> </head> <body> <form action=""> <table> <tr> <td>标签内写法(有提示)</td> <td> <label th:text="#{register.name}">Username</label> <input type="text" placeholder="Username" th:placeholder="#{register.name}" name="name"> </td> </tr> <tr> <td>标签外写法(无提示)</td> <td> <input type="text">[[#{register.name}]] </td> </tr> <tr> <td> <a th:href="@{/i18n(lan='zh_CN')}">中文</a> </td> <td> <a th:href="@{/i18n(lan='en_US')}">英文</a> </td> </tr> </table> </form> </body> </html> |
大功基本已经告成,启动springboot
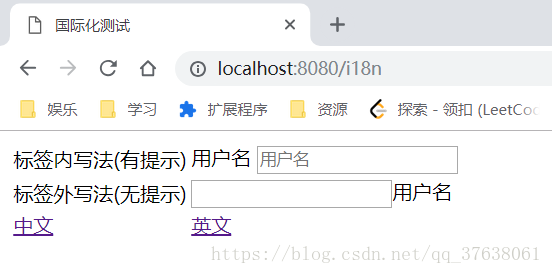
因为我的谷歌浏览器的语言默认为中文,所以他直接就显示是中文
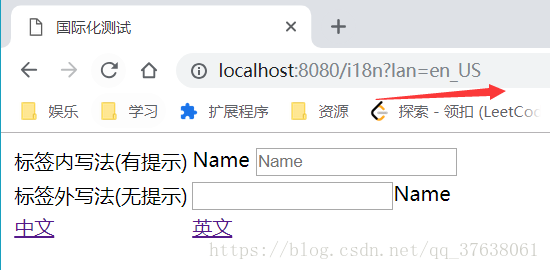
下面是点击 英文 超链接显示的,注意观看地址栏的变化
来张中文的
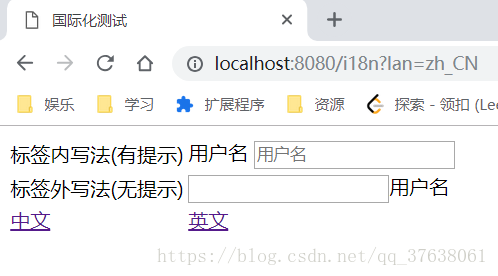
大功告成!
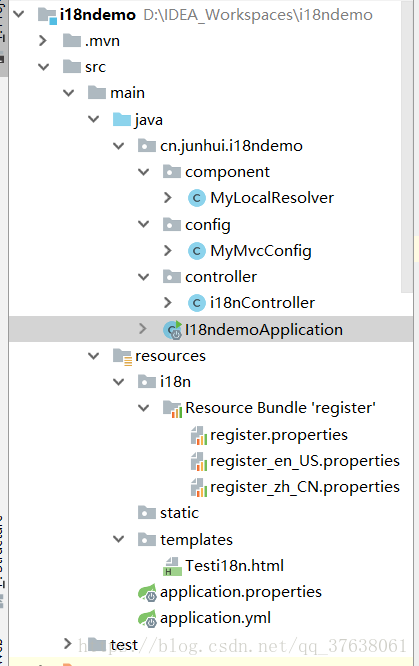
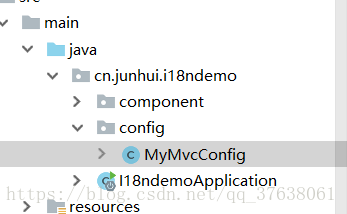
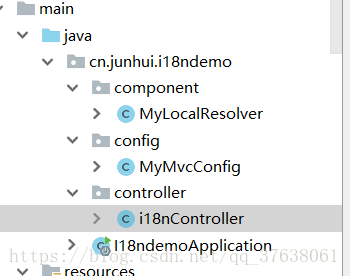
附:项目结构图