版权声明:本文为博主原创文章,未经博主允许不得转载。 https://blog.csdn.net/zc_ad/article/details/83343368
前面写过mybatis-plus,也可以使用它进行mapper生成,目前觉得使用mapper会带来特别多麻烦,并没有深入研究,有兴趣的同鞋可以看官网查看教程。写mybatis-generator-maven-plugin原因是,以前使用过,留此先做个笔记。
首先就是在maven配置文件中添加此插件的配置,代码块如下:
<build>
	<plugins>
	    <plugin>
		<groupId>org.springframework.boot</groupId>
		<artifactId>spring-boot-maven-plugin</artifactId>
		<configuration>
		    <mainClass>com.xichuan.dev.Application</mainClass>
		    <includeSystemScope>true</includeSystemScope>
		</configuration>
	    </plugin>

	   <!--配置文件生成插件-->
	    <plugin>
		<groupId>org.mybatis.generator</groupId>
		<artifactId>mybatis-generator-maven-plugin</artifactId>
		<version>1.3.2</version>
		<configuration>
		    <!--配置文件的位置-->
		    <configurationFile>src/main/resources/generatorConfig.xml</configurationFile>
		    <verbose>true</verbose>
		    <overwrite>true</overwrite>
		</configuration>
		<executions>
		    <execution>
			<id>Generate MyBatis Artifacts</id>
			<goals>
			    <goal>generate</goal>
			</goals>
		    </execution>
		</executions>
		<dependencies>
		    <dependency>
			<groupId>org.mybatis.generator</groupId>
			<artifactId>mybatis-generator-core</artifactId>
			<version>1.3.2</version>
		    </dependency>
		</dependencies>
	    </plugin>
	<plugins>
<build>
然后需要在项目中新建一个lib的目录,将mysql的连接驱动放入其中。
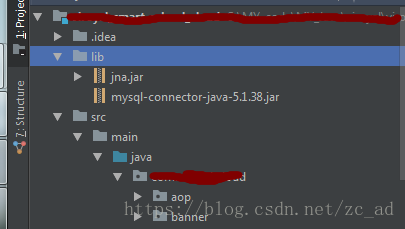
增加generatorConfiguration配置文件。上面新建lib文件夹,将连接驱动放在项目中是为了使用方便。generatorConfiguration.xml使用时,还需要修改连接数据库配置,生成文件的目录,以及数据库表。
<?xml version="1.0" encoding="UTF-8"?>
<!DOCTYPE generatorConfiguration
  PUBLIC "-//mybatis.org//DTD MyBatis Generator Configuration 1.0//EN"
  "http://mybatis.org/dtd/mybatis-generator-config_1_0.dtd">

<generatorConfiguration>

    <classPathEntry location="lib/mysql-connector-java-5.1.38.jar" />

    <context id="mysqlTables" targetRuntime="MyBatis3">
        <!-- 取消所有注释 -->
        <commentGenerator>
            <property name="suppressAllComments" value="true" />
        </commentGenerator>

        <jdbcConnection driverClass="com.mysql.jdbc.Driver" connectionURL="jdbc:mysql://localhost:3306/xichuan_dev" userId="root" password="root" />

       <!-- 指定生成的类型为java类型,避免数据库中number等类型字段 -->
        <javaTypeResolver>
            <property name="forceBigDecimals" value="false" />
        </javaTypeResolver>

        <!-- 对应的实体类 -->
        <javaModelGenerator targetPackage="com.xichuan.dev.commom.entity" targetProject="src/main/java">
            <property name="enableSubPackages" value="true" />
        </javaModelGenerator>

        <!--对应的XXXMapper.xml文件 -->
        <sqlMapGenerator targetPackage="com.xichuan.dev.commom.mapper" targetProject="src/main/java">
            <property name="enableSubPackages" value="true" />
        </sqlMapGenerator>

        <!-- 对应的XXXMapper.java文件 -->
        <javaClientGenerator type="XMLMAPPER" targetPackage="com.xichuan.dev.commom.mapper" targetProject="src/main/java">
            <property name="enableSubPackages" value="true" />
        </javaClientGenerator>

       <table tableName="t_pub_User" domainObjectName="User" enableCountByExample="false" enableUpdateByExample="false" enableDeleteByExample="false" enableSelectByExample="false" selectByExampleQueryId="false"  >
        </table>
    </context>
</generatorConfiguration>
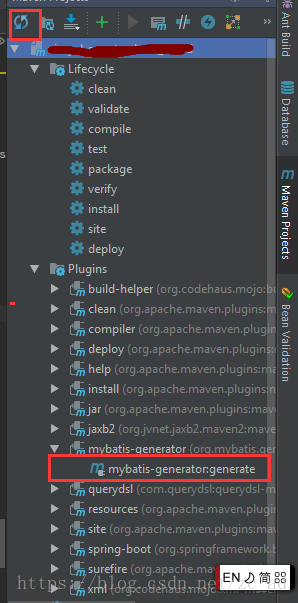
上面都完成后,在IDEA右侧刷新maven配置然后,下面的插件中会出现mybatis-generator,双击运行就可以了。
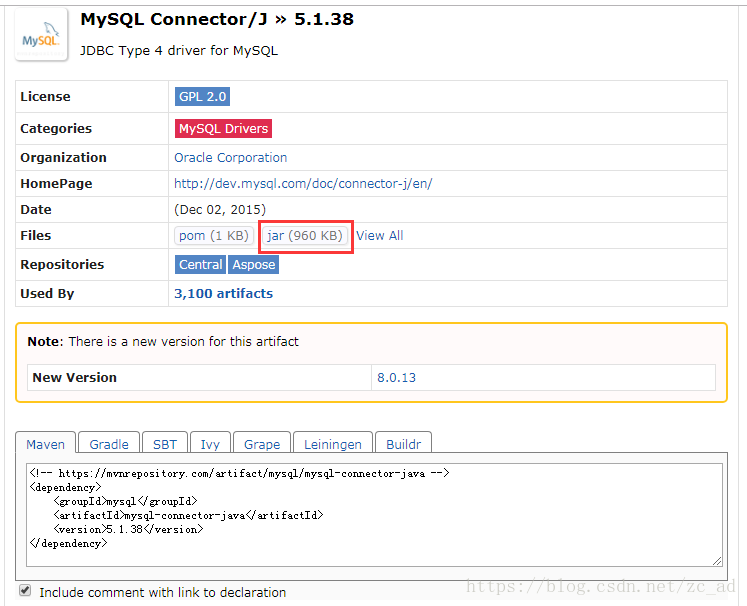
好了,上面就是mybatis-generator-maven-plugin的使用了,应该是和简单的。mysql-connector-java-5.1.38.jar这个jar包不让上传,自己可以在https://mvnrepository.com/上搜mysql-connector-java,找到5.1.38版本下载即可。