分享一下我老师大神的人工智能教程!零基础,通俗易懂!http://blog.csdn.net/jiangjunshow
也欢迎大家转载本篇文章。分享知识,造福人民,实现我们中华民族伟大复兴!

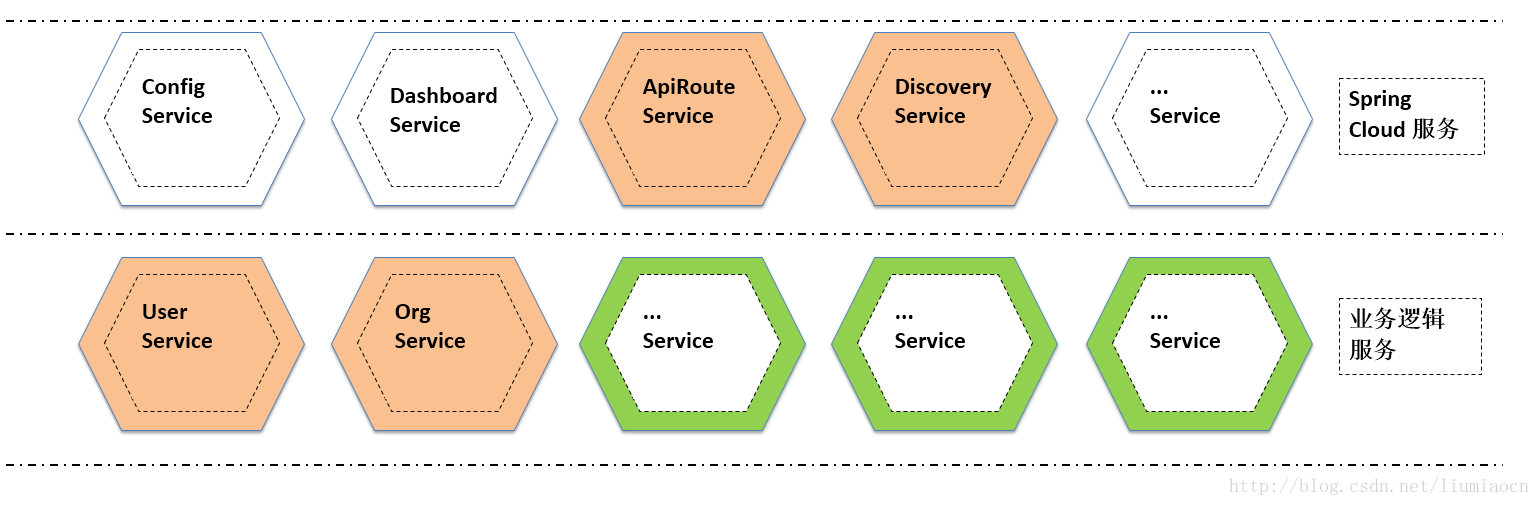
Spring Cloud是Spring总多的Project中的一个,它提供了一整套的工具帮助系统架构师们在进行分布式设计的时候可以拿来即用, 在创建和发布微服务时极为便捷和有效。
本系列文章将会使用最简单的例子和最为容易的方式来学习Spring Cloud。本文将会介绍如何引入Zuul在微服务的架构中简单实现API网关。
构成
| 项目 | 详细 |
|---|---|
| Config Service | Spring Cloud Config:统一配置管理服务 |
| Dashboard Service | Hystrix Dashboard |
| Api Route Service | Zuul:Api Gateway |
| Discovery Service | Eureka:服务发现 |
| User Service | RESTFUL的用户相关的服务 |
| Org Service | RESTFUL的组织相关的服务 |
微服务架构
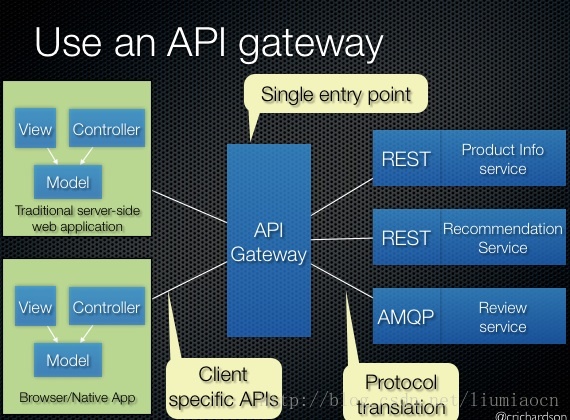
>Api Gateway是微服务架构中需要考虑的情况之一,详细信息此处不再展开有兴趣的可以查看下面这篇文章
| URL | http://microservices.io/patterns/microservices.html |
|---|

Api Gateway
在很多的场景下,尽量少的修改代码或者不修改代码而将不同服务的入口进行统一管理,将API网关作为用户的唯一入口,可以参看Richardson的文章里面的例子来对此概念的展开进行进一步地理解。
| URL | http://microservices.io/patterns/apigateway.html |
|---|
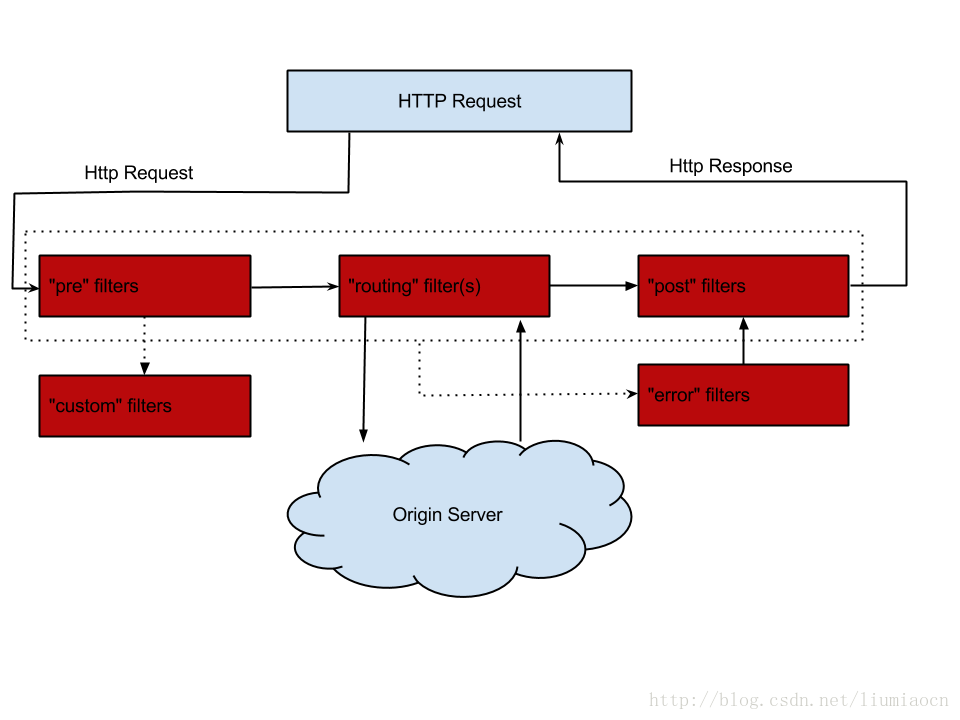
Zuul介绍
>Zuul 是Spring Cloud 子项目Spring Cloud Netflix的一个组件,它是Netflix对ApiGateway实现的一份答卷,应用非常广泛。常见的功能如下
- 身份验证
- 压力测试
- Canary Testing
- 动态路由
- 安全控制
...
>Zuul作为中间这一层,如何处理相关请求。
场景
>使用我们前面创建的例子,我们有user和 org两个服务,分别在9001和9002端口提供服务,我们如果想要查询用户和组织的详细信息,一般是通过如下方式进行访问的。
| 项目 | 访问方法(URL) |
|---|---|
| 用户详细 | http://localhost:9001/user/detail |
| 组织详细 | http://localhost:9002/org/detail |
Pom详细
<?xml version="1.0" encoding="UTF-8"?><project xmlns="http://maven.apache.org/POM/4.0.0" xmlns:xsi="http://www.w3.org/2001/XMLSchema-instance" xsi:schemaLocation="http://maven.apache.org/POM/4.0.0 http://maven.apache.org/xsd/maven-4.0.0.xsd"> <modelVersion>4.0.0</modelVersion> <groupId>com.liumiaocn.demo.springcloud</groupId> <artifactId>apirouteservice</artifactId> <version>0.0.1-SNAPSHOT</version> <packaging>jar</packaging> <name>apirouteservice</name> <description>Demo project for Spring Boot</description> <parent> <groupId>org.springframework.boot</groupId> <artifactId>spring-boot-starter-parent</artifactId> <version>1.4.3.RELEASE</version> <relativePath/> <!-- lookup parent from repository --> </parent> <properties> <project.build.sourceEncoding>UTF-8</project.build.sourceEncoding> <project.reporting.outputEncoding>UTF-8</project.reporting.outputEncoding> <java.version>1.8</java.version> </properties> <dependencies> <dependency> <groupId>org.springframework.cloud</groupId> <artifactId>spring-cloud-starter-eureka</artifactId> </dependency> <dependency> <groupId>org.springframework.cloud</groupId> <artifactId>spring-cloud-starter-ribbon</artifactId> </dependency> <dependency> <groupId>org.springframework.cloud</groupId> <artifactId>spring-cloud-starter-zuul</artifactId> </dependency> <dependency> <groupId>org.springframework.boot</groupId> <artifactId>spring-boot-starter-web</artifactId> </dependency> <dependency> <groupId>org.springframework.boot</groupId> <artifactId>spring-boot-starter-test</artifactId> <scope>test</scope> </dependency> </dependencies> <dependencyManagement> <dependencies> <dependency> <groupId>org.springframework.cloud</groupId> <artifactId>spring-cloud-dependencies</artifactId> <version>Camden.BUILD-SNAPSHOT</version> <type>pom</type> <scope>import</scope> </dependency> </dependencies> </dependencyManagement> <build> <plugins> <plugin> <groupId>org.springframework.boot</groupId> <artifactId>spring-boot-maven-plugin</artifactId> </plugin> </plugins> </build> <repositories> <repository> <id>spring-snapshots</id> <name>Spring Snapshots</name> <url>https://repo.spring.io/snapshot</url> <snapshots> <enabled>true</enabled> </snapshots> </repository> <repository> <id>spring-milestones</id> <name>Spring Milestones</name> <url>https://repo.spring.io/milestone</url> <snapshots> <enabled>false</enabled> </snapshots> </repository> </repositories></project>
- 1
- 2
- 3
- 4
- 5
- 6
- 7
- 8
- 9
- 10
- 11
- 12
- 13
- 14
- 15
- 16
- 17
- 18
- 19
- 20
- 21
- 22
- 23
- 24
- 25
- 26
- 27
- 28
- 29
- 30
- 31
- 32
- 33
- 34
- 35
- 36
- 37
- 38
- 39
- 40
- 41
- 42
- 43
- 44
- 45
- 46
- 47
- 48
- 49
- 50
- 51
- 52
- 53
- 54
- 55
- 56
- 57
- 58
- 59
- 60
- 61
- 62
- 63
- 64
- 65
- 66
- 67
- 68
- 69
- 70
- 71
- 72
- 73
- 74
- 75
- 76
- 77
- 78
- 79
- 80
- 81
- 82
- 83
- 84
- 85
- 86
- 87
- 88
- 89
- 90
- 91
- 92
- 93
apirouteservice
只需要加入EnableZuulProxy注解。
package com.liumiaocn.demo.springcloud;import org.springframework.boot.SpringApplication;import org.springframework.boot.autoconfigure.SpringBootApplication;import org.springframework.cloud.netflix.eureka.EnableEurekaClient;import org.springframework.cloud.netflix.zuul.EnableZuulProxy;@SpringBootApplication@EnableEurekaClient@EnableZuulProxypublic class ApirouteserviceApplication { public static void main(String[] args) { SpringApplication.run(ApirouteserviceApplication.class, args); }}
- 1
- 2
- 3
- 4
- 5
- 6
- 7
- 8
- 9
- 10
- 11
- 12
- 13
- 14
- 15
- 16
- 17
设定文件
server.port=8001spring.application.name=apirouteserviceeureka.client.serviceUrl.defaultZone=http://localhost:8801/eureka/zuul.routes.userservice.path=/user/**zuul.routes.userservice.strPrefix=truezuul.routes.userservice.url=http://localhost:9001/userzuul.routes.orgservice.path=/org/**zuul.routes.orgservice.strPrefix=truezuul.routes.orgservice.url=http://localhost:9002/org
- 1
- 2
- 3
- 4
- 5
- 6
- 7
- 8
- 9
- 10
| 项目 | 详细 |
|---|---|
| server.port | apirouteService提供服务所用Port,将作为用户统一端口访问各个服务 |
| spring.application.name | 向Eureka Server进行注册时使用的服务名 |
| eureka.client.serviceUrl.defaultZone | http://localhost:8801/eureka/ 注意此处的8801端口号需要跟Server端一致。 |
| zuul.routes.服务名.path | 注意此处服务名要与注册的服务名一致 |
| zuul.routes.服务名.strPrefix | 是否清除前缀(false |
| zuul.routes.服务名.url | 注意此处服务名要与注册的服务名一致,同时url的层次也需要注意 |
生成Package
| 项目 | 详细 |
|---|---|
| 命令 | mvn clean package |
| 执行场所 | pom所在目录 |
| 目标文件所在目录 | 工程根目录下Target |
| 目标文件名称 | apirouteservice-0.0.1-SNAPSHOT.jar |
统一访问方式
| 项目 | 访问方法(URL) |
|---|---|
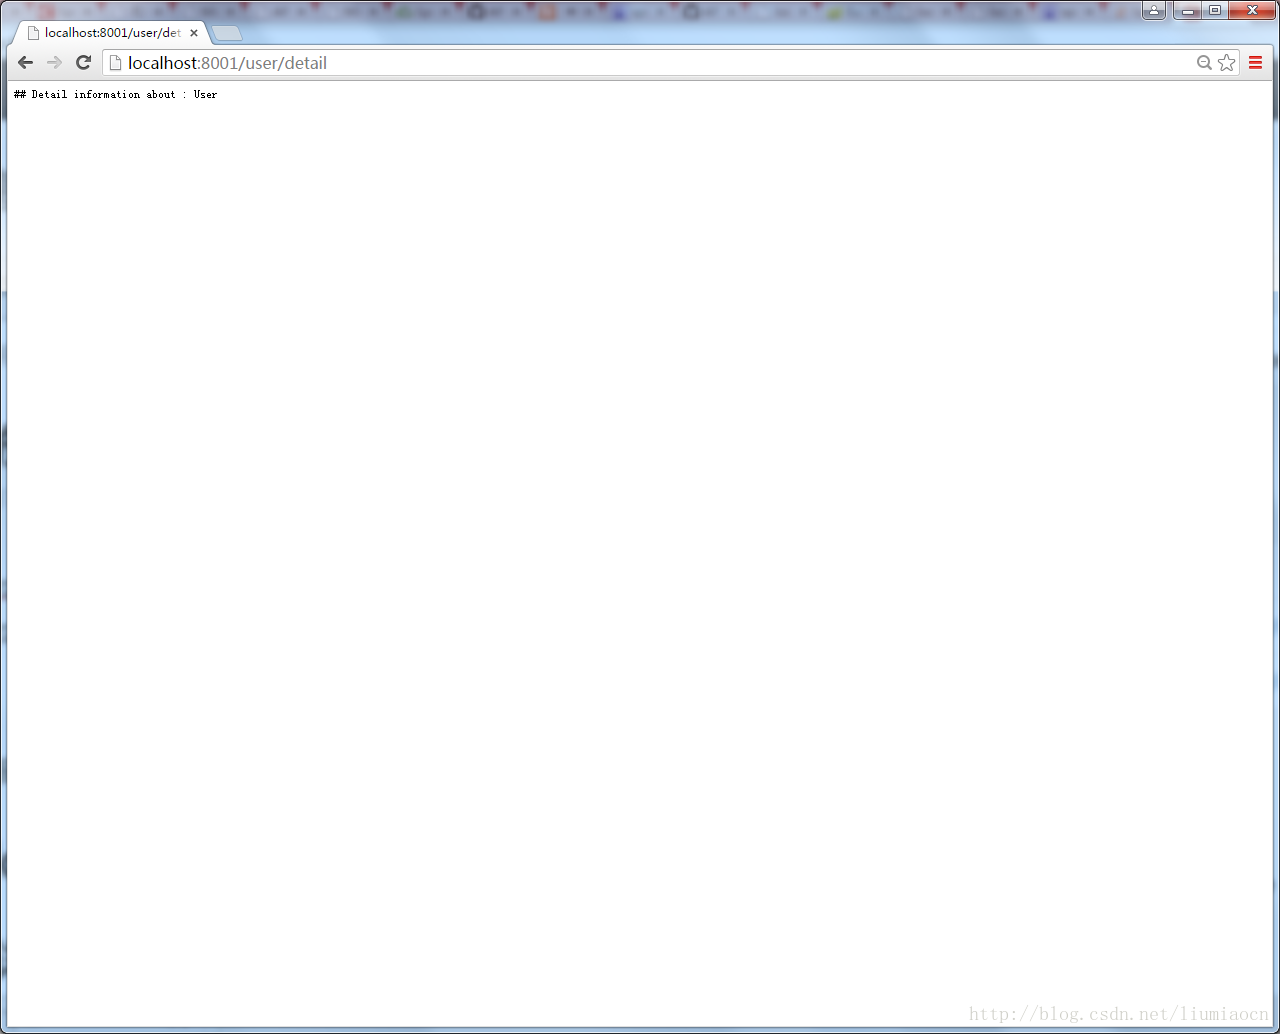
| 用户详细 | http://localhost:8001/user/detail |
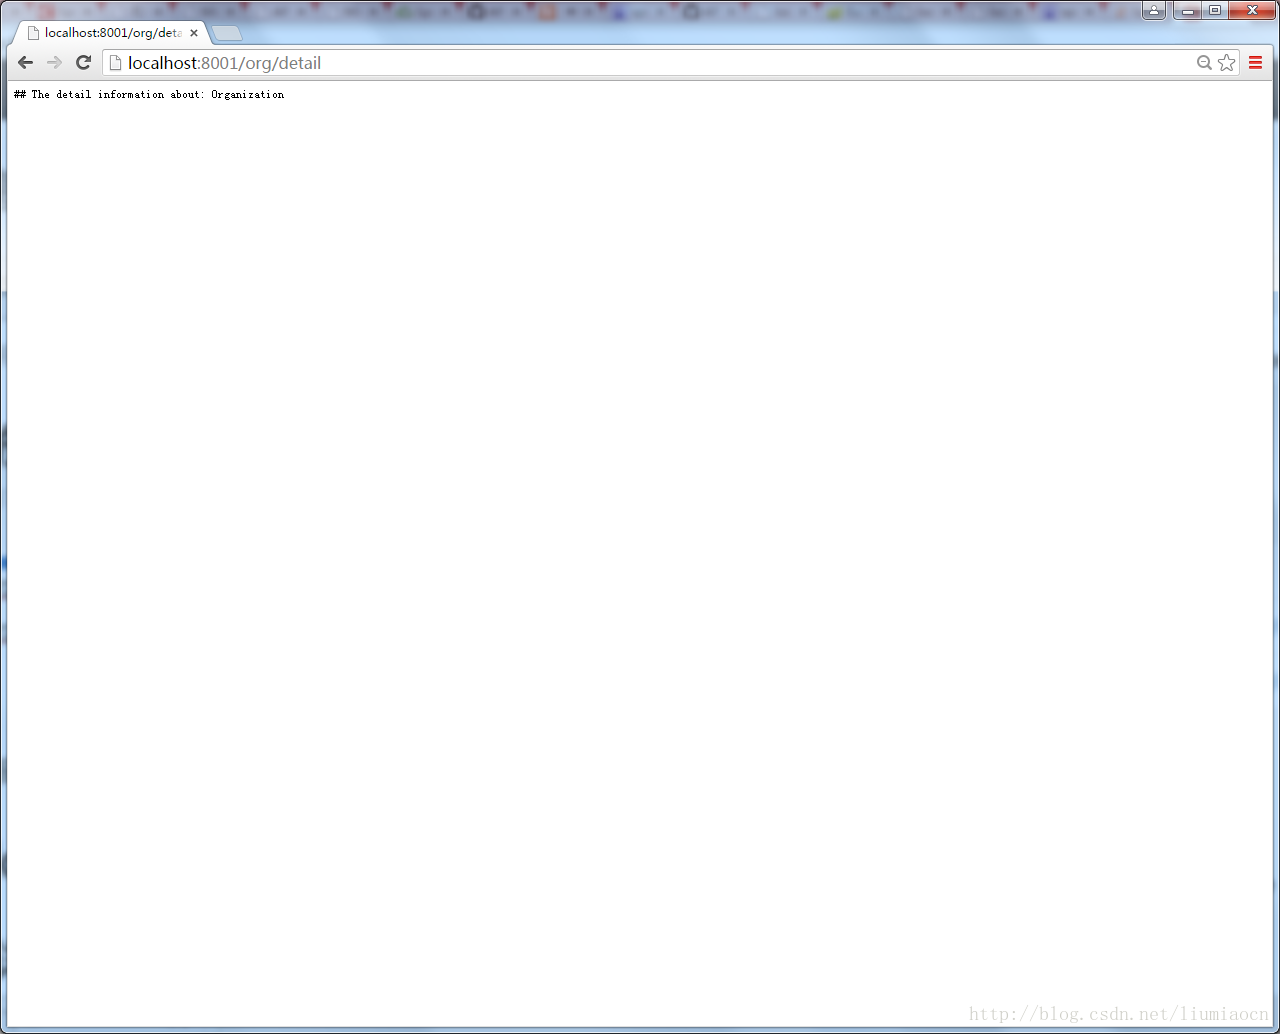
| 组织详细 | http://localhost:8001/org/detail |
启动
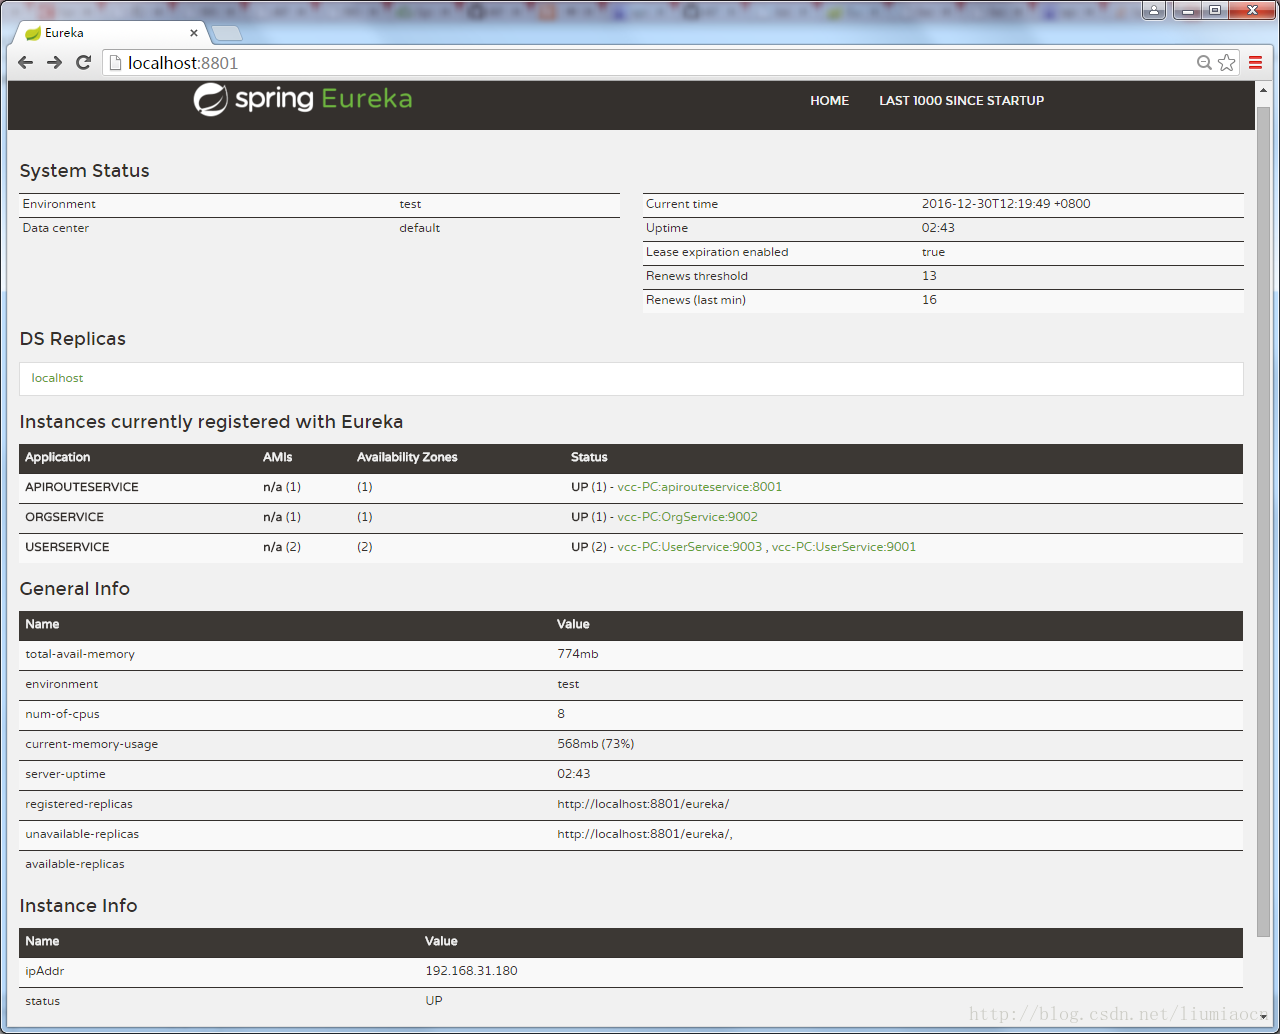
>启动各个服务后,也启动apirouteservice
Eureka确认
User详细信息
>通过Zuul统一访问用户详细信息
Org详细信息、
>通过Zuul统一访问组织详细信息
总结
>本文使用zuul实现了Api网关最简单的功能,但是很重要的是我们了解到了如何获取封装这一层的方法,可以分发页面就可以控制负载等,在接下来的文章里我们会继续学习Spring Cloud的各种其他强大功能模块。
给我老师的人工智能教程打call!http://blog.csdn.net/jiangjunshow
