版权声明:本文为博主原创文章,未经博主允许不得转载。 https://blog.csdn.net/kakascx/article/details/82740285
- 串口通信是指一次只传送一个数据位。虽然在通信的时候串口有 8 位或者 9 位等,但是在物理层面传输的时候,它仍然是以单个 bit 的方式传输的
- 一般特指 RS232 标准的接口
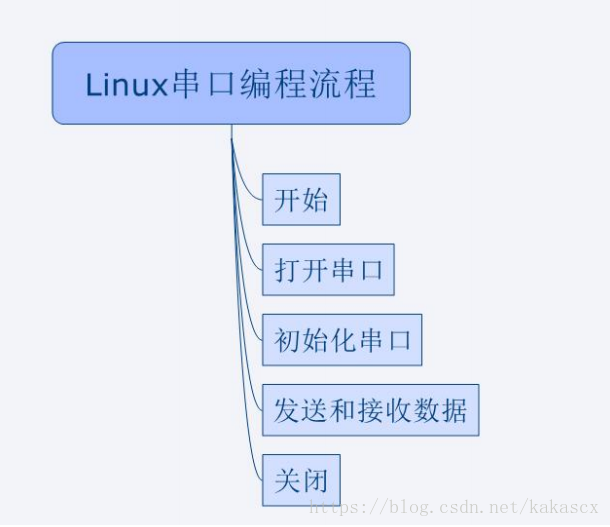
- 在 linux 下串口编程流程如下:
打开串口
核心是用open函数打开串口
if((fd = open(uart3,O_RDWR|O_CREAT,0777))<0){
        printf("open %s failed!\n",uart3);
    }
    else{
        printf("open %s is success!\n",uart3);
    }
串口初始化
初始化一般无论在哪个平台都有现成代码,直接使用即可。这里的接口形式为int set_opt(int fd,int nSpeed, int nBits, char nEvent, int nStop)
- fd为串口句柄
- nSpeed为设置的波特率
- nBites为数据位
- nEvent为校验位
- nStop为停止位
- 例如
set_opt(fd, 115200, 8, 'N', 1);
串口发送
核心是通过write函数传送数据
if((fd = open(uart3, O_RDWR|O_NOCTTY|O_NDELAY))<0){
        printf("open %s is failed",uart3);
    }
    else{
        printf("open %s is success\n",uart3);
        set_opt(fd, 115200, 8, 'N', 1);
        while(i--)
        {
            wr_static = write(fd,buffer, strlen(buffer));
            if(wr_static<0)
                printf("write failed\n");
            else{
                printf("wr_static is %d\n",wr_static);
            }
            sleep(1);
        }
    }
    close(fd);
串口接收
核心是通过read和write来读取数据
if((fd = open(uart3, O_RDWR|O_NOCTTY))<0)
        printf("open %s is failed",uart3);
    else{
        set_opt(fd, 115200, 8, 'N', 1);
        write(fd,uart_out, strlen(uart_out));
        while(1){
            while((nByte = read(fd, buffer, 512))>0){
                buffer[nByte+1] = '\0';
                write(fd,buffer,strlen(buffer));
                memset(buffer, 0, strlen(buffer));
                nByte = 0;
            }
        }
    }