上一篇学习了spring cloud config的基本使用,但发现有个问题,就是每次更改配置后,都需要重启服务才能更新配置,这样肯定是不行的。在上网查资料了解后,spring cloud支持通过AMQP来实现配置的实时更新。
一,安装的的RabbitMQ
二,改造配置服务器和客户端,一
2.1
在配置服务器和客户端一两个模块下的POM文件添加
<dependency>
  <groupId>org.springframework.cloud</groupId>
  <artifactId>spring-cloud-starter-bus-amqp</artifactId>
</dependency>

<dependency>
  <groupId>org.springframework.boot</groupId>
  <artifactId>spring-boot-starter-actuator</artifactId>
</dependency>
这里说明下弹簧引导起动致动器是弹簧启动自带的监控模块,我们要使用弹簧云起动总线AMQP的话,也必须加上。
2.2
修改客户端-一个模块的配置文件,主要是加上的RabbitMQ的的配置,修改后如下,而配置服务器的配置文件不用修改
server:
  port: 8910

eureka:
  client:
    serviceUrl:
          defaultZone: http://localhost:8010/eureka/

spring:
  application:
      name: client-a
  cloud:
      config:
        discovery:
          enabled: true #开启通过服务来访问Config Server的功能
          service-id: config-server
        profile: dev
        label: master

  rabbitmq:
      host: localhost
      port: 5672
      username: guest
      password: guest
2.3
注意,要达到配置自动更新,这里需要修改客户端-一个的的的TestController,添加@RefreshScope注解
@RestController
@RefreshScope
public class TestController {
    ...
}
2.4
重启配置服务器和客户端,一
可以注意下启动日志,其中应该有
一段是osbaemvc.EndpointHandlerMapping:映射“{[/ bus / refresh],methods = [POST]}”
这就是触发配置刷新的方式。
打开http:// localhost:8910 / getProperties应该看到配置还是旧的配置
修改混帐上的配置文件
以post形式访问配置中心的http:// localhost:8030 / bus / refresh来触发配置更新,看本地的日志,config-server和client-a都会有刷新配置的日志打印
再打开http:// localhost:8910 / getProperties应该可以看到配置已经更新了
2.5
现在虽然可以不用重启服务就更新配置了,但还是需要我们手动操作,这样还是不可取的。
所以,这里就要用到GIT中的网络挂接来达到自动更新配置。
打开混帐上配置仓库的地址,添加网络挂接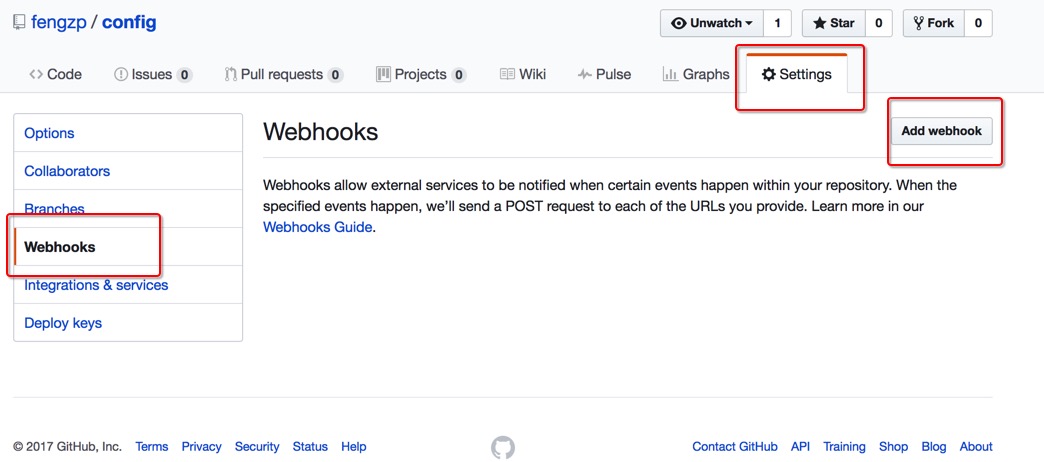
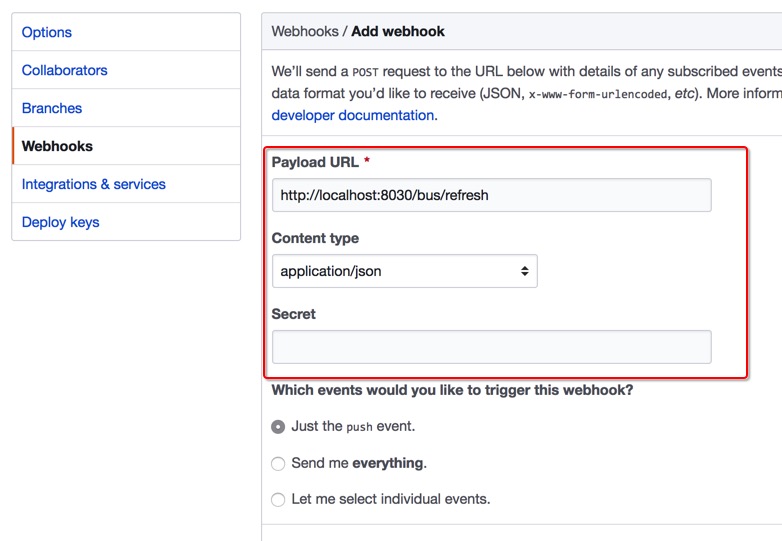
上面的Payload URL就填写我们的配置中心触发刷新的地址,当然这里不能写localhost啦,要外网访问地址才行。
还有这里面有个秘密的秘钥验证,如果这里填写的话,在配置文件上要写上encrypt.key与之对应。
报错
spring cloud配置服务器/总线/刷新404未找到
解决方案
Spring boot 2.0的改动较大,/ bus / refresh全部整合到执行器里面了,变成了/ actuator / bus-refresh,所以之前1.x的management.security.enabled全部失效,不适用于2.0
2.0的性能配置是这样的:
管理:
端点:
web:
exposure:
include:“*”另外
在config-client应用程序注解
@RefreshScope
然后再通常查找日志可发现有该[/ actuator / bus-refresh],methods = [POST]日志,通过访问使用curl即可刷新config-server从远端Git拉取修改后的配置:
curl -v -X POST“http:// localhost:8888 / actuator / bus-refresh”