二、Linux 升级 Python
Linux 操作系统本身自带安装 Python,不过一般都是 2.x 版本的,2.x 和 3.x 是互不兼容的。
以下是在 CentOS 中安装 Python 3.6.5 的过程。
1.下载
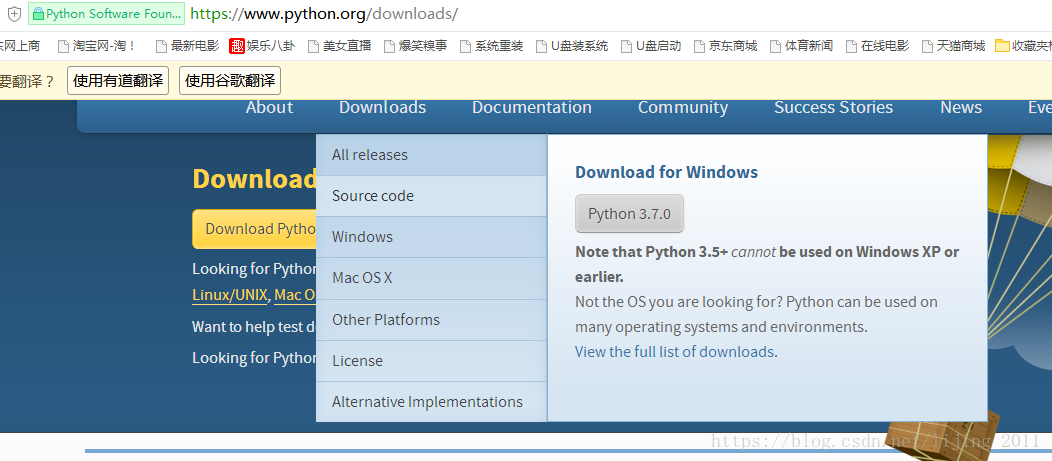
1)进入官网,选择 Downloads,然后选择 Source code
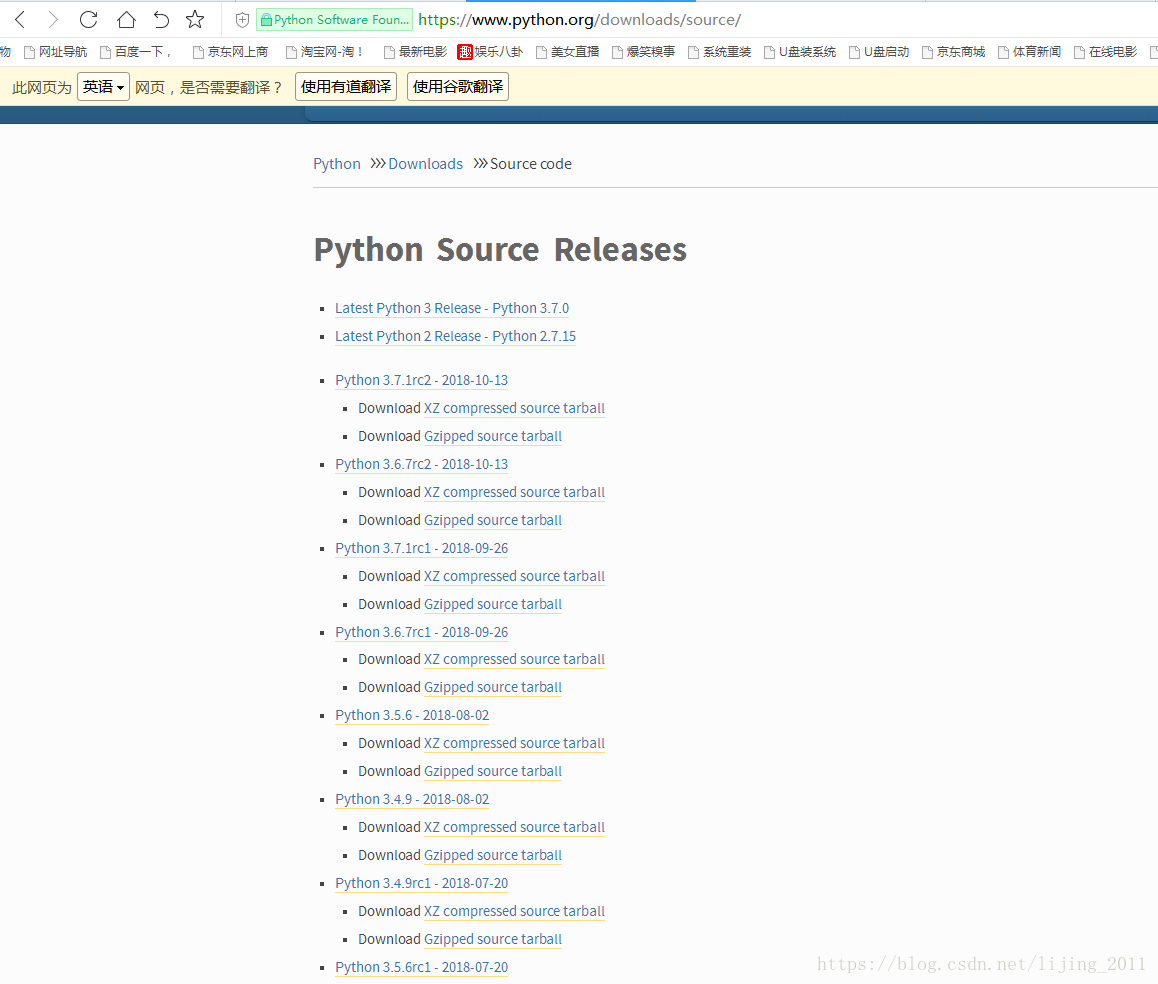
2)选择需要的对应版本,我选择的 3.6.5 对应 Gzipped source tarball
3)解压文件,解压之后生成目录 Python-3.6.5
[Vicky@localhost ~]$ tar -xzvf Python-3.6.5.tgz
[Vicky@localhost ~]$ ll
总用量 22464
drwxrwxr-x.  2 Vicky Vicky       96 10月 19 10:38 code
-rw-r--r--.  1 Vicky Vicky      275 6月  14 15:59 mysql
drwxrwxr-x.  6 Vicky Vicky       56 4月  27 15:48 net
drwxrwxr-x.  3 Vicky Vicky       53 4月  27 15:46 netcdf
drwxrwxr-x.  2 Vicky Vicky        6 12月  1 2017 perl5
drwxr-xr-x. 16 Vicky Vicky     4096 3月  28 2018 Python-3.6.5
-rw-rw-r--.  1 Vicky Vicky 22994617 10月 19 10:20 Python-3.6.5.tgz
4)创建新的 python 的安装目录。
进入 /usr/local 创建目录 python3,用此目录作为 python3 的安装路径,避免覆盖老的版本,使得引用 python 的程序出现错误。
[Vicky@localhost ~]$ cd /usr/local
[Vicky@localhost local]$ mkdir python3
mkdir: 无法创建目录"python3": 权限不够
[Vicky@localhost local]$ su
密码:
[root@localhost local]# mkdir python3
[root@localhost local]# ll
总用量 0
drwxr-xr-x. 2 root root  6 11月  5 2016 bin
drwxr-xr-x. 2 root root  6 11月  5 2016 etc
drwxr-xr-x. 2 root root  6 11月  5 2016 games
drwxr-xr-x. 2 root root 35 9月   3 17:50 include
drwxr-xr-x. 3 root root 91 9月   3 17:50 lib
drwxr-xr-x. 2 root root  6 11月  5 2016 lib64
drwxr-xr-x. 2 root root  6 11月  5 2016 libexec
drwxr-xr-x. 2 root root  6 10月 19 10:39 python3
drwxr-xr-x. 2 root root  6 11月  5 2016 sbin
drwxr-xr-x. 5 root root 49 12月  1 2017 share
drwxr-xr-x. 2 root root  6 11月  5 2016 src
drwxr-xr-x. 5 root root 45 10月 15 16:06 zlib
5)使用 root 身份编译,安装 python3
[root@localhost ~]# cd /home/Vicky/Python-3.6.5/
[root@localhost Python-3.6.5]# ./configure  --prefix=/usr/local/python3
[root@localhost bin]# make
[root@localhost bin]# make install
安装成功之后,在 /usr/lib 下会生成 bin, include,lib,share 四个目录。
[root@localhost Python-3.6.5]# cd /usr/local/python3/
[root@localhost python3]# ls
bin  include  lib  share
6)建立版本连接
1)原有连接
[root@localhost bin]# ls -la python*
lrwxrwxrwx. 1 root root    7 12月  1 2017 python -> python2
lrwxrwxrwx. 1 root root    9 12月  1 2017 python2 -> python2.7
-rwxr-xr-x. 1 root root 7136 11月  6 2016 python2.7
-rwxr-xr-x. 1 root root 1835 11月  6 2016 python2.7-config
lrwxrwxrwx. 1 root root   16 12月  1 2017 python2-config -> python2.7-config
lrwxrwxrwx. 1 root root   14 12月  1 2017 python-config -> python2-config
2)建立 python3 的连接
[root@localhost bin]# ln -s /usr/local/python3/bin/python3 python3
[root@localhost bin]# ls -la python*
lrwxrwxrwx. 1 root root    7 12月  1 2017 python -> python2
lrwxrwxrwx. 1 root root    9 12月  1 2017 python2 -> python2.7
-rwxr-xr-x. 1 root root 7136 11月  6 2016 python2.7
-rwxr-xr-x. 1 root root 1835 11月  6 2016 python2.7-config
lrwxrwxrwx. 1 root root   16 12月  1 2017 python2-config -> python2.7-config
lrwxrwxrwx. 1 root root   30 10月 19 10:54 python3 -> /usr/local/python3/bin/python3
lrwxrwxrwx. 1 root root   14 12月  1 2017 python-config -> python2-config
7)检查是否安装成功
a.检查原有 python 命令是否可用
[root@localhost bin]# python
Python 2.7.5 (default, Nov  6 2016, 00:28:07)
[GCC 4.8.5 20150623 (Red Hat 4.8.5-11)] on linux2
Type "help", "copyright", "credits" or "license" for more information.
>>> exit()
b.验证新安装的 python3 是否可用,输入 python3 可进入交互式操作环境,并显示 Python 3.6.5 的版本信息,则安装成功。
[root@localhost bin]# python3
Python 3.6.5 (default, Oct 19 2018, 10:46:59)
[GCC 4.8.5 20150623 (Red Hat 4.8.5-11)] on linux
Type "help", "copyright", "credits" or "license" for more information.
>>>
至此,python3 安装成功,这种安装不会覆盖原有的 python。
声明:
本博客的所有内容,仅是自己的一些学习笔记,如有错误,欢迎指正。如有侵权,请告知修改。