Unity版本:Unity 2018.2.14f1
原视频链接:https://unity3d.com/cn/learn/tutorials/s/space-shooter-tutorial
教程目录(持续更新中):
Unity游戏开发官方入门教程:飞机大战(一)——创建新项目、导入资源、设置场景
Unity游戏开发官方入门教程:飞机大战(二)——创建飞船对象
Unity游戏开发官方入门教程:飞机大战(三)——设置相机和光照
Unity游戏开发官方入门教程:飞机大战(四)——使用Quad加入背景
Unity游戏开发官方入门教程:飞机大战(五)——实现飞船控制脚本
Unity游戏开发官方入门教程:飞机大战(六)——创建子弹
Unity游戏开发官方入门教程:飞机大战(七)——发射子弹
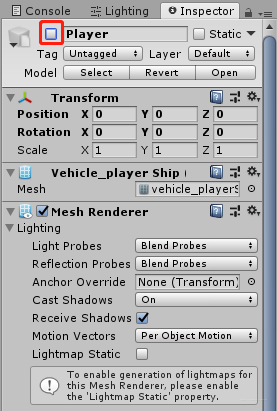
1.隐藏Player,将其单选框去掉
2.在Hierarchy中右键->3D Object->Quad
3.重命名为Background
4.重置Transform
这时候什么也看不见,因为Background的朝向刚好和相机的角度平行。
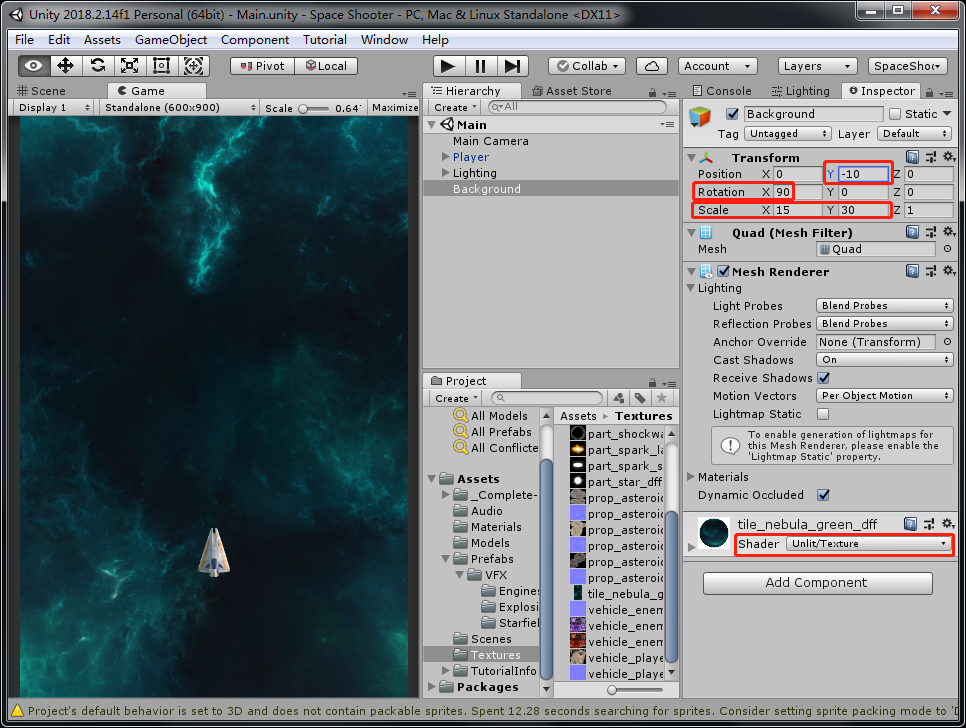
5.将Rotation的X设置为90,就能在游戏中看见Background了
6.Background的Inspector中,Mesh Collider->Remove Component
7.将tile_nebula_green_dff拖拽到场景中的Background,路径:Assets\Textures\tile_nebula_green_dff
8.将Background的Scale的X设置为15,Y设置为30
9.修改Mesh Renderer的Shader:Shader->Unlit->Texture
置换掉原来的Shader后,Background亮度得到显著的提高:
10.将Background的Position的Y设置为-10,防止遮挡Player
11.将Player的单选框重新勾选上,恢复其显示
最终效果如下:
参考资料:https://unity3d.com/cn/learn/tutorials/s/space-shooter-tutorial