版权声明:本文为博主原创文章,未经博主允许不得转载。 https://blog.csdn.net/liuzhixiong_521/article/details/84326135
准备mysql安装包
删除my.cnf配置文件

rm -rf /etc/my.cnf
建立用户组和用户名

groupadd mysql
useradd -g mysql mysql
将下载的压缩包放到 /usr/local/ 目录下

mv mysql-5.6.36-linux-glibc2.5-x86_64.tar.gz /usr/local/
解压安装包

tar -zxvf mysql-5.6.36-linux-glibc2.5-x86_64.tar.gz
解压的文件夹重命名为mysql

mv mysql-5.6.36-linux-glibc2.5-x86_64 mysql
配置文件my.cnf
在 /etc/ 下新建配置文件my.cnf 或者 将 mysql/ 文件夹下my.cnf 复制到/etc/ 目录下

cp mysql/support-files/my-default.cnf /etc/my.cnf
编辑my.cnf代码
default-character-set=utf8
skip-name-resolve
port = 3306
basedir = /usr/local/mysql
datadir = /usr/local/mysql/data
max_connections=200
character-set-server=utf8
default-storage-engine=INNODB
lower_case_table_name=1
max_allowed_packet=16M
修改目录拥有者并安装数据库

cd /usr/local/mysql
chown -R mysql:mysql ./
./scripts/mysql_install_db --user=mysql --basedir=/usr/local/mysql/ --datadir=/usr/local/mysql/data/
修改data目录拥有者

chown -R mysql:mysql data
配置my.cnf最大权限

chmod 777 /etc/my.cnf
设置开机启动mysql并增加脚本权限

cp ./support-files/mysql.server /etc/rc.d/init.d/mysqld
chmod +x /etc/rc.d/init.d/mysqld
将mysqld服务加入到系统服务并检查
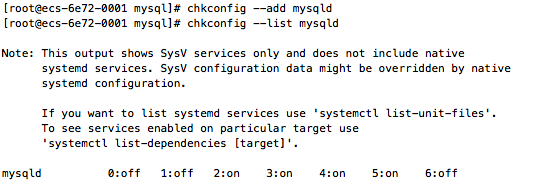
chkconfig --add mysqld
chkconfig --list mysqld
启动mysql

service mysqld start
添加环境变量
vim ~/.bash_profile
添加
export PATH=$PATH:/usr/local/mysql/bin
使配置文件生效
source ~/.bash_profile
登录mysql
以root账号登录,默认无密码
mysql -u root -p
至此,CentOS7下安装mysql5.6成功!