SpringMVC概述
- Spring为展现层提供的基于MVC设计理念的优秀的Web框架,是目前最主流的MVC框架之一
- Spring3.0后全面超越Struts2,成为最优秀的MVC框架
- SpringMVC通过一套MVC注解,让POJO成为处理请求的控制器,而无需实现任何接口
- 支持REST风格的URL请求
- 采用了松散耦合可插拔组件结构,比其他MVC框架更具扩展性和灵活性
HelloWorld程序例子
程序结构
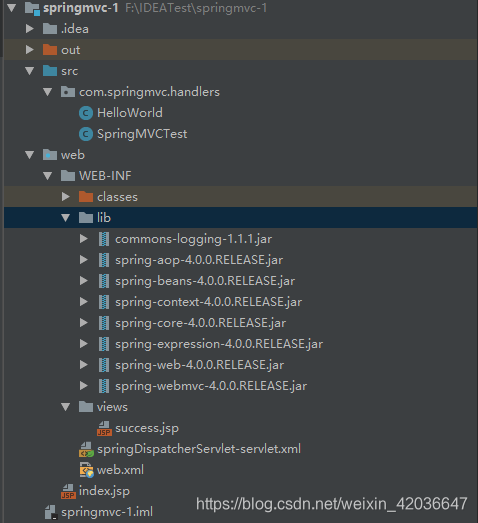
步骤:
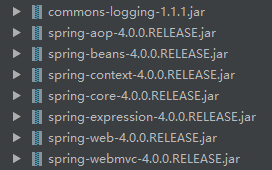
- 加入jar包
- 在web.xml中配置DispatcherServlet
<?xml version="1.0" encoding="UTF-8"?>
<web-app xmlns="http://xmlns.jcp.org/xml/ns/javaee"
         xmlns:xsi="http://www.w3.org/2001/XMLSchema-instance"
         xsi:schemaLocation="http://xmlns.jcp.org/xml/ns/javaee http://xmlns.jcp.org/xml/ns/javaee/web-app_4_0.xsd"
         version="4.0">


    <!--配置 DispatcherServlet-->
    <servlet>
        <servlet-name>springDispatcherServlet</servlet-name>
        <servlet-class>org.springframework.web.servlet.DispatcherServlet</servlet-class>
        <!--配置DispatcherServlet的一个初始化参数:配置SrpingMVC 配置文件的位置和名称-->
        <!--实际上也可以不通过contextConfigLocation 来配置SpringMVC 的配置文件,而使用默认的。
            默认的配置文件为: /WEB-INF/<servlet-name>-servlet.xml
         -->
        <!--<init-param>-->
            <!--<param-name>contextConfigLocation</param-name>-->
            <!--<param-value>classpath:springmvc.xml</param-value>-->
        <!--</init-param>-->
        <load-on-startup>1</load-on-startup>
    </servlet>

    <servlet-mapping>
        <servlet-name>springDispatcherServlet</servlet-name>
        <url-pattern>/</url-pattern>
    </servlet-mapping>

</web-app>
- 加入SpringMVC的配置文件
springDispatcherServlet-servlet.xml
<?xml version="1.0" encoding="UTF-8"?>
<beans xmlns="http://www.springframework.org/schema/beans"
       xmlns:xsi="http://www.w3.org/2001/XMLSchema-instance"
       xmlns:context="http://www.springframework.org/schema/context"
       xsi:schemaLocation="http://www.springframework.org/schema/beans http://www.springframework.org/schema/beans/spring-beans.xsd http://www.springframework.org/schema/context http://www.springframework.org/schema/context/spring-context.xsd">


    <!--配置自定扫描的包-->
    <context:component-scan base-package="com.springmvc.handlers"></context:component-scan>

    <!--配置视图解析器: 如何把handler方法返回值解析为实际的物理视图-->
    <bean class="org.springframework.web.servlet.view.InternalResourceViewResolver">
        <property name="prefix" value="/WEB-INF/views/"></property>
        <property name="suffix" value=".jsp"></property>
    </bean>

</beans>
- 编写处理请求的处理器,并且标识为处理器

package com.springmvc.handlers;

import org.springframework.stereotype.Controller;
import org.springframework.web.bind.annotation.RequestMapping;

@Controller
public class HelloWorld {

    /**
     * 1.使用@RequestMapping 注解来映射请求的URL
     * 2.返回值会通过视图解析器解析为实际的物理视图,对于InternalResourceViewResolver 视图解析器,会做如下的解析:
     * prefix + returnVal + 后缀 这样的方式得到实际的物理视图,然后做转发操作
     *
     * /WEB-INF/views/seccess.jsp
     *
     * @return
     */
    @RequestMapping("/helloworld")
    public String hello(){
        System.out.println("hello world");
        return "success";
    }
}
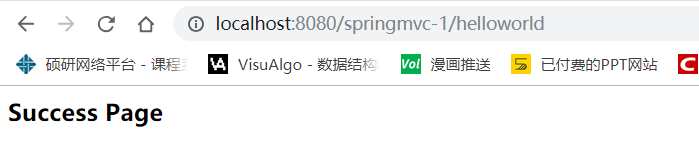
- 编写视图
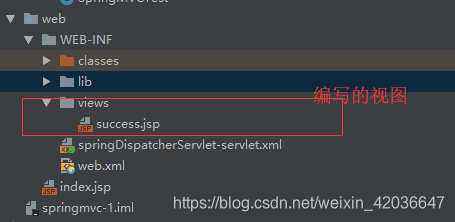
Success.jsp
<%--
  Created by IntelliJ IDEA.
  User: 14741
  Date: 2018/12/21
  Time: 21:53
  To change this template use File | Settings | File Templates.
--%>
<%@ page contentType="text/html;charset=UTF-8" language="java" %>
<html>
<head>
    <title>Title</title>
</head>
<body>
    <h3>Success Page</h3>
</body>
</html>
index.jsp
<%--
  Created by IntelliJ IDEA.
  User: 14741
  Date: 2018/12/21
  Time: 21:05
  To change this template use File | Settings | File Templates.
--%>
<%@ page contentType="text/html;charset=UTF-8" language="java" %>
<html>
  <head>
    <title>$Title$</title>
  </head>
  <body>

      <a href="helloworld">Hello World</a>

  </body>
</html>
index.jsp

点击过后