MultiNet就是可以同时进行图像识别、图像分类和语义分割。
跑通的demo效果如下:
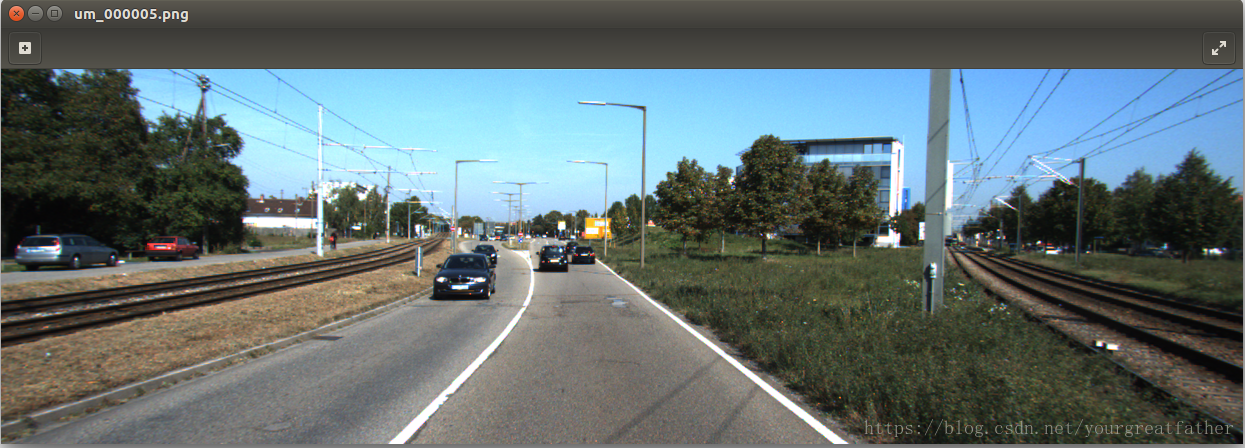
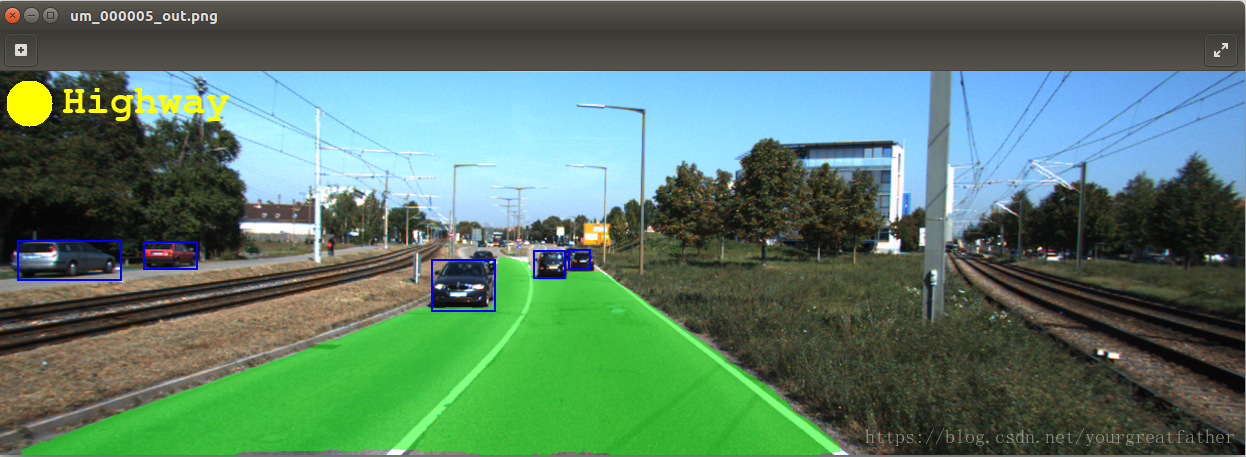
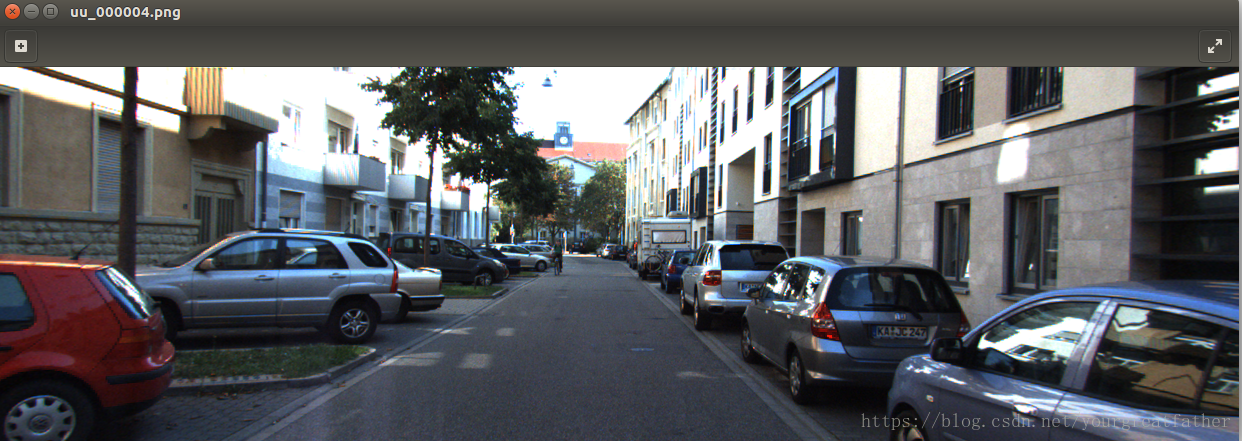
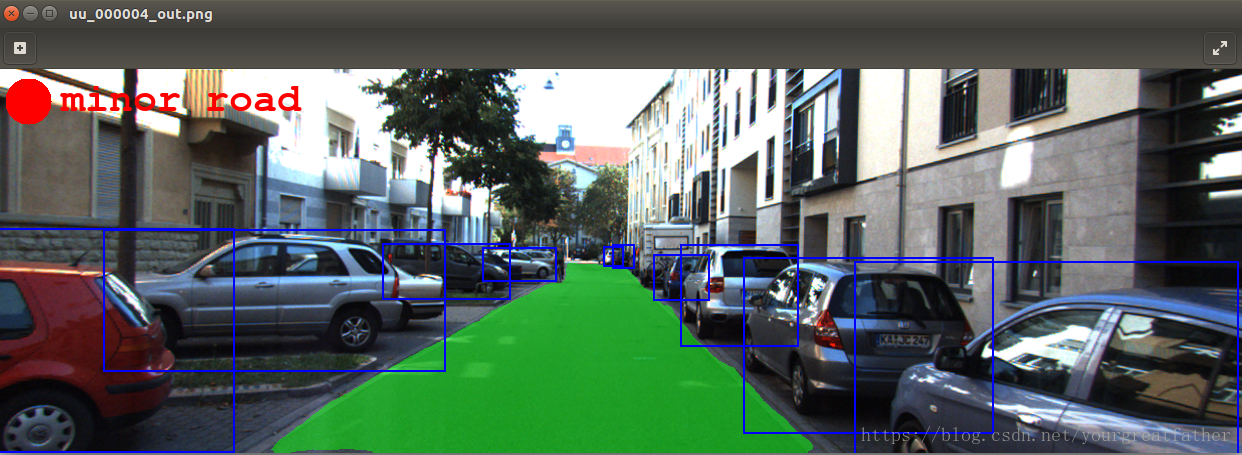
可以看到,语义分割识别出了道路(绿色),图像识别框选出了车辆,图像分类分类出了道路类型(左上角),作者说可以实现实时,README说FPS可以达到26+,很感兴趣,于是安装了一波,遇到些问题,现在把过程记录一下。
首先说安装环境要求Python 2.7和Tensorflow 1.0(亲测GPU加速的亦可):
- matplotlib
- numpy
- Pillow
- scipy
- runcython
- commentjson
源码:https://github.com/MarvinTeichmann/MultiNet
我是Ubuntu 16.04,所以直接clone就行:
git clone https://github.com/MarvinTeichmann/MultiNet.git完毕后进入MultiNet文件夹,初始化submodules
git submodule update --init --recursive值得一说的是,需要vgg16.npy文件放在/MulitNet/DATA文件夹以及/MulitNet/DATA/weights各一份。
还需要/MulitNet/RUNS文件夹放置MultiNet_ICCV模型(ZIP文件解压开),这个文件建议Windows下迅雷下载,需要资源的我也可以上传到我的网盘。
都配置好后,在MulitNet/执行
python demo.py --gpus 0 --input data/demo/um_000005.png结果保存在demo文件夹下。
如果使用Python3,会报错
      File "/home/kanghao/tensorflow_code/MultiNet/submodules/KittiBox/incl/utils/data_utils.py", line 11, in <module>
        import annolist.AnnotationLib as al
    ModuleNotFoundError: No module named 'annolist'