版权声明:禁止转载,版权所有 https://blog.csdn.net/weixin_40281464/article/details/80079576
1.百度搜索github,进入官网搜索okhttp,选取星号最多的文章
阅读文章,查找相关的依赖,在项目app/build.gradle中添加okhttp依赖:
apply plugin: 'com.android.application'

android {
    compileSdkVersion 26
    defaultConfig {
        applicationId "com.example.yls.demoa"
        minSdkVersion 15
        targetSdkVersion 26
        versionCode 1
        versionName "1.0"
        testInstrumentationRunner "android.support.test.runner.AndroidJUnitRunner"
    }
    buildTypes {
        release {
            minifyEnabled false
            proguardFiles getDefaultProguardFile('proguard-android.txt'), 'proguard-rules.pro'
        }
    }
}

dependencies {
    implementation fileTree(dir: 'libs', include: ['*.jar'])
    implementation 'com.android.support:appcompat-v7:26.0.0-beta1'
    implementation 'com.android.support.constraint:constraint-layout:1.0.2'
    testImplementation 'junit:junit:4.12'
    androidTestImplementation 'com.android.support.test:runner:0.5'
    androidTestImplementation 'com.android.support.test.espresso:espresso-core:2.2.2'
    implementation 'com.squareup.okhttp3:okhttp:3.10.0'
}
2.画出主布局
<?xml version="1.0" encoding="utf-8"?>
<LinearLayout xmlns:android="http://schemas.android.com/apk/res/android"
    xmlns:app="http://schemas.android.com/apk/res-auto"
    xmlns:tools="http://schemas.android.com/tools"
    android:layout_width="match_parent"
    android:orientation="vertical"
    android:layout_height="match_parent"
    tools:context="com.example.yls.demoa.MainActivity">

    <Button
        android:id="@+id/btn_start"
        android:text="点击"
        android:layout_width="wrap_content"
        android:layout_height="wrap_content" />
    <TextView
        android:id="@+id/tv_result"
        android:layout_width="wrap_content"
        android:layout_height="wrap_content"
        android:text="Hello World!" />

</LinearLayout>
3.将布局中的控件在MainActivity中初始化并绑定其id:
    private Button button;
    private TextView textView;
    private Handler handler;

    @Override
    protected void onCreate(Bundle savedInstanceState) {
        super.onCreate(savedInstanceState);
        setContentView(R.layout.activity_main);

        initViews();

        button.setOnClickListener(new View.OnClickListener() {
            @Override
            public void onClick(View view) {
                getWebUseOKhttp();

            }
        });
private void initViews() {
button = findViewById(R.id.btn_start);
textView = findViewById(R.id.tv_result);
handler = new Handler(new Handler.Callback() {
@Override
public boolean handleMessage(Message message) {
}
});开始写入主方法:
private void getWebUseOKhttp() {
        OkHttpClient okHttpClient = new OkHttpClient();
        String url = "http://www.baidu.com";
        Request request = new Request.Builder().url(url).build();
        Call call = okHttpClient.newCall(request);
        call.enqueue(new Callback() {
            @Override
            public void onFailure(Call call, IOException e) {
                Log.e("Mainactivity", e.toString());
            }

            @Override
            public void onResponse(Call call, Response response) throws IOException {
                Message message = new Message();
                message.what = GET_MSG;
                message.obj = response.body().string();
                handler.sendMessage(message);
            }
        });
    }
在AndroidMainfest中添加网络权限:
<?xml version="1.0" encoding="utf-8"?>
<manifest xmlns:android="http://schemas.android.com/apk/res/android"
    package="com.example.yls.demoa">

    <application
        android:allowBackup="true"
        android:icon="@mipmap/ic_launcher"
        android:label="@string/app_name"
        android:roundIcon="@mipmap/ic_launcher_round"
        android:supportsRtl="true"
        android:theme="@style/AppTheme">
        <activity android:name=".MainActivity">
            <intent-filter>
                <action android:name="android.intent.action.MAIN" />

                <category android:name="android.intent.category.LAUNCHER" />
            </intent-filter>
        </activity>
    </application>
    <uses-permission android:name="android.permission.INTERNET"/>
</manifest>
打开模拟器,运行软件:
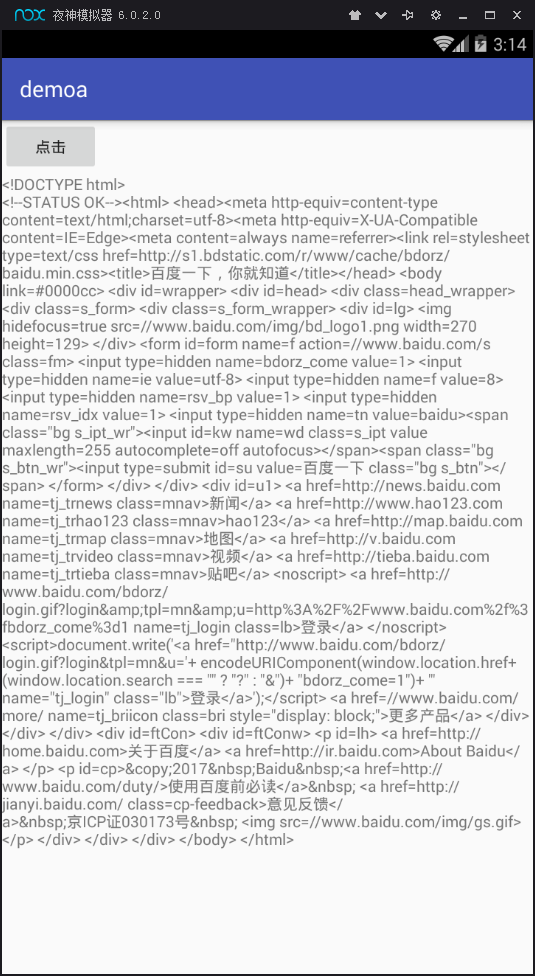
这样软件就成功的读取了百度网站的信息,接下来我们运用post方法来继续运行程序
方法大同小异,只需要修改一下前面的方法体,来做一个手机号码归属地查询的方法
4.在百度中搜索webxml
点击第一个网站,点击手机号码归属地查询,获取其网络地址
String url = "http://ws.webxml.com.cn/WebServices/MobileCodeWS.asmx/getMobileCodeInfo";
重新编写方法体:
private void getWebUseOKhttpPost() {
        String url = "http://ws.webxml.com.cn/WebServices/MobileCodeWS.asmx/getMobileCodeInfo";
        OkHttpClient okHttpClient = new OkHttpClient();
        RequestBody requestBody = new FormBody.Builder().add("MobileCode","13687654321")
                .add("userID","").build();
        Request request = new Request.Builder().url(url).post(requestBody).build();
        Call call = okHttpClient.newCall(request);
        call.enqueue(new Callback() {
            @Override
            public void onFailure(Call call, IOException e) {
                Log.e("Mainactivity", e.toString());
            }

            @Override
            public void onResponse(Call call, Response response) throws IOException {
                Message message = new Message();
                message.what = GET_MSG;
                message.obj = response.body().string();
                handler.sendMessage(message);
            }
        });
}方法,在这个方法中通过add()方法添加数据,然后在Request.Builder()中添加post()方法
接下来运行一下程序:
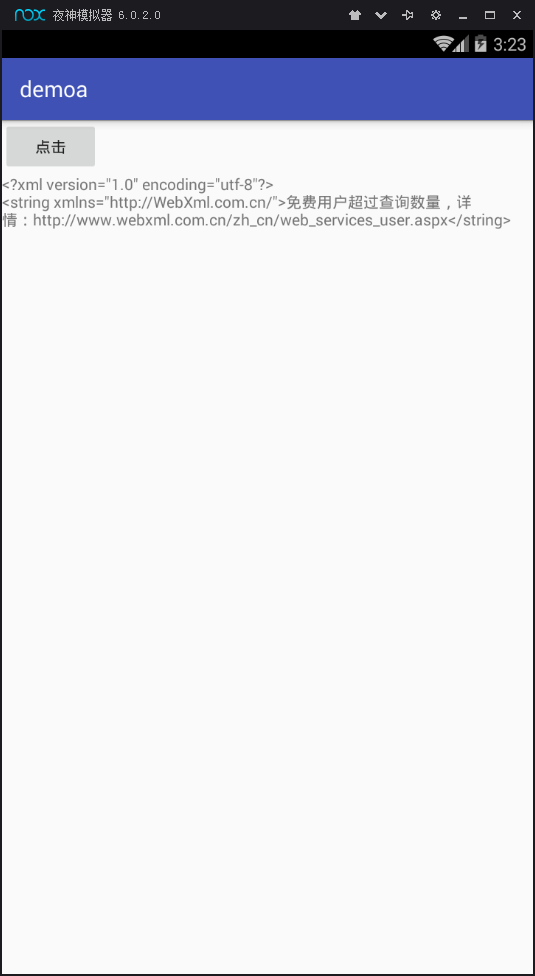
根据图片可以看出已经获得数据,但应网站的收费问题显示免费查询次数不足,但是问题不大。
本次易出现的问题还是关于网络权限的问题,这些大多请求网站类的软件都是需要在AndroidManifest中
添加网络权限:<uses-permission android:name="android.permission.INTERNET"/>
好的本次博客就先到这里,这是我上课时所撰写的,如有不足,下次更新补上。
加油,认真学习的时间总是过的飞快!!!!!!!!!!!!!!!