安装webpack-dev-server
(webpack版本3.6.0,webpack-dev-server版本2.11.3)注意版本兼容问题,不然会有N多错误。
1 npm i [email protected] -D //安装到本地依赖
webpack-dev-server 类似于 node 中的nodemon工具。
在package.json中配置dev --> webpack-dev-server即可使用 npm run dev来运行webpack-dev-server
{
  "name": "webpackStudy",
  "version": "1.0.0",
  "description": "",
  "main": "index.js",
  "scripts": {
    "test": "echo \"Error: no test specified\" && exit 1",
    "dev": "webpack-dev-server"
  },
  "keywords": [],
  "author": "",
  "license": "ISC",
  "dependencies": {
    "jquery": "^3.3.1"
  },
  "devDependencies": {
    "webpack": "^3.12.0",
    "webpack-cli": "^3.2.1",
    "webpack-dev-server": "^2.11.3"
  }
}
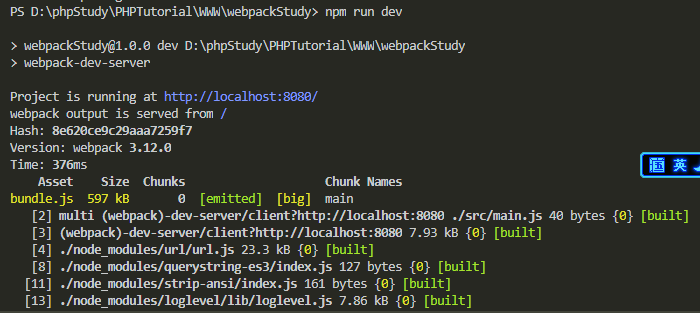
如图,成功运行。
然后把index.html中的bundle路径改为根路径。/bundle.js
(webpack-dev-server帮我们打包生成的bundle.js文件并没有存放到物理磁盘上,只是放在内存中,当项目调试完后手动运行webpack打包一次就可以了)
webpack-dev-server配置命令
修改配置文件,使webpack-dev-server运行后自动打开默认浏览器
修改package.json中 ---> "dev": "webpack-dev-server --open --port 3000 --contentBase src --hot" //open打开浏览器,port设置端口,contentBase设置打开后的根路径, hot每次更新代码不会重新生成bundle.js而是类似补丁的方式更新修改部分代码,并且在浏览器可以实现无刷新重载
配置命令第二种方式:
package.json (使用配置文件)
{
  "name": "webpackStudy",
  "version": "1.0.0",
  "description": "",
  "main": "index.js",
  "scripts": {
    "test": "echo \"Error: no test specified\" && exit 1",
    "dev2": "webpack-dev-server --open --port 3000 --contentBase src",
    "dev": "webpack-dev-server"
  },
  "keywords": [],
  "author": "",
  "license": "ISC",
  "dependencies": {
    "jquery": "^3.3.1"
  },
  "devDependencies": {
    "webpack": "^3.12.0",
    "webpack-cli": "^3.2.1",
    "webpack-dev-server": "^2.11.3"
  }
}
webpack.config.js
const path = require('path');
//启用热更新的第二步
const webpack = require('webpack');

module.exports = {
    entry: path.join(__dirname, './src/main.js'),
    output: {
        path: path.join(__dirname, './dist'),
        filename: 'bundle.js'
    },
    devServer: { //这是配置webpack-dev-server命令参数的第二种形式
        open: true, //自动打开浏览器
        port: 3000, //设置端口
        contentBase: 'src', //指定托管的根目录
        hot: true //启用热更新的第一步
    },
    plugins: [ //配置插件的节点
        //启用热更新第三步
        new webpack.HotModuleReplacementPlugin() //new一个热更新的模块对象
    ]
}