1. 明确开发环境
Spring Tool Suite
Version: 3.9.2.RELEASE
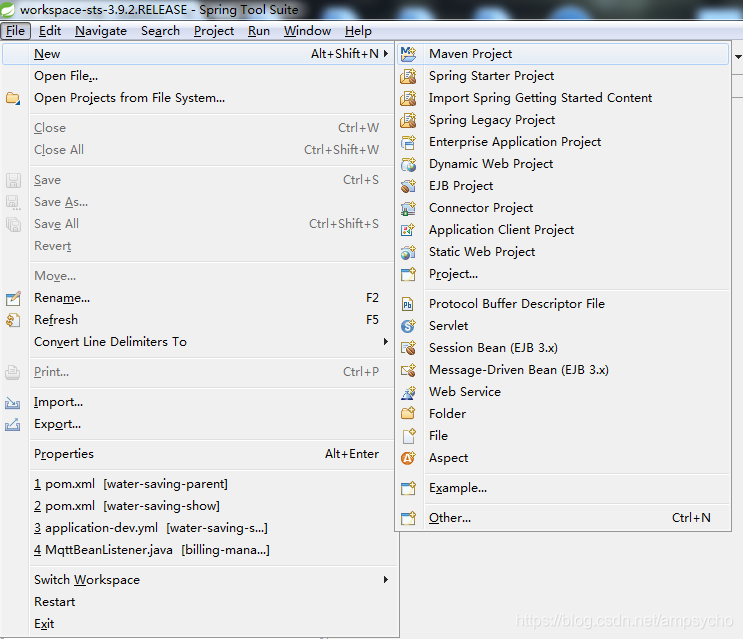
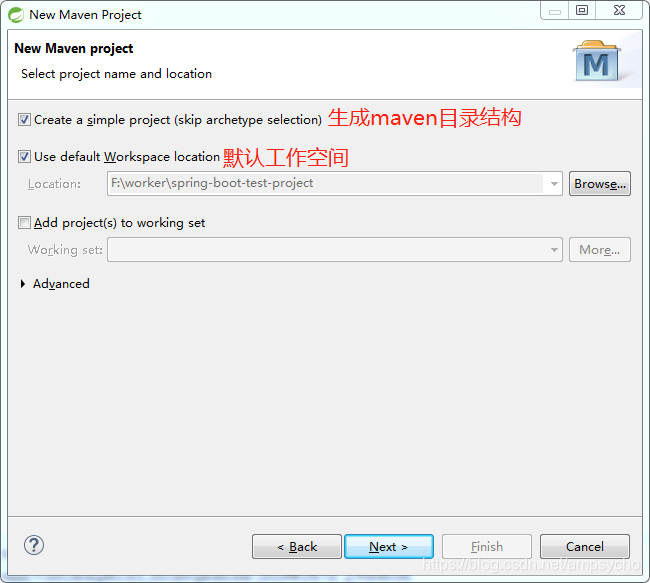
2. 创建Maven项目
File–>New–>Maven Project
3.配置pom.xml文件
在pom.xml文件中进行以下修改:
<project xmlns="http://maven.apache.org/POM/4.0.0" xmlns:xsi="http://www.w3.org/2001/XMLSchema-instance" xsi:schemaLocation="http://maven.apache.org/POM/4.0.0 http://maven.apache.org/xsd/maven-4.0.0.xsd">
<modelVersion>4.0.0</modelVersion>
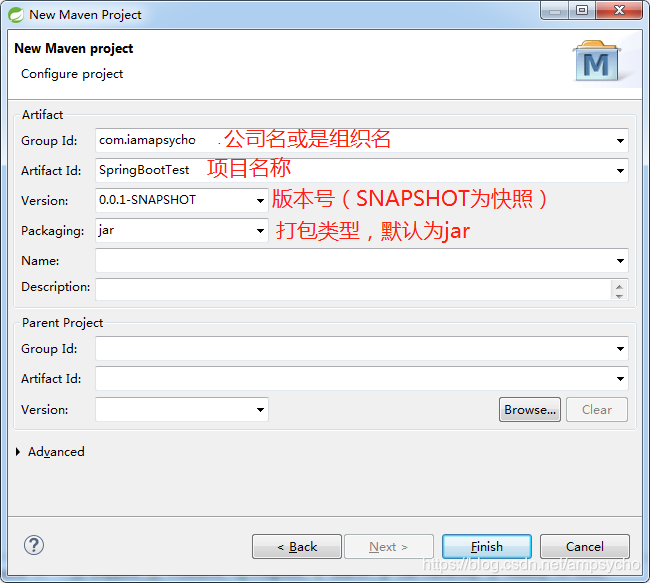
<groupId>com.iamapsycho</groupId>
<artifactId>SpringBootTest</artifactId>
<version>0.0.1-SNAPSHOT</version>
<packaging>jar</packaging>
<name>billingBootTest-iamapsycho</name>
<description>Demo project for Spring Boot</description>
<!--
spring-boot-starter-parent是Spring Boot的核心启动器,
包含了自动配置、日志和YAML等大量默认的配置,大大简化了我们的开发。
引入之后相关的starter引入就不需要添加version配置,
spring boot会自动选择最合适的版本进行添加。
-->
<parent>
<groupId>org.springframework.boot</groupId>
<artifactId>spring-boot-starter-parent</artifactId>
<version>1.5.9.RELEASE</version>
</parent>
<dependencies>
<!-- spring-boot-starter-web包含了Spring Boot预定义的一些Web开发的常用依赖包
如: spring-webmvc,Tomcat.... -->
<dependency>
<groupId>org.springframework.boot</groupId>
<artifactId>spring-boot-starter-web</artifactId>
</dependency>
<dependency>
<groupId>junit</groupId>
<artifactId>junit</artifactId>
<version>3.8.1</version>
<scope>test</scope>
</dependency>
</dependencies>
<properties>
<java.version>1.8</java.version>
</properties>
<build>
<plugins>
<plugin>
<groupId>org.springframework.boot</groupId>
<artifactId>spring-boot-maven-plugin</artifactId>
</plugin>
</plugins>
</build>
</project>
4.创建 Application.java 启动类
在src/main/java下 创建包com.iamapsycho,并在包内创建Application.java
package com.iamapsycho;
import org.springframework.boot.SpringApplication;
import org.springframework.boot.autoconfigure.SpringBootApplication;

@SpringBootApplication
public class Application {
    public static void main(String[] args) {
        SpringApplication.run(Application.class, args);
    }
}
5.创建HelloWorld的Controller类
在src/main/java下 创建包com.iamapsycho.controller,并在包内创建HelloWorldController.java
package com.iamapsycho.controller;
import org.springframework.stereotype.Controller;
import org.springframework.web.bind.annotation.RequestMapping;
import org.springframework.web.bind.annotation.ResponseBody;
@Controller
public class HelloWorldController {
@ResponseBody
@RequestMapping("/helloworld")
public String helloWorld(){
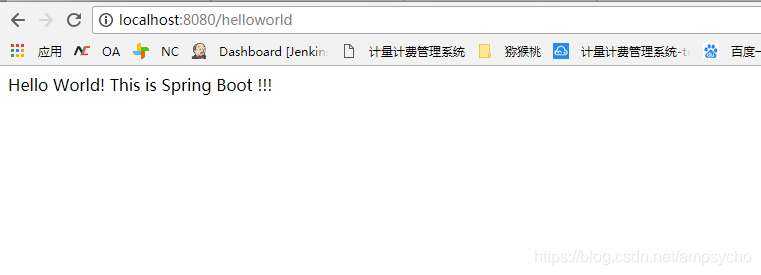
return "Hello World! This is Spring Boot !!!";
}
}
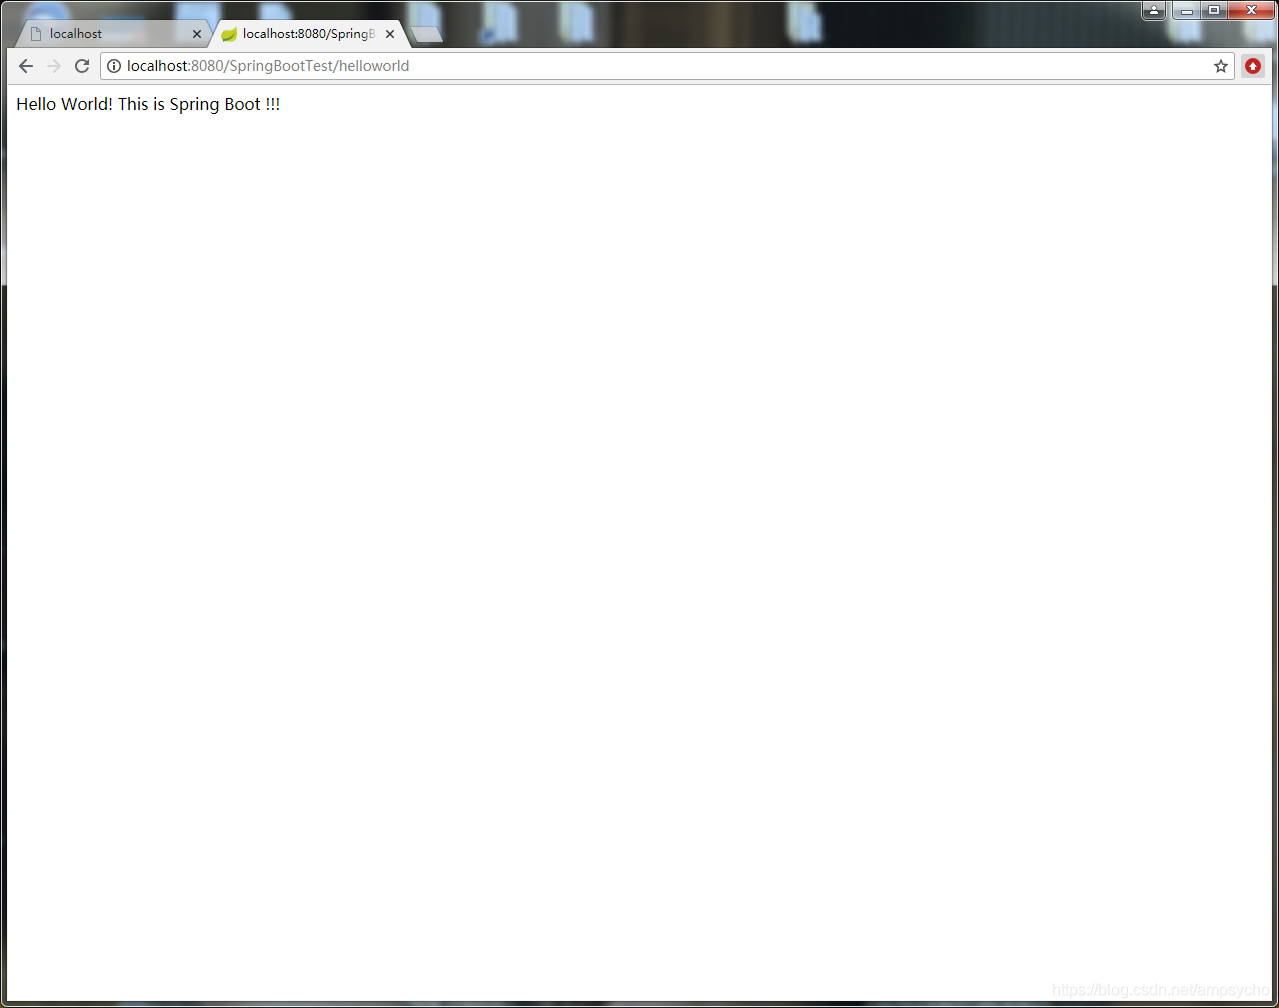
6.运行并测试
接下来就运行Application.java,然后访问地址:
http://localhost:8080/helloworld
7.添加项目SpringBoot yml 配置 - 项目名称
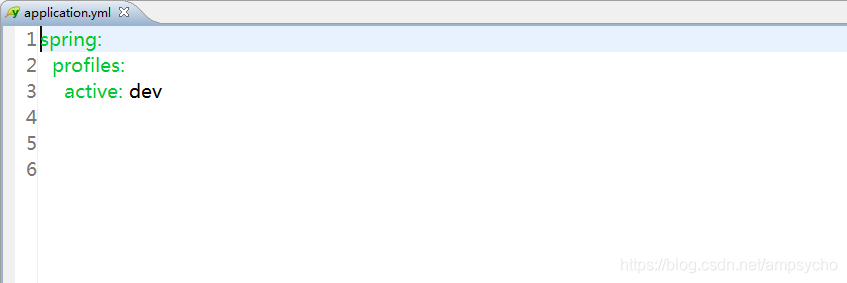
当需要在spring boot 项目中定义一些变量,设置参数时候,可以在application.yml中进行设置
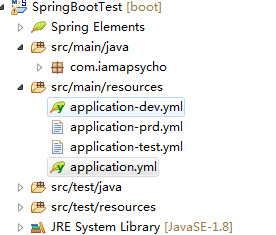
application.yml 当前活跃的为dev(开发环境)
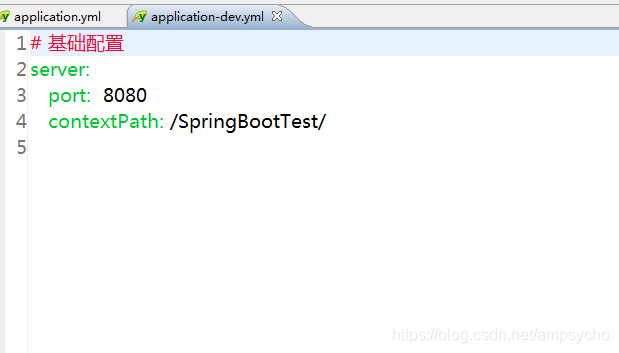
现在访问 http://localhost:8080/helloworld 将会报错,

应加上项目名称
http://localhost:8080/SpringBootTest/helloworld