前提条件:
Eclipse已安装好STS插件,如果没有安装,请参考我的另一篇博客:07 Eclipse Jee Oxygen安装STS插件进行Spring Boot开发
博客正文:
1、 打开Eclipse进入菜单File->New->Other打开新建工程向导对话框,选择Spring Starter Project,如下图:
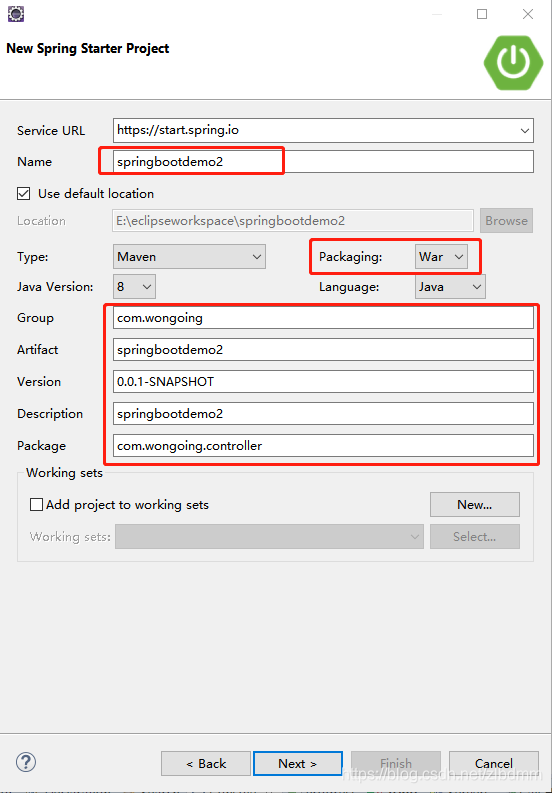
2、 点击“Next”按钮出现下图,输入Packaging选择war,其他参数根据自己的情况进行设置,此处项目名称为springbootdemo2,默认控制器包名为com.wongoing.controller。
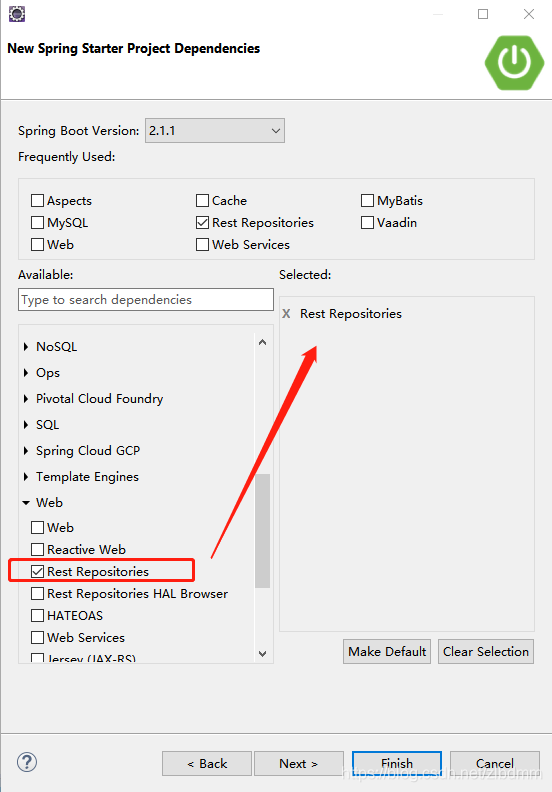
3、 设置工程参数完毕后,点击“Next”按钮,出现下图依赖库选择:选中Web大类下的Rest Repositories。
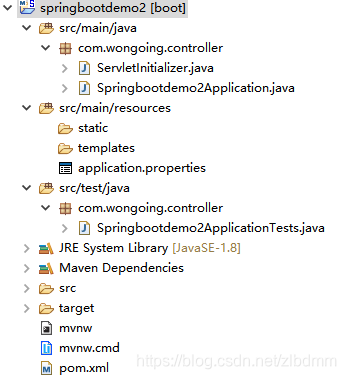
4、 点击“Finish”按钮,工程创建完毕,初始工程结构下图:
5、 初始pom.xml文件内容如下:
<?xml version="1.0" encoding="UTF-8"?>
<project xmlns="http://maven.apache.org/POM/4.0.0" xmlns:xsi="http://www.w3.org/2001/XMLSchema-instance"
	xsi:schemaLocation="http://maven.apache.org/POM/4.0.0 http://maven.apache.org/xsd/maven-4.0.0.xsd">
	<modelVersion>4.0.0</modelVersion>
	<parent>
		<groupId>org.springframework.boot</groupId>
		<artifactId>spring-boot-starter-parent</artifactId>
		<version>2.1.1.RELEASE</version>
		<relativePath/> <!-- lookup parent from repository -->
	</parent>
	<groupId>com.wongoing</groupId>
	<artifactId>springbootdemo2</artifactId>
	<version>0.0.1-SNAPSHOT</version>
	<packaging>war</packaging>
	<name>springbootdemo2</name>
	<description>springbootdemo2</description>

	<properties>
		<java.version>1.8</java.version>
	</properties>

	<dependencies>
		<dependency>
			<groupId>org.springframework.boot</groupId>
			<artifactId>spring-boot-starter-data-rest</artifactId>
		</dependency>
		<dependency>
			<groupId>org.springframework.boot</groupId>
			<artifactId>spring-boot-starter-web</artifactId>
		</dependency>

		<dependency>
			<groupId>org.springframework.boot</groupId>
			<artifactId>spring-boot-starter-tomcat</artifactId>
			<scope>provided</scope>
		</dependency>
		<dependency>
			<groupId>org.springframework.boot</groupId>
			<artifactId>spring-boot-starter-test</artifactId>
			<scope>test</scope>
		</dependency>
	</dependencies>

	<build>
		<plugins>
			<plugin>
				<groupId>org.springframework.boot</groupId>
				<artifactId>spring-boot-maven-plugin</artifactId>
			</plugin>
		</plugins>
	</build>

</project>
6、 初始ServletInitializer.java文件内容如下:
package com.wongoing.controller;

import org.springframework.boot.builder.SpringApplicationBuilder;
import org.springframework.boot.web.servlet.support.SpringBootServletInitializer;

public class ServletInitializer extends SpringBootServletInitializer {

	@Override
	protected SpringApplicationBuilder configure(SpringApplicationBuilder application) {
		return application.sources(Springbootdemo2Application.class);
	}
}
7、 初始Springbootdemo2Application.java文件内容如下:
package com.wongoing.controller;

import org.springframework.boot.SpringApplication;
import org.springframework.boot.autoconfigure.SpringBootApplication;

@SpringBootApplication
public class Springbootdemo2Application {

	public static void main(String[] args) {
		SpringApplication.run(Springbootdemo2Application.class, args);
	}

}
8、 新建2个控制器包名com.wongoing.sys.action、com.wongoing.bus.action
9、 在2个控制器包中分别创建2个控制器类:
com.wongoing.sys.action.SysIndexAction.java
package com.wongoing.sys.action;

import org.springframework.web.bind.annotation.RequestMapping;
import org.springframework.web.bind.annotation.RestController;

/**
 * 功能说明:系统入口
 * 修改说明:
 * @author zhenglibing
 * @date 2018年12月13日 下午4:06:21
 * @version 0.1
 */
@RestController
@RequestMapping("/sys")
public class SysIndexAction {

	@RequestMapping("/index")
	public String index() {
		return "This is system index page!";
	}

}
com.wongoing.bus.action.BusIndexAction.java
package com.wongoing.bus.action;

import org.springframework.web.bind.annotation.RequestMapping;
import org.springframework.web.bind.annotation.RestController;

/**
 * 功能说明:业务入口
 * 修改说明:
 * @author zhenglibing
 * @date 2018年12月13日 下午4:08:43
 * @version 0.1
 */
@RestController
@RequestMapping("/bus")
public class BusIndexAction {

	@RequestMapping("/index")
	public String Index() {
		return "This is business index page!";
	}

}
10、让springboot扫描到自定义的控制器包中的类,修改Springbootdemo2Application类,在类前增加@ComponentScan(basePackages = {“com.wongoing.sys.action”, “com.wongoing.bus.action”})注解
代码如下:
package com.wongoing.controller;

import org.springframework.boot.SpringApplication;
import org.springframework.boot.autoconfigure.SpringBootApplication;
import org.springframework.context.annotation.ComponentScan;

@SpringBootApplication
@ComponentScan(basePackages = {"com.wongoing.sys.action", "com.wongoing.bus.action"})
public class Springbootdemo2Application {

	public static void main(String[] args) {
		SpringApplication.run(Springbootdemo2Application.class, args);
	}

}
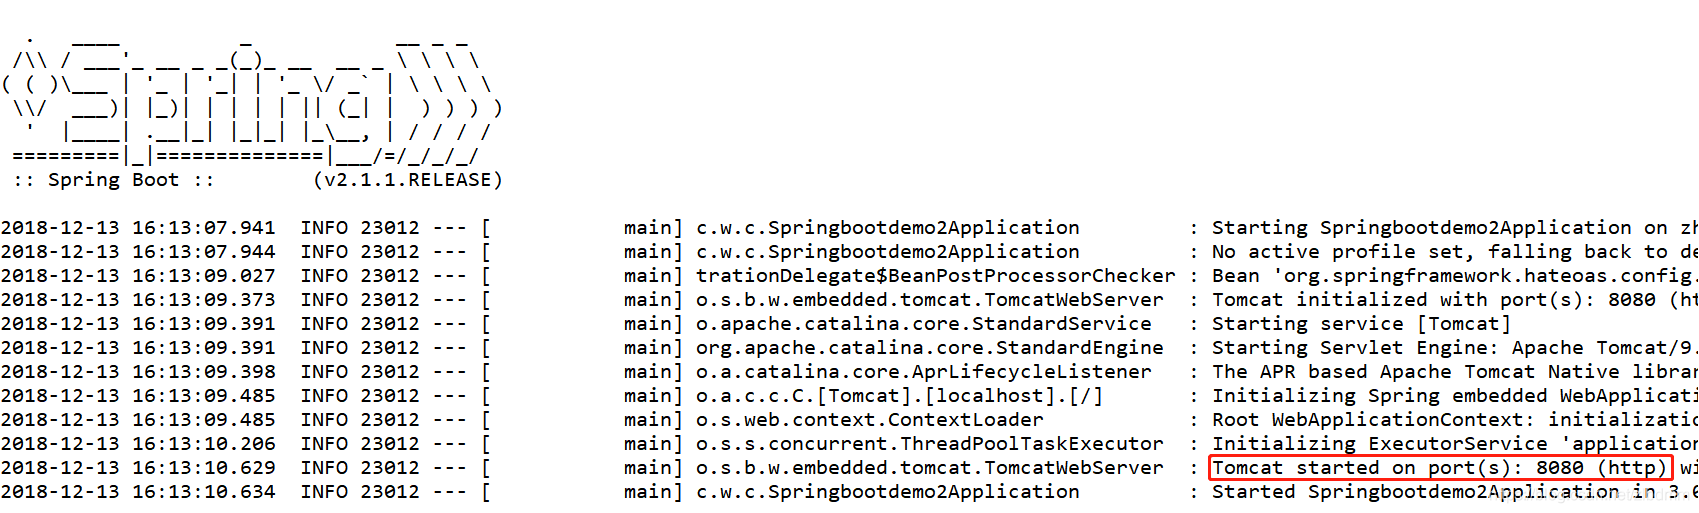
11、鼠标右键点击工程,在弹出菜单中选择Run As ->Spring Boot App,在控制台出现以下内容,表示启动完毕:
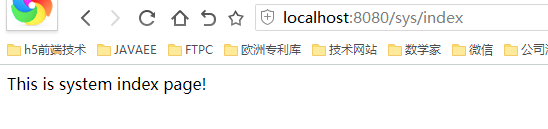
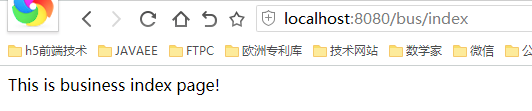
12、打开浏览器,在地址栏分别输入http://localhost:8080/sys/index、
http://localhost:8080/bus/index,运行效果如下,说明运行成功。
13、创建一个包com.wongoing.sys.entity,在此包下创建一个实体类User.java,并在pom.xml中增加lombok依赖,使用lombok的@Data注解简化实体类的getter/setter,代码如下:
pom.xml增加以下依赖

<dependency>
    <groupId>org.projectlombok</groupId>
    <artifactId>lombok</artifactId>
    <scope>provided</scope>
</dependency>
com.wongoing.sys.entity.User
package com.wongoing.sys.entity;

import java.io.Serializable;
import java.math.BigDecimal;

import lombok.Data;

/**
 * 功能说明:用户实体类
 * 修改说明:
 * @author zhenglibing
 * @date 2018年12月11日 下午2:01:30
 * @version 0.1
 */
@Data
public class User implements Serializable {
	private int id;
	private String userName;
	private String password;
	private String name;
	private BigDecimal score;
}
14、增加一个业务包com.wongoing.bus.service,并增加一个业务类UserService.java,代码如下:
com.wongoing.bus.service.UserService.java
package com.wongoing.sys.service;

import java.math.BigDecimal;
import java.util.ArrayList;
import java.util.List;

import org.springframework.stereotype.Service;

import com.wongoing.sys.entity.User;

@Service("userService")
public class UserService {

	/**
	 * 功能说明:获取所有用户信息
	 * 修改说明:
	 * @author zhenglibing
	 * @date 2018年12月11日 下午2:01:11
	 * @return
	 */
	public List<User> getAll() {
		List<User> userList = new ArrayList<User>();

		User tom = new User();
		tom.setId(1);
		tom.setUserName("tom");
		tom.setPassword("123456");
		tom.setName("汤姆");
		tom.setScore(new BigDecimal(88));
		userList.add(tom);

		User berry = new User();
		berry.setId(2);
		berry.setUserName("berry");
		berry.setPassword("0123");
		berry.setName("贝利");
		berry.setScore(new BigDecimal(99));
		userList.add(berry);

		User marry = new User();
		marry.setId(3);
		marry.setUserName("marry");
		marry.setPassword("567");
		marry.setName("玛丽");
		marry.setScore(new BigDecimal(100));
		userList.add(marry);

		return userList;
	}

}
15、让springboot扫描到自定义的业务包中的类,修改Springbootdemo2Application类,把@ComponentScan的basePackages修改为@ComponentScan(basePackages = {“com.wongoing.sys.service”,“com.wongoing.sys.action”, “com.wongoing.bus.action”})注解
代码如下:
package com.wongoing.controller;

import org.springframework.boot.SpringApplication;
import org.springframework.boot.autoconfigure.SpringBootApplication;
import org.springframework.context.annotation.ComponentScan;

@SpringBootApplication
@ComponentScan(basePackages = {"com.wongoing.sys.service", "com.wongoing.sys.action", "com.wongoing.bus.action"})
public class Springbootdemo2Application {

	public static void main(String[] args) {
		SpringApplication.run(Springbootdemo2Application.class, args);
	}

}
16、在com.wongoing.sys.action包下增加一个控制器类UserAction.java,代码如下:
com.wongoing.sys.action.UserAction.java
package com.wongoing.sys.action;

import java.util.List;

import org.springframework.beans.factory.annotation.Autowired;
import org.springframework.web.bind.annotation.RequestMapping;
import org.springframework.web.bind.annotation.RestController;

import com.wongoing.sys.entity.User;
import com.wongoing.sys.service.UserService;

import lombok.Setter;

/**
 * 功能说明:用户控制器类
 * 修改说明:
 * @author zhenglibing
 * @date 2018年12月14日 上午8:48:45
 * @version 0.1
 */
@RestController
@RequestMapping("/sys/user")
public class UserAction {

	@Autowired
	@Setter
	private UserService service;

	@RequestMapping("/getAll")
	public List<User> getAll() {
		return this.service.getAll();
	}

}
17、重新启动项目,右键点击项目在弹出菜单中选择Run As -> Spring Boot App,启动成功,控制台如下图:

18、打开浏览器,在地址栏输入:http://localhost:8080/sys/user/getAll,出现下图,则说明成功。

至此一个SpringBoot 的Restfull项目结构就已正确搭建。