1.展示客户列表
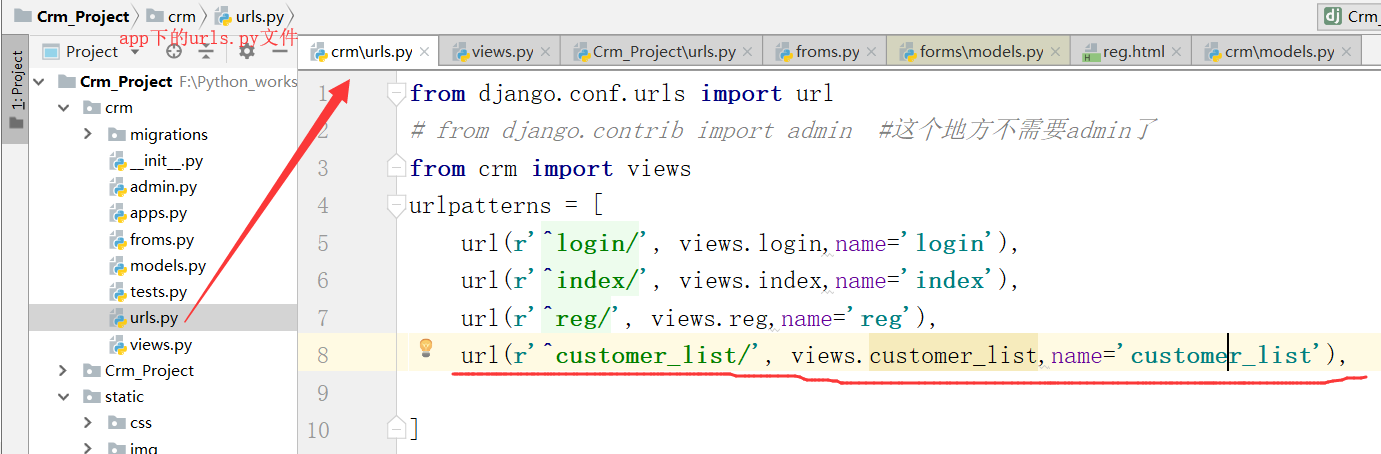
点击画红线中的views,进入下列界面

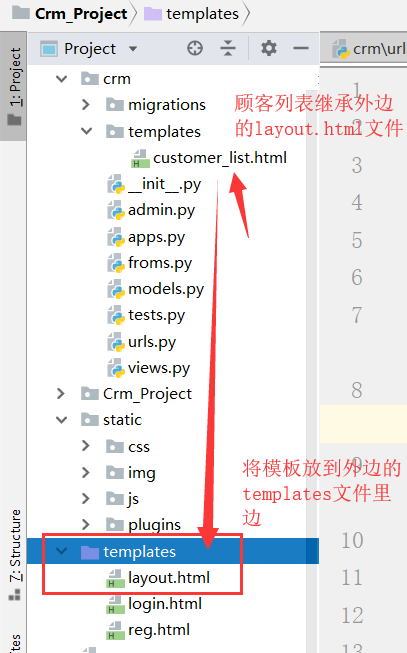
路径的查找顺序:应该是先查找外层的templates里边的html,然后查找app里边的templates
另一个会按照app的顺序进行寻找,在一开始的settings.py里边的配置文件
模板:


{% load static %}
<!DOCTYPE html>
<html lang="en">
<head>
    <meta charset="UTF-8">
    <title>路飞学城</title>
    <link rel="shortcut icon" href="{% static 'imgs/luffy-study-logo.png' %} ">
    <link rel="stylesheet" href="{% static 'plugins/bootstrap/css/bootstrap.css' %} "/>
    <link rel="stylesheet" href="{% static 'plugins/font-awesome/css/font-awesome.css' %} "/>
    <link rel="stylesheet" href="{% static 'css/commons.css' %} "/>
    <link rel="stylesheet" href="{% static 'css/nav.css' %} "/>
    <style>
        body {
            margin: 0;
        }

        .no-radius {
            border-radius: 0;
        }

        .no-margin {
            margin: 0;
        }

        .pg-body > .left-menu {
            background-color: #EAEDF1;
            position: absolute;
            left: 1px;
            top: 48px;
            bottom: 0;
            width: 220px;
            border: 1px solid #EAEDF1;
            overflow: auto;
        }

        .pg-body > .right-body {
            position: absolute;
            left: 225px;
            right: 0;
            top: 48px;
            bottom: 0;
            overflow: scroll;
            border: 1px solid #ddd;
            border-top: 0;
            font-size: 13px;
            min-width: 755px;
        }

        .navbar-right {
            float: right !important;
            margin-right: -15px;
        }

        .luffy-container {
            padding: 15px;
        }

        .left-menu .menu-body .static-menu {

        }

        .left-menu .menu-body .static-menu .icon-wrap {
            width: 20px;
            display: inline-block;
            text-align: center;
        }

        .left-menu .menu-body .static-menu a {
            text-decoration: none;
            padding: 8px 15px;
            border-bottom: 1px solid #ccc;
            color: #333;
            display: block;
            background: #efefef;
            background: -webkit-gradient(linear, left bottom, left top, color-stop(0, #efefef), color-stop(1, #fafafa));
            background: -ms-linear-gradient(bottom, #efefef, #fafafa);
            background: -o-linear-gradient(bottom, #efefef, #fafafa);
            filter: progid:dximagetransform.microsoft.gradient(startColorStr='#e3e3e3', EndColorStr='#ffffff');
            -ms-filter: "progid:DXImageTransform.Microsoft.gradient(startColorStr='#fafafa',EndColorStr='#efefef')";
            box-shadow: inset 0 1px 1px white;
        }

        .left-menu .menu-body .static-menu a:hover {
            color: #2F72AB;
            border-left: 2px solid #2F72AB;
        }

        .left-menu .menu-body .static-menu a.active {
            color: #2F72AB;
            border-left: 2px solid #2F72AB;
        }
    </style>
    {% block css %} {% endblock %}
</head>
<body>

<div class="pg-header">
    <div class="nav">
        <div class="logo-area left">
            <a href="#">
                <img class="logo" src="{% static 'imgs/logo.svg' %}">
                <span style="font-size: 18px;">路飞学城 </span>
            </a>
        </div>

        <div class="left-menu left">
            <a class="menu-item">资产管理</a>
            <a class="menu-item">用户信息</a>
            <a class="menu-item">路飞管理</a>
            <div class="menu-item">
                <span>使用说明</span>
                <i class="fa fa-caret-down" aria-hidden="true"></i>
                <div class="more-info">
                    <a href="#" class="more-item">管他什么菜单</a>
                    <a href="#" class="more-item">实在是编不了</a>
                </div>
            </div>
        </div>

        <div class="right-menu right clearfix">

            <div class="user-info right">
                <a href="#" class="avatar">
                    <img class="img-circle" src="{% static 'imgs/default.png' %}">
                </a>

                <div class="more-info">
                    <a href="#" class="more-item">个人信息</a>
                    <a href="#" class="more-item">注销</a>
                </div>
            </div>

            <a class="user-menu right">
                消息
                <i class="fa fa-commenting-o" aria-hidden="true"></i>
                <span class="badge bg-success">2</span>
            </a>

            <a class="user-menu right">
                通知
                <i class="fa fa-envelope-o" aria-hidden="true"></i>
                <span class="badge bg-success">2</span>
            </a>

            <a class="user-menu right">
                任务
                <i class="fa fa-bell-o" aria-hidden="true"></i>
                <span class="badge bg-danger">4</span>
            </a>
        </div>

    </div>
</div>
<div class="pg-body">
    <div class="left-menu">
        <div class="menu-body">
            <div class="static-menu">
                <a href="/crm/depart/list/"><span class="icon-wrap"><i class="fa fa-map-o" aria-hidden="true"></i></span> 部门管理</a>
                <a href="/crm/user/list/"><span class="icon-wrap"><i class="fa fa-map-o" aria-hidden="true"></i></span> 用户管理</a>
            </div>
        </div>
    </div>
    <div class="right-body">
        <div>
            <ol class="breadcrumb no-radius no-margin" style="border-bottom: 1px solid #ddd;">

                <li><a href="#">首页</a></li>
                <li class="active">客户管理</li>

            </ol>
        </div>
        {% block content %} {% endblock %}
    </div>
</div>


<script src="{% static 'js/jquery-3.3.1.min.js' %} "></script>
<script src="{% static 'plugins/bootstrap/js/bootstrap.js' %} "></script>
{% block js %} {% endblock %}
</body>
</html>
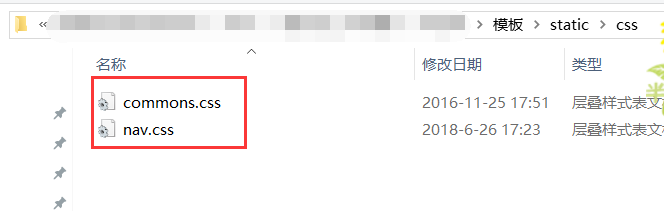
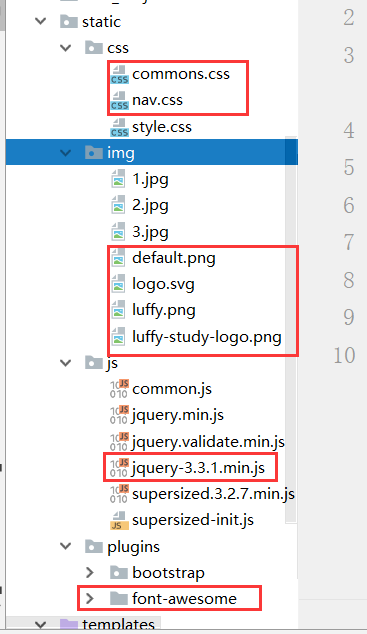
将这两个css样式放到静态文件下的css样式里边
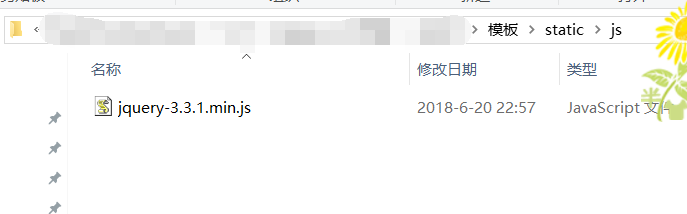
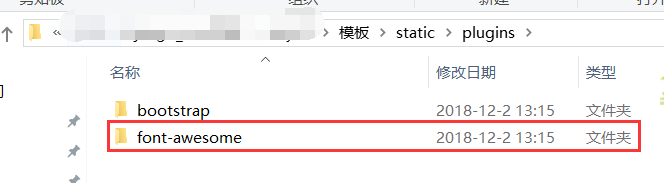
插件放到项目的对应位置
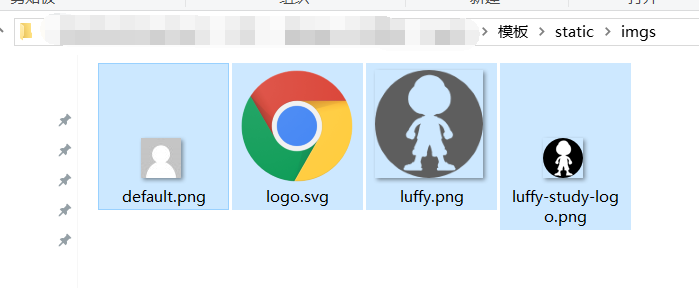
将图片放到对应的位置
具体放入的位置如下图:
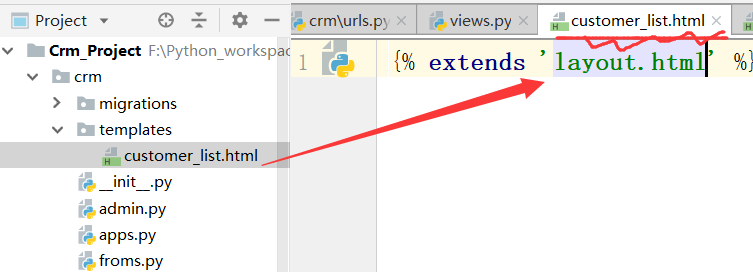
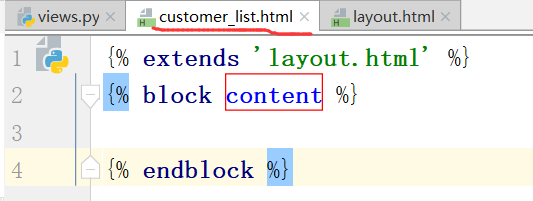
app也就是crm中的模板templates创建的customer_list.html需要继承layout.html文件,如下所示:


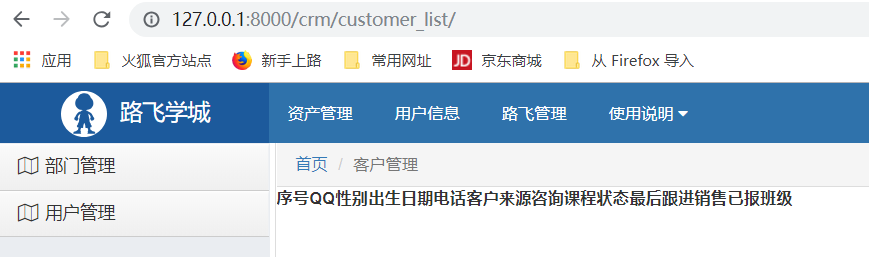
运行项目,得到如下结果:

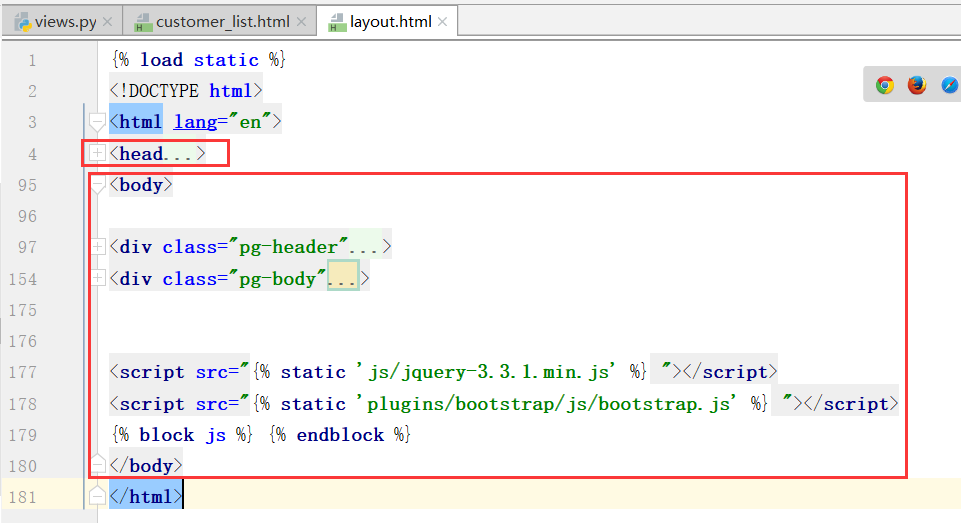
上边是布局的整体结构内容
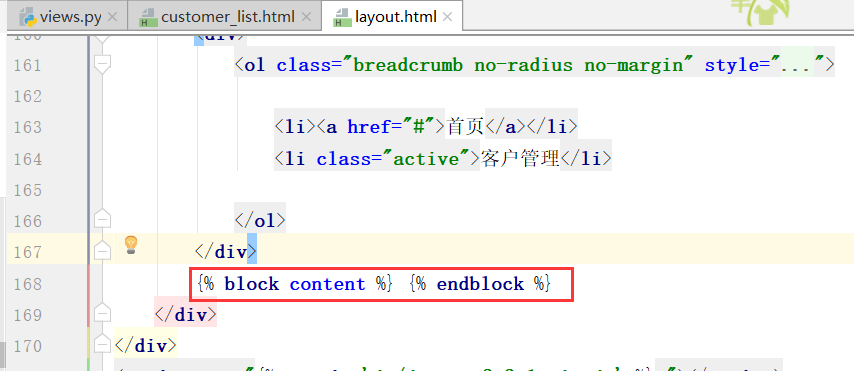
块级钩子

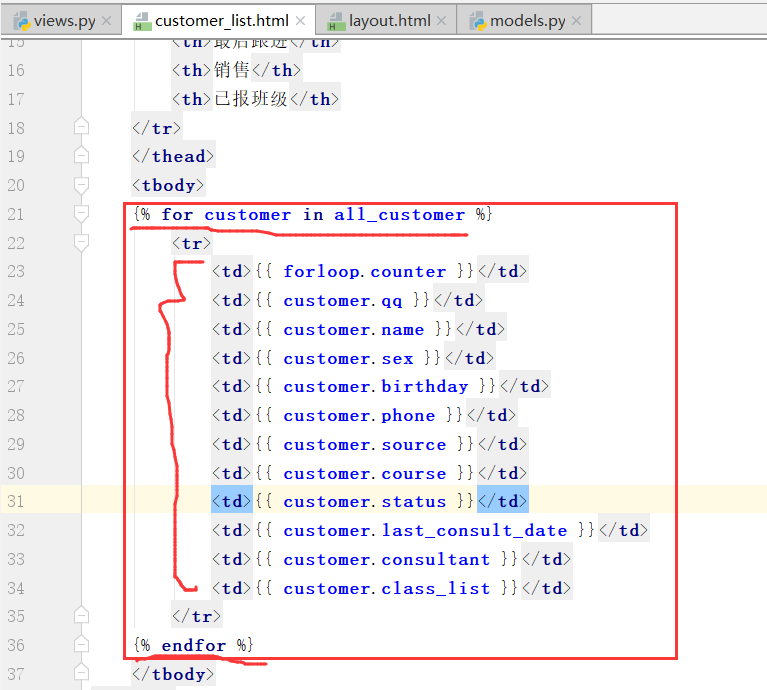
找到表结构中的内容进行对应


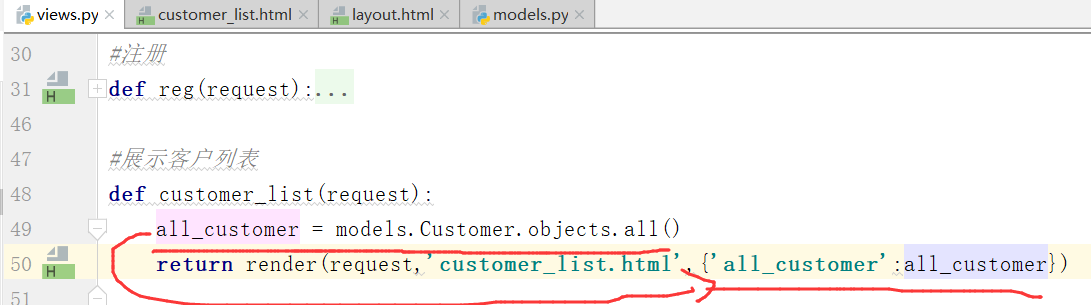
先查询出所有信息
运行:
下面我们学习创建超级用户
创建超级用户,用户名root,邮箱可以不填写,密码至少是8位不能是纯数字,也不能全部是字母
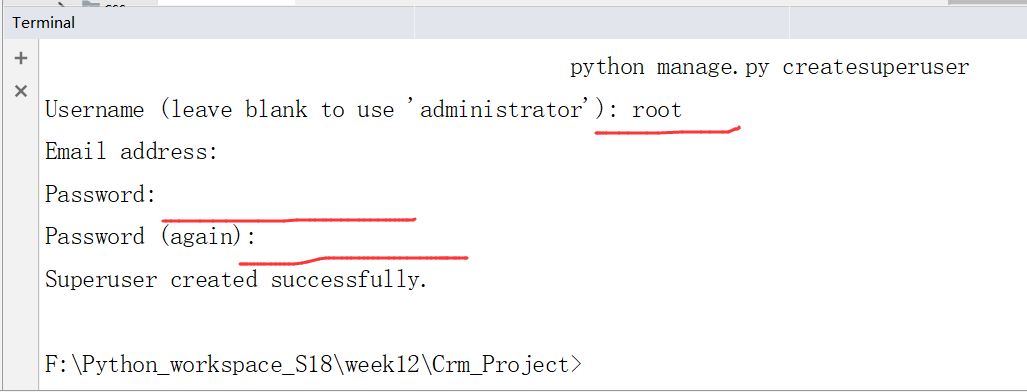
在这里我填写的超级用户的密码是:root123456
在浏览器中打开,

输入刚才创建的超级用户
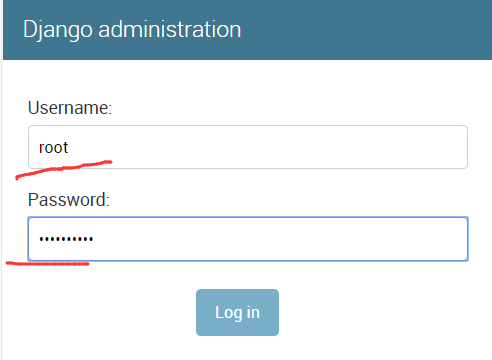
点击登录:
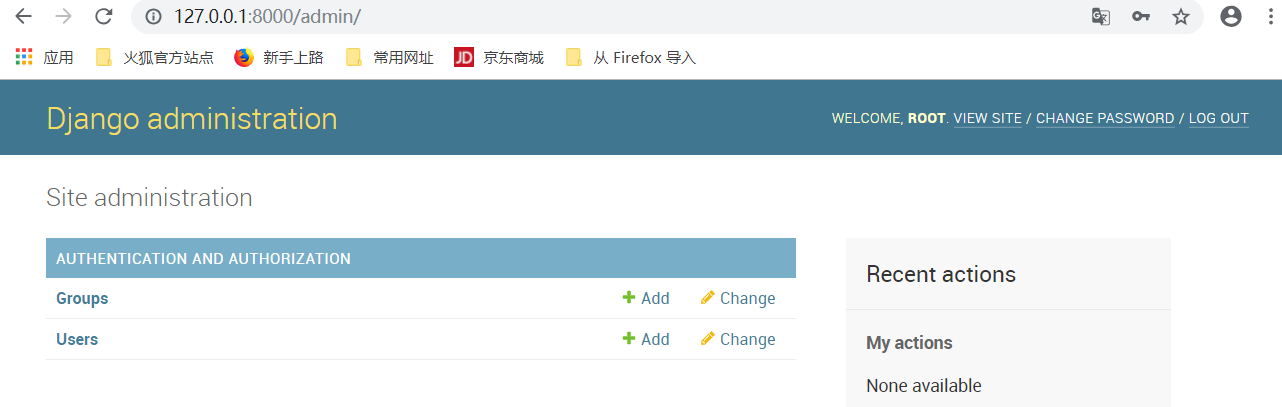
这是自身创建的表

现在需要注册自己的模型,在自己的app模型下边

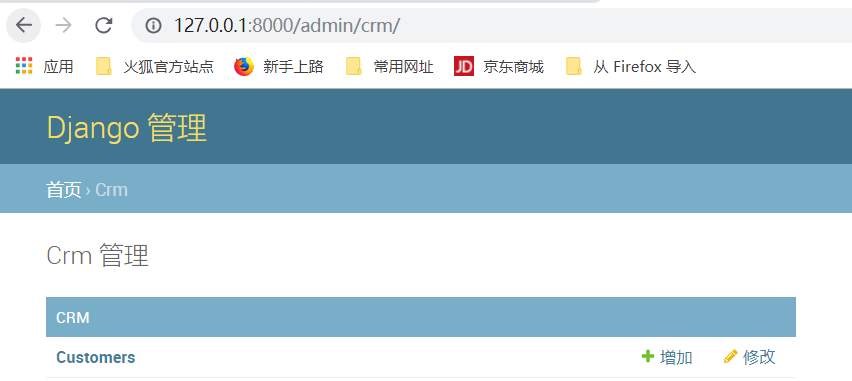
再次运行,得到下面的界面

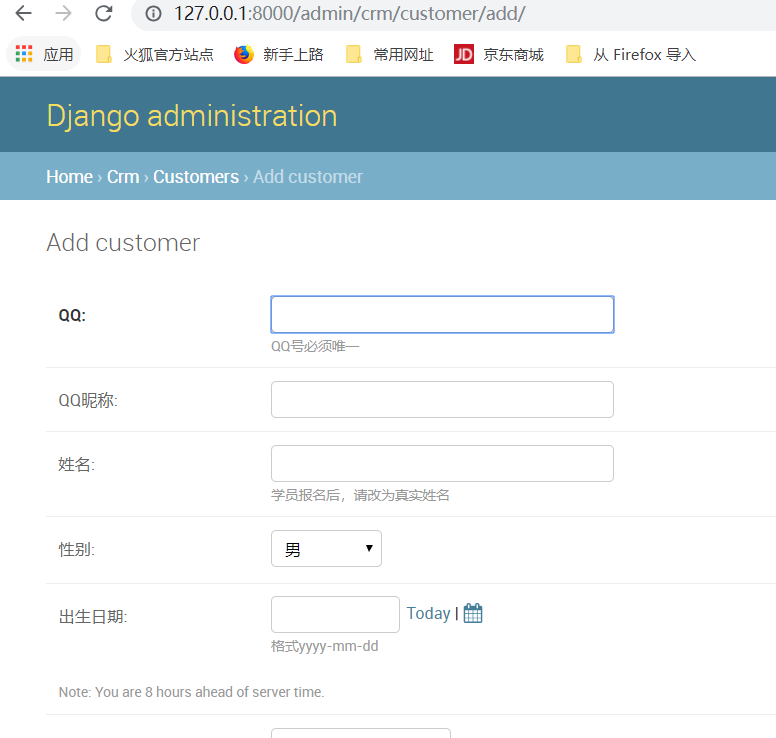
点击Customers,就可以进行添加操作了

表需要一一注册
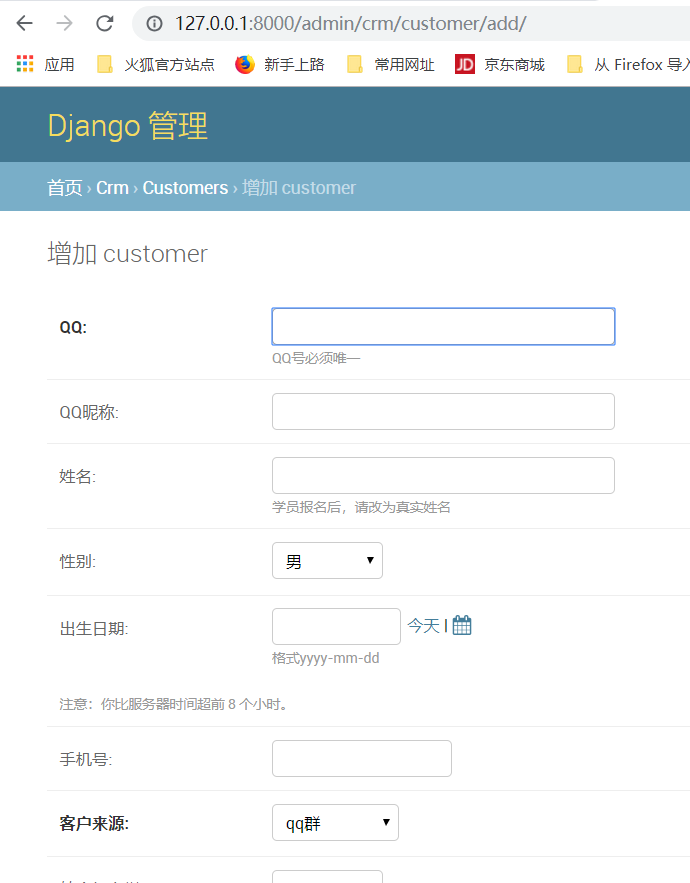
将设置里边设置成中文的形式
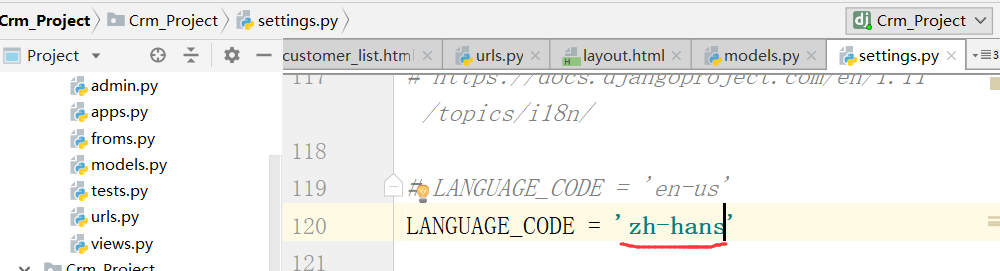
这个时候,显示的就是中文了,深色表示必填的信息,浅色表示选填的信息
总结:
1. 展示客户列表
使用admin
1. 创建超级用户
Python manage.py createsuperuser
2. 注册model
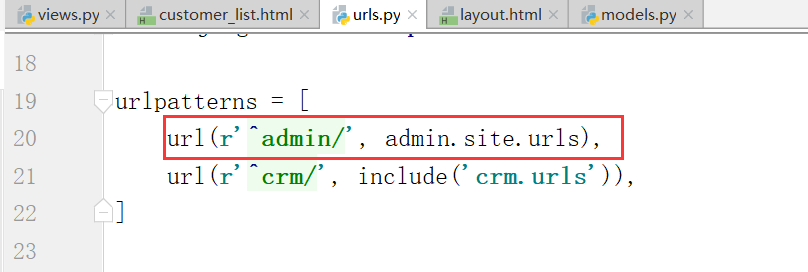
在APP下的admin.py中注册
from django.contrib import admin
from crm import models
# Register your models here.
admin.site.register(models.Customer)

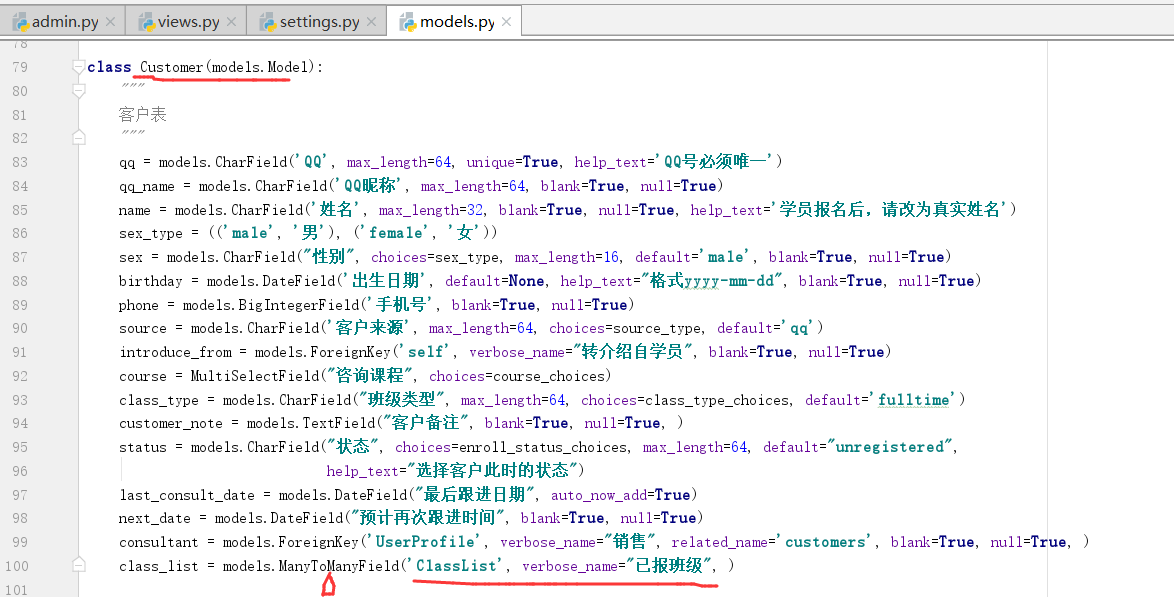
我们看到,顾客表和班级表是多对多的对应关系
2.分页