版权声明:未经同意,请勿转载 https://blog.csdn.net/qq_25542475/article/details/86743276
本章主要讲述unity开发中,如何获取摄像头的图像以及保存。
调用摄像头以及保存画面
调用摄像头这个比较简单,Unity已经封装了一些接口,直接调用就好了。
(1)代码-封装摄像头画面获取以及保存
namespace Ycx_Tool.GetCamera
{
    public class GetCamera
    {
        /// <summary>
        /// 摄像头图像类,继承自texture
        /// </summary>
        static WebCamTexture camTexture;
        /// <summary>
        /// 图像保存地址
        /// </summary>
        public  static string Save_Path = Application.streamingAssetsPath + "/FaceDetect/FaceDetect.jpg";
        /// <summary>
        /// 获取图像
        /// </summary>
        /// <param name="image"></param>
        public static void GetWebCam(Image image)
        {
            //如果用户允许访问,开始获取图像
            if (Application.HasUserAuthorization(UserAuthorization.WebCam))
            {
                //先获取设备
                WebCamDevice[] device = WebCamTexture.devices;

                string deviceName = device[0].name;
                //然后获取图像
                camTexture = new WebCamTexture(deviceName);
                //将获取的图像赋值
                image.material = new Material(Shader.Find("Unlit/Texture"));
                image.material.mainTexture = camTexture;
                //开始实时获取
                camTexture.Play();

            }
        }
         /// 图片保存有两种方法:
        ///(1)截屏
        ///(2)直接保存摄像头图像数据
        ///  本文采用第二种方法,使用webcamTexture这个类保存摄像机的图像。
        /// <summary>
        /// 保存图片
        /// </summary>
        /// <returns></returns>
        public static bool Save()
        {
            Texture2D t2d = new Texture2D(camTexture.width, camTexture.height, TextureFormat.ARGB32, true);
            //将WebCamTexture 的像素保存到texture2D中
            t2d.SetPixels(camTexture.GetPixels());
            t2d.Apply();
            //编码
            byte[] imageTytes = t2d.EncodeToJPG();
            //存储
            try
            {
                File.WriteAllBytes(Save_Path, imageTytes);
                return true;
            }
            catch (System.Exception)
            {
               Debug.Log("请稍后再试");
               return false;
            }
        }

    }

}
(2)代码-调用
结合上一章内容,在这里调用摄像头捕捉画面,进行人脸比对。
using System.Collections;
using System.Collections.Generic;
using UnityEngine;
using Ycx_Tool.ArcFace;
using Ycx_Tool.GetCamera;
using UnityEngine.UI;
public class Manager : MonoBehaviour
{
    /// <summary>
    /// 图片
    /// </summary>
    public Image image;
    public Text Result;
    // Start is called before the first frame update
    void Start()
    {
        //初始化人脸识别SDK
        SDKUtil.Init_Sdk("EEaTYku3sDaGaaNmqo8cLGc4F2eDHE42mdAbC7AS4quj", "9Ttja8dW1qZ8gqLAvhaa6MMJCqvHvqdoDQHg1DDhnHbE");
        //摄像头捕捉
        GetCamera.GetWebCam(image);
    }

    // Update is called once per frame
    void Update()
    {
        if (Input.GetKeyDown(KeyCode.A))
        {
            if (GetCamera.Save())
            {
                if (float.Parse(SDKUtil.Face_Compare(GetCamera.Save_Path, Application.streamingAssetsPath + "/FaceDetect/YanChunXiang.jpg")) > 0.8f)
                {
                    Result.text = "签到成功";
                }
                else
                {
                    Result.text = "签到失败";
                }
            }
            else
            {
                Result.text = "稍后再试";
            }
        }
    }
}
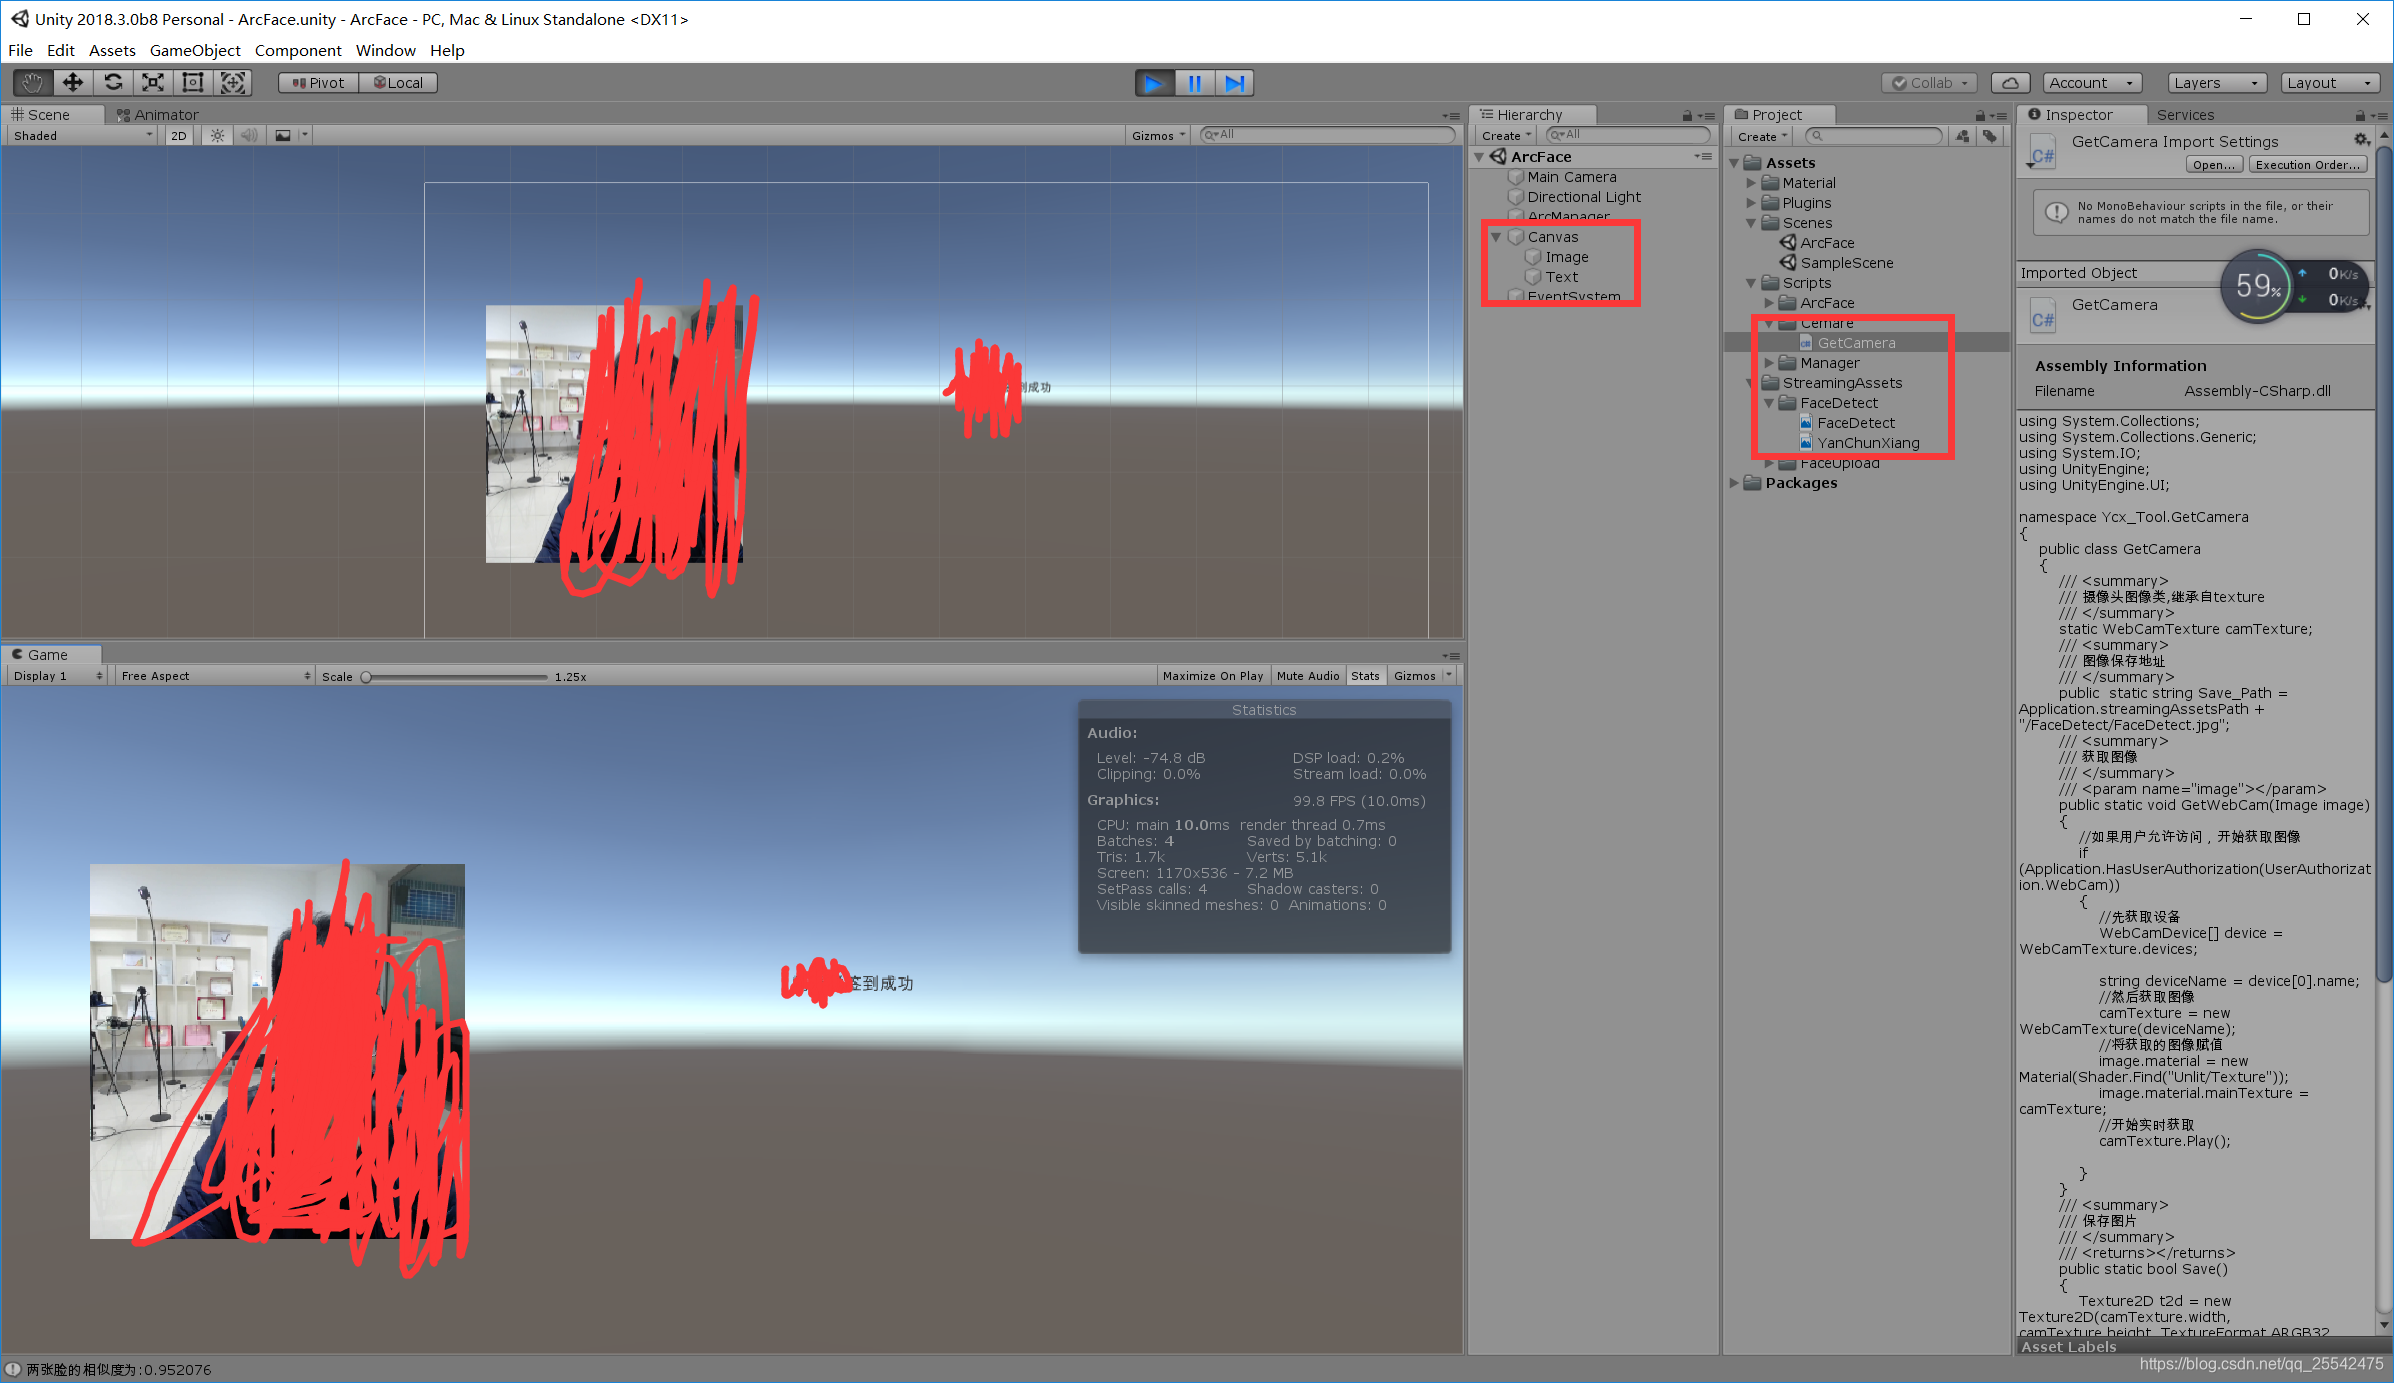
(3)调试