文件引入
pom引入:
<!-- web开发,包含tomcat和mvc-->
    <dependency>
			<groupId>org.springframework.boot</groupId>
			<artifactId>spring-boot-starter-web</artifactId>
		<exclusions>
        <exclusion>
            <groupId>org.springframework.boot</groupId>
            <artifactId>spring-boot-starter-logging</artifactId>
        </exclusion>
    </exclusions>
	</dependency>
<!-- 模板资源 -->
   <dependency>
        <groupId>org.springframework.boot</groupId>
        <artifactId>spring-boot-starter-thymeleaf</artifactId>
</dependency>
thymeleaf相关介绍:
https://www.cnblogs.com/jiangbei/p/8462294.html
得知springboot默认将 /** 所有访问映射到以下目录:
classpath:/static
classpath:/public
classpath:/resources
classpath:/META-INF/resources
如果是多环境打包,注意在pom中引入相应文件,避免出现找不到模板类
如果有多环境,多环境新增配置如下(根据自己情况加载):
<build>
		  <resources>
           <resource>
               <directory>src/main/java</directory>
               <includes>
                   <include>**/*.xml</include>
               </includes>
           </resource>

              <resource>
                <!--加载资源目录-->
                <directory>src/main/resources</directory>
                <includes>
                    <!--加载模板文件-->
                    <include>**/*.html</include>
                     <!--加载模板文件-->
                    <include>**/*.css</include>
                       <!--加载模板文件-->
                    <include>**/*.js</include>
                    <!--加载静态文件-->
                    <include>/static/</include>
                </includes>
            </resource>

        <resource>
        <!-- 声明文件 -->
            <directory>src/main/resources/assembly</directory>
            <filtering>true</filtering>
            <!-- 排除文件 -->
                <excludes>
                    <exclude>**/sit/**</exclude>
                    <exclude>**/prod/**</exclude>
                    <exclude>**/dev/**</exclude>
                </excludes>
        </resource>
         <resource>
                <directory>src/main/resources/assembly/${activatedProperties}</directory>
            </resource>
    </resources>
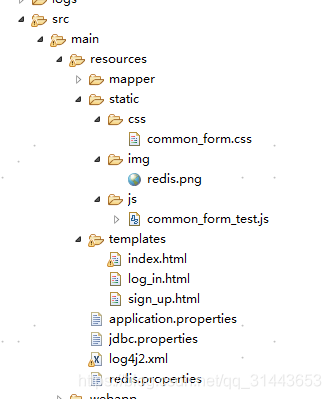
目录介绍
在resources文件夹或与其并列的文件夹下建立public文件夹,在public文件夹下的html文件可以通过浏览器中输入文件+后缀名的方式直接访问的.
一、public文件夹,就相当于在eclipse的web项目中的web-inf文件夹外的文件,是不需要通过服务器内部进行访问的。
二、templates文件夹,是放置模板文件的,因此需要视图解析器来解析它。所以必须通过服务器内部进行访问,也就是要走控制器–服务–视图解析器这个流程才行。
三、static文件夹,既不能直接访问,也不能通过服务器访问到。因此,这个文件夹,可能是放一些css、图片这样的文件供服务器内部引用。
application.propertis添加静态资源目录(也可以在启动类完成)
#视图资源
spring.mvc.static-path-pattern=/static/**
如果在启动类中完成,以上配置可去掉:
import org.mybatis.spring.annotation.MapperScan;
import org.springframework.boot.SpringApplication;
import org.springframework.boot.autoconfigure.SpringBootApplication;
import org.springframework.boot.builder.SpringApplicationBuilder;
import org.springframework.boot.web.servlet.support.SpringBootServletInitializer;
import org.springframework.context.annotation.ComponentScan;

/**
 * Hello world!
 *
 */
@SpringBootApplication
//因为多模块中其他配置模块也需要spring组件功能,所以发布模块需要加载其他模块的内容.
@ComponentScan(basePackages = {"boot.**"})
//mybatis扫描
@MapperScan("boot.dao.**")
public class Start extends SpringBootServletInitializer {
	   public static void main(String[] args) {
	       SpringApplication.run(Start.class, args);
	   }

	@Override
	protected SpringApplicationBuilder configure(SpringApplicationBuilder builder) {
		// TODO Auto-generated method stub
		return builder.sources(Start.class);
	}
}
使用template访问网页
templates文件说明:
templates文件夹,是放置模板文件的,因此需要视图解析器来解析它。所以必须通过服务器内部进行访问,也就是要走控制器–服务–视图解析器这个流程才行
web相关资源分布如下
template里面可以放置相关视图资源,
添加控制
静态资源配置mvc即可直接使用,页面要通过视图控制:
1.使用@Controller 注解,在对应的方法上,视图解析器可以解析return 的jsp,html页面,并且跳转到相应页面
若返回json等内容到页面,则需要加@ResponseBody注解
@RestController注解相当于@ResponseBody + @Controller合在一起的作用。
package boot.controller;
import org.slf4j.Logger;
import org.slf4j.LoggerFactory;
import org.springframework.stereotype.Controller;
import org.springframework.web.bind.annotation.RequestMapping;
import org.springframework.web.bind.annotation.RequestMethod;
@Controller
public class FileUploadController {
@RequestMapping(value="/gouploadimg", method = RequestMethod.GET)
public String goUploadImg() {
//跳转到 templates 目录下的 uploadimg.html
return "uploadimg";
}
@RequestMapping(value="/hi",method=RequestMethod.GET)
public String hi() {
return "/index";
}
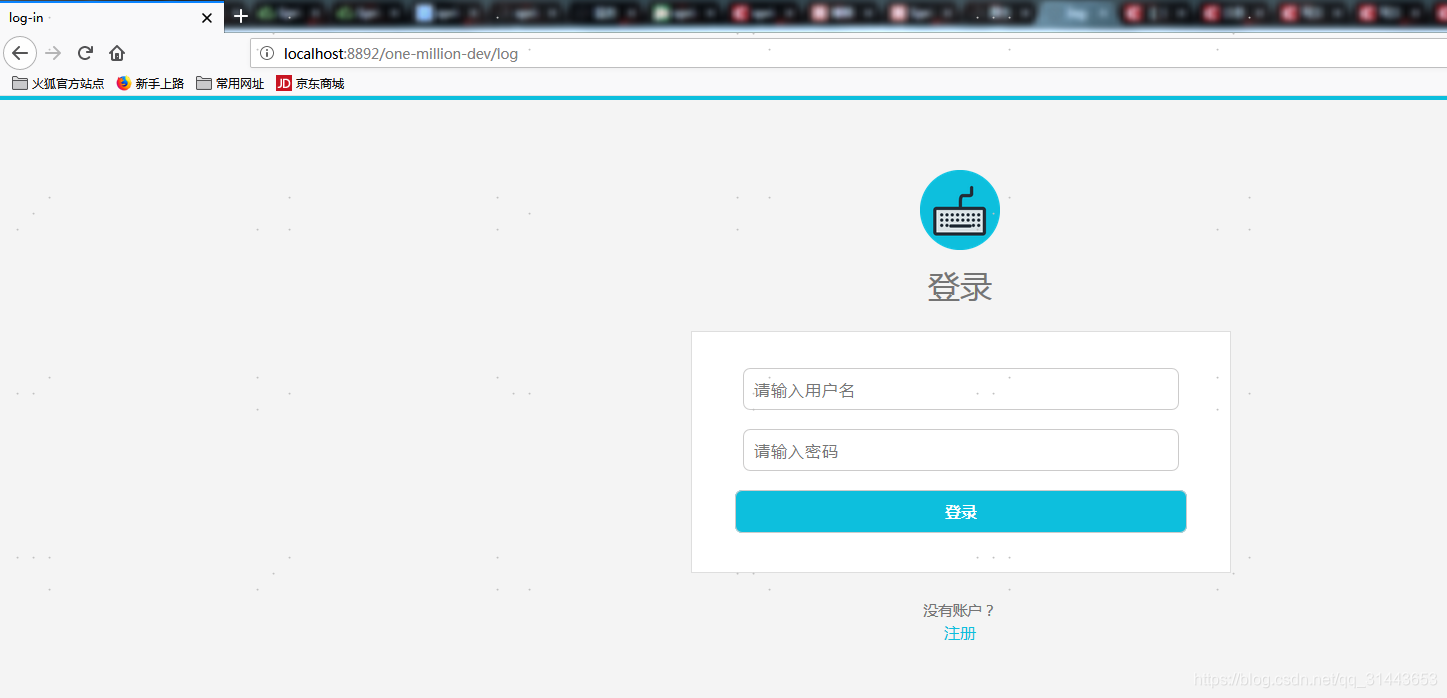
@RequestMapping(value="/log",method=RequestMethod.GET)
public String log() {
return "/log_in";
}
@RequestMapping(value="/sign",method=RequestMethod.GET)
public String sign() {
return "/sign_up";
}
启动类如下(默认扫描路径为启动类所在包,如果注入文件没有在启动类包下,则要添加扫描路径):
package boot;

import org.mybatis.spring.annotation.MapperScan;
import org.springframework.boot.SpringApplication;
import org.springframework.boot.autoconfigure.SpringBootApplication;
import org.springframework.context.annotation.ComponentScan;

/**
 * Hello world!
 *
 */
@SpringBootApplication
//因为多模块中其他配置模块也需要spring组件功能,所以发布模块需要加载其他模块的内容.
@ComponentScan(basePackages = {"boot.**"})
//mybatis扫描
@MapperScan("boot.dao.**")
public class Start {
   public static void main(String[] args) {
       SpringApplication.run(Start.class, args);
   }
}
css,js引用路径如下:
  <link rel="stylesheet" href="static/css/common_form.css">
  <script src="static/js/common_form_test.js"></script>
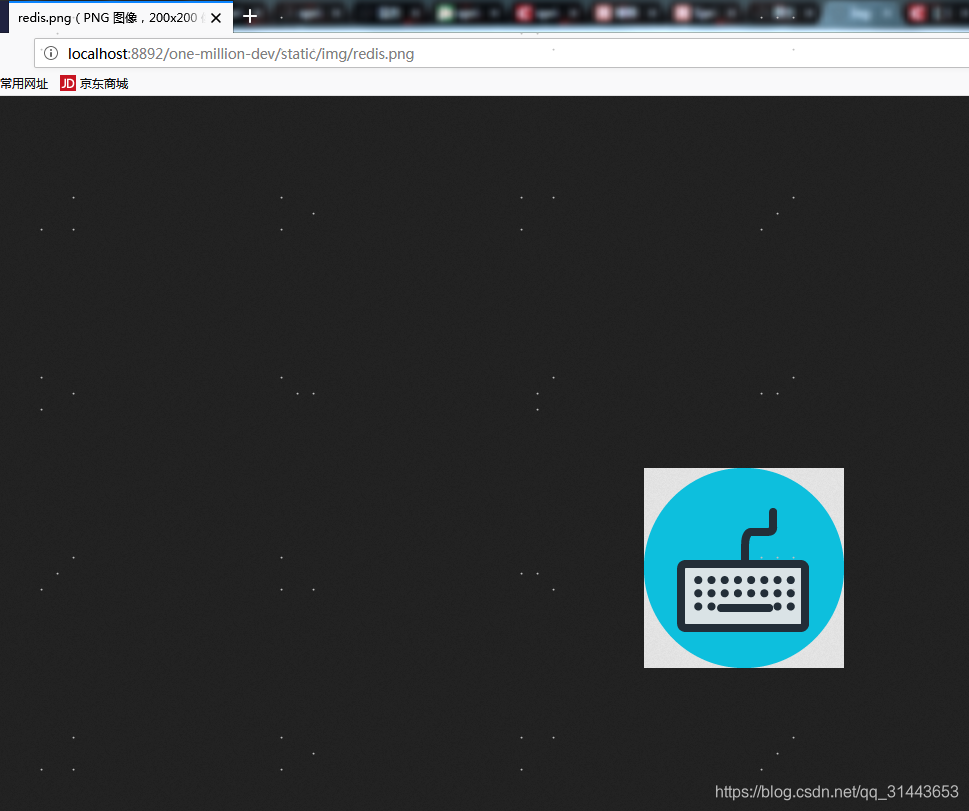
启动后,静态资源访问,输入相应路径和端口即可
http://localhost:8891/one-million-dev/static/img/redis.png
页面访问,输入controller层路径进行转发,页面跳转时,跳转到相关controller即可:`
http://localhost:8891/one-million-dev/log
页面链接如下:
https://www.cnblogs.com/storm-chou/p/6189489.html
直接访问网页
目录如下:

因为已经添加了springmvc的扫描配置,所以,项目启动后,直接输入相关路径即可:
http://localhost:8892/one-million-dev/static/page/index1.html
http://localhost:8892/one-million-dev/static/index.html
