今天介绍用 Sprint Boot 构建一个简单工程的方案。
使用 IDE 是 IntelliJ IDEA,Spring Boot Version 2.0.0.RELEASE,JDK 8,Tomcat 8。
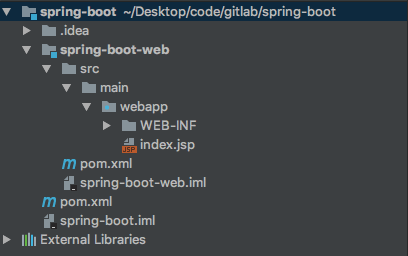
首先使用 IntelliJ 创建 Maven 工程,选择 org.apache.maven.archetypes:maven-archetype-quickstart 进行创建;然后在 Module 中创建子工程,选择 org.apache.maven.archetypes:maven-archetype-webapp 进行创建。
修改 pom.xml 的配置
先修改 root 的 pom.xml 配置:
<?xml version="1.0" encoding="UTF-8"?>

<project xmlns="http://maven.apache.org/POM/4.0.0" xmlns:xsi="http://www.w3.org/2001/XMLSchema-instance"
  xsi:schemaLocation="http://maven.apache.org/POM/4.0.0 http://maven.apache.org/xsd/maven-4.0.0.xsd">
  <modelVersion>4.0.0</modelVersion>

  <groupId>com.test</groupId>
  <artifactId>spring-boot</artifactId>
  <packaging>pom</packaging>
  <version>1.0-SNAPSHOT</version>
  <modules>
    <module>spring-boot-web</module>
  </modules>

  <name>spring-boot</name>

  <parent>
    <groupId>org.springframework.boot</groupId>
    <artifactId>spring-boot-starter-parent</artifactId>
    <version>2.0.0.RELEASE</version>
    <relativePath />
  </parent>

  <properties>
    <project.build.sourceEncoding>UTF-8</project.build.sourceEncoding>
    <project.reporting.outputEncoding>UTF-8</project.reporting.outputEncoding>
    <java.version>1.8</java.version>
  </properties>

  <build>
    <plugins>
      <plugin>
        <groupId>org.springframework.boot</groupId>
        <artifactId>spring-boot-maven-plugin</artifactId>
      </plugin>
    </plugins>
  </build>
</project>
再修改 web module 下的 pom.xml 配置:
<?xml version="1.0" encoding="UTF-8"?>

<project xmlns="http://maven.apache.org/POM/4.0.0" xmlns:xsi="http://www.w3.org/2001/XMLSchema-instance"
         xsi:schemaLocation="http://maven.apache.org/POM/4.0.0 http://maven.apache.org/xsd/maven-4.0.0.xsd">
    <parent>
        <artifactId>spring-boot</artifactId>
        <groupId>com.test</groupId>
        <version>1.0-SNAPSHOT</version>
    </parent>
    <modelVersion>4.0.0</modelVersion>

    <artifactId>spring-boot-web</artifactId>

    <dependencies>
        <dependency>
            <groupId>org.springframework.boot</groupId>
            <artifactId>spring-boot-starter-web</artifactId>
        </dependency>
        <dependency>
            <groupId>org.springframework.boot</groupId>
            <artifactId>spring-boot-starter-thymeleaf</artifactId>
        </dependency>
    </dependencies>
</project>
配置搞定了,下面就要对工程的结构进行改造了,由于 Sprint Boot 使用 thymeaf 模版,所以 war 工程则不需要 webapp 目录了,当然也不需要 web.xml 等配置了,其实创建 web 工程时可以选择 quickstart 模式。
在 main 目录下创建 java 和 resources 目录,删掉 webapp 目录。
配置 spring boot 的 resouces 文件
1,创建 application.propterties
spring.thymeleaf.prefix=classpath:/templates/
spring.thymeleaf.cache=false
2,创建 templates 目录,并创建 welcome page (index.html)

添加 java 类
在 java 目录下创建 index 的 controller
package springboot;

import org.springframework.stereotype.Controller;
import org.springframework.web.bind.annotation.GetMapping;

@Controller
public class IndexController {

    @GetMapping("/index")
    public String index() {
        return "/index.html";
    }

}
然后创建 Startup 启动类:
package springboot;

import org.springframework.boot.SpringApplication;
import org.springframework.boot.autoconfigure.SpringBootApplication;

@SpringBootApplication
public class Startup {

    public static void main(String[] args) {
        SpringApplication.run(Startup.class, args);
    }

}
至此,简单的工程就构建完毕了,怎么运行呢,在 Startup 类中右键 Debug Startup 即可运行,不需要配置 Tomcat,启动日志如下:
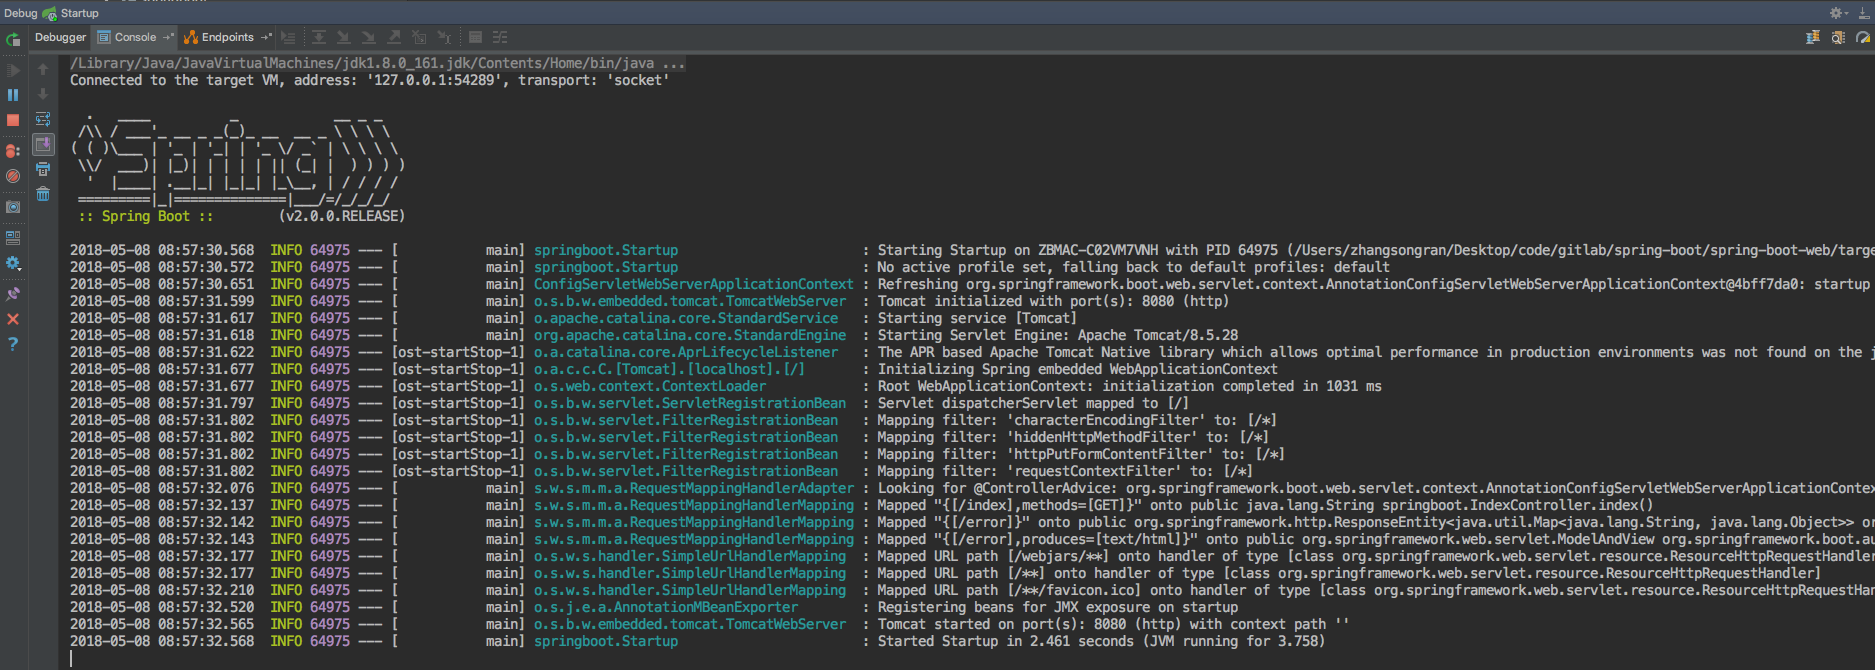
程序成功成功,但页面不会自动跳转到浏览器中,所以需要手动输入。