版权声明:本文为博主原创文章,未经博主允许不得转载。 https://blog.csdn.net/lxt610/article/details/89954924
1、引言
这里分享一个刮刮卡效果,闲言少叙,我们直接上代码。
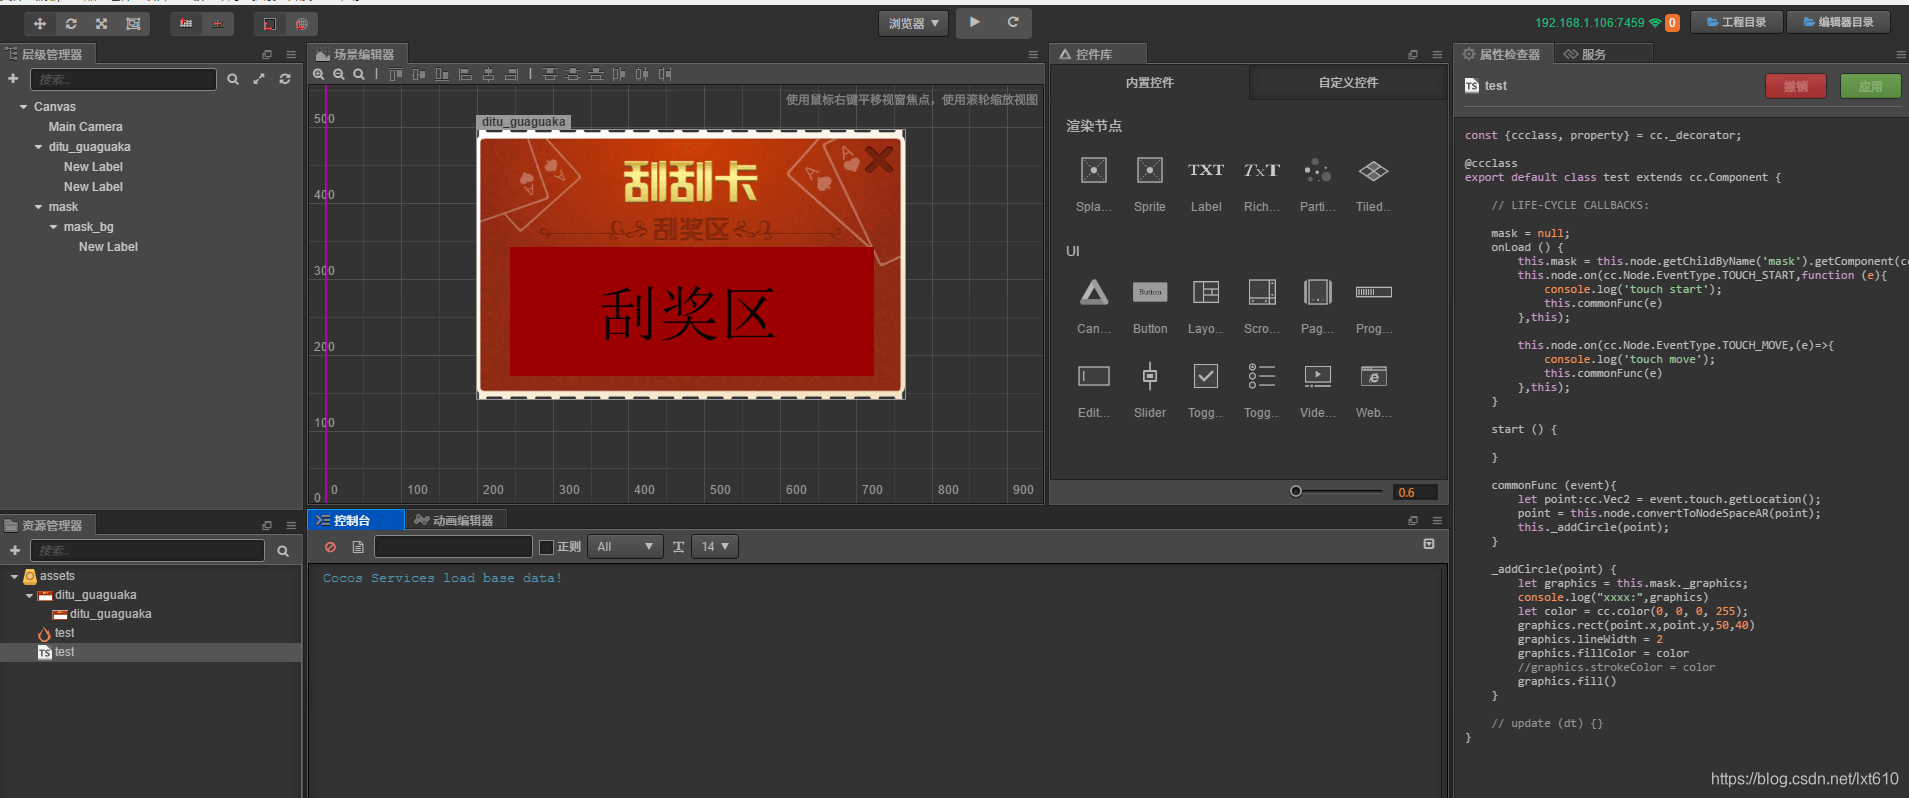
2、场景搭建
场景搭建如图所示:
3、代码部分
详细代码如下所示:
const {ccclass, property} = cc._decorator;

@ccclass
export default class test extends cc.Component {

    // LIFE-CYCLE CALLBACKS:

    mask = null;
    onLoad () {
        this.mask = this.node.getChildByName('mask').getComponent(cc.Mask);
        this.node.on(cc.Node.EventType.TOUCH_START,function (e){
            console.log('touch start');
            this.commonFunc(e)
        },this);

        this.node.on(cc.Node.EventType.TOUCH_MOVE,(e)=>{
            console.log('touch move');
            this.commonFunc(e)
        },this);
    }

    start () {

    }

    commonFunc (event){
        let point:cc.Vec2 = event.touch.getLocation();
        point = this.node.convertToNodeSpaceAR(point);
        this._addCircle(point);
    }

    _addCircle(point) {
        let graphics = this.mask._graphics;
        console.log("xxxx:",graphics)
        let color = cc.color(0, 0, 0, 255);
        graphics.rect(point.x,point.y,50,40)
        graphics.lineWidth = 2
        graphics.fillColor = color
        //graphics.strokeColor = color
        graphics.fill()
    }

    // update (dt) {}
}
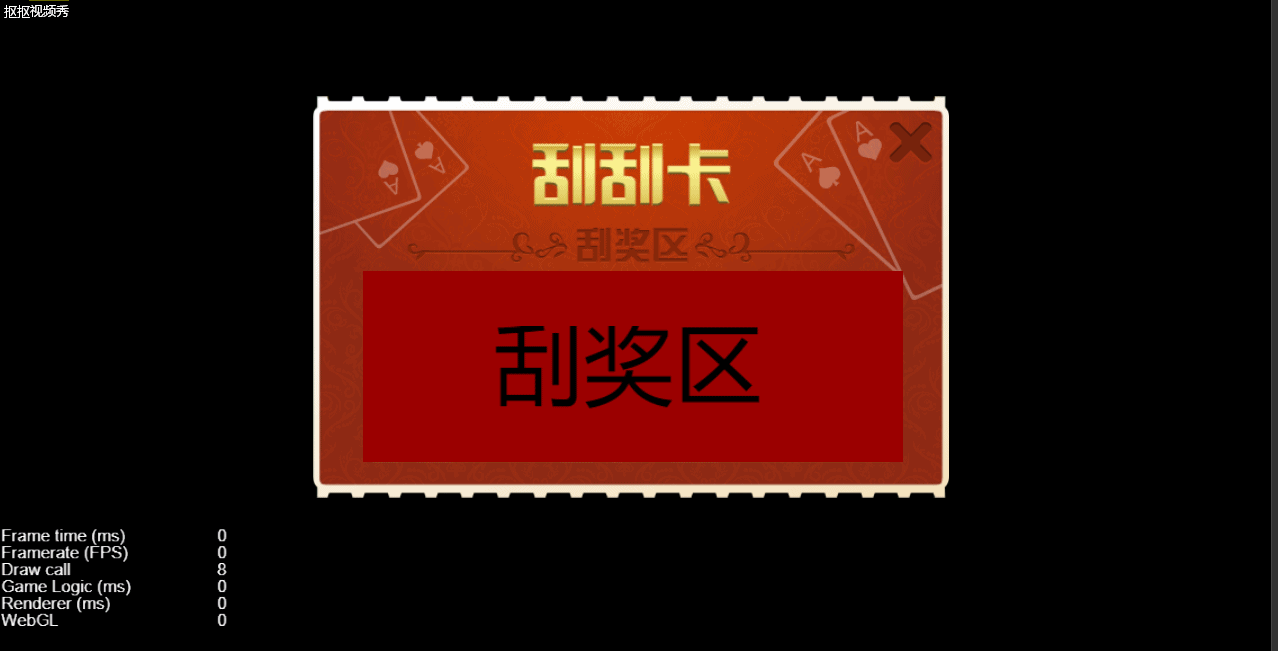
4、效果展示
到这里我们启动项目,来看看演示效果!
5、Demo下载
为了方便大家使用这里直接给出下载链接,点击这里即可下载完整工程。
6、结束语
The End
好了,今天的分享就到这里,如有不足之处,还望大家及时指正,随时欢迎探讨交流!!!
喜欢的朋友们,请帮顶、点赞、评论!您的肯定是我写作的不竭动力!