前言
扫描二维码,我一直用的都是zxing的demo里的工程魔改出来的。但是他的demo始终有两个问题,一个是近距离扫描不成功,一个是竖着显示的时候页面预览画面会拉伸。在百度了好久都没有找到适合V3.3.3版本的解决方案,要么就是当前版本已经没有了以前版本的某些方法和类文件,要么就是解决了现有问题,又带来了新问题。具体可查看我的之前的博客:Android 使用ZXing接入扫描二维码遇到的问题 近距离扫描失败 预览界面拉伸
----- 分割线-------
十分无奈的时候,Google了一下,看到这这个库,哇,完美
journeyapps/zxing-android-embedded
他的demo里就有一个自定义activity支持竖着显示变形的页面。
特征:
- 可以通过Intents使用(需要很少的代码)。
- 可以嵌入到Activity中,用于UI和逻辑的高级自定义。
- 扫描可以横向或纵向模式执行。
- 摄像机在后台线程中管理,以便快速启动。
使用方法
导入依赖
首先,你的工程的最小sdk版本如果是大于或等于19,就使用以下的代码:
repositories {
    jcenter()
}

dependencies {
    implementation 'com.journeyapps:zxing-android-embedded:3.6.0'
    implementation 'com.android.support:appcompat-v7:25.3.1'   // 这个版本最小要23
}

android {
    buildToolsVersion '27.0.3' // buildToolsVersion版本不能小于这个 27.0.3
}
如果你的工程还要支持到sdk 14这些的话,就要使用以下的代码:
repositories {
    jcenter()
}

dependencies {
    implementation('com.journeyapps:zxing-android-embedded:3.6.0') { transitive = false }
    implementation 'com.android.support:appcompat-v7:25.3.1'   // Version 23+ is required
    implementation 'com.google.zxing:core:3.3.0' // 这个要3.3.0以下才支持Android 19以下系统
}

android {
    buildToolsVersion '27.0.3' // Older versions may give compile errors
}
硬件加速
在你的工程manifest里面加入这个:
<application
    android:hardwareAccelerated="true" ... >
就可以了,是不是发现连权限都不用写!是的,不用!
库会在使用到的时候弹窗申请的了。
修改布局
新增一个二维码扫描布局,命名为custom_barcode_scanner.xml
<?xml version="1.0" encoding="utf-8"?>
<merge xmlns:android="http://schemas.android.com/apk/res/android"
    xmlns:app="http://schemas.android.com/apk/res-auto">

    <com.journeyapps.barcodescanner.BarcodeView
        android:layout_width="match_parent"
        android:layout_height="match_parent"
        android:id="@+id/zxing_barcode_surface"
        app:zxing_framing_rect_width="250dp"
        app:zxing_framing_rect_height="250dp"/>

    <com.journeyapps.barcodescanner.ViewfinderView
        android:layout_width="match_parent"
        android:layout_height="match_parent"
        android:id="@+id/zxing_viewfinder_view"
        app:zxing_possible_result_points="@color/zxing_custom_possible_result_points"
        app:zxing_result_view="@color/zxing_custom_result_view"
        app:zxing_viewfinder_laser="@color/theme_color"
        app:zxing_viewfinder_mask="@color/zxing_custom_viewfinder_mask"/>

</merge>
接着修改原来的扫描二维码页面布局
<?xml version="1.0" encoding="utf-8"?>
<LinearLayout xmlns:android="http://schemas.android.com/apk/res/android"
    xmlns:app="http://schemas.android.com/apk/res-auto"
    xmlns:tools="http://schemas.android.com/tools"
    android:layout_width="match_parent"
    android:layout_height="match_parent"
    android:orientation="vertical"
    android:background="@color/white_color"
    tools:context=".activity.CaptureActivity">

    <com.dlong.rep.dltittlebar.DLTittleBar
        android:id="@+id/tittle_bar"
        android:layout_width="match_parent"
        android:layout_height="@dimen/def_tittle_bar_height"
        app:barBackground="@color/colorPrimary"
        app:leftBtnImage="@drawable/back"
        app:leftBtnVisible="true"
        app:right1BtnVisible="false"
        app:right2BtnVisible="true"
        app:right2BtnImage="@drawable/all_turn_on"
        app:tittleColor="@color/text_tittle_color"
        app:tittleTxt="@string/capture_tittle">

    </com.dlong.rep.dltittlebar.DLTittleBar>

    <RelativeLayout
        android:id="@+id/capture_container"
        android:layout_width="match_parent"
        android:layout_height="match_parent">

        <com.journeyapps.barcodescanner.DecoratedBarcodeView
            android:id="@+id/zxing_barcode_scanner"
            android:layout_width="match_parent"
            android:layout_height="match_parent"
            app:zxing_scanner_layout="@layout/custom_barcode_scanner">
        </com.journeyapps.barcodescanner.DecoratedBarcodeView>

        <TextView
            android:layout_width="wrap_content"
            android:layout_height="wrap_content"
            android:layout_alignParentBottom="true"
            android:layout_centerHorizontal="true"
            android:layout_marginBottom="100dp"
            android:gravity="center"
            android:text="@string/capture_tips_1"
            android:textColor="@color/text_tittle_color" />

        <TextView
            android:layout_width="wrap_content"
            android:layout_height="wrap_content"
            android:layout_alignParentBottom="true"
            android:layout_centerHorizontal="true"
            android:layout_marginBottom="60dp"
            android:gravity="center"
            android:text="@string/capture_tips_2"
            android:textColor="@color/theme_color" />

    </RelativeLayout>

</LinearLayout>
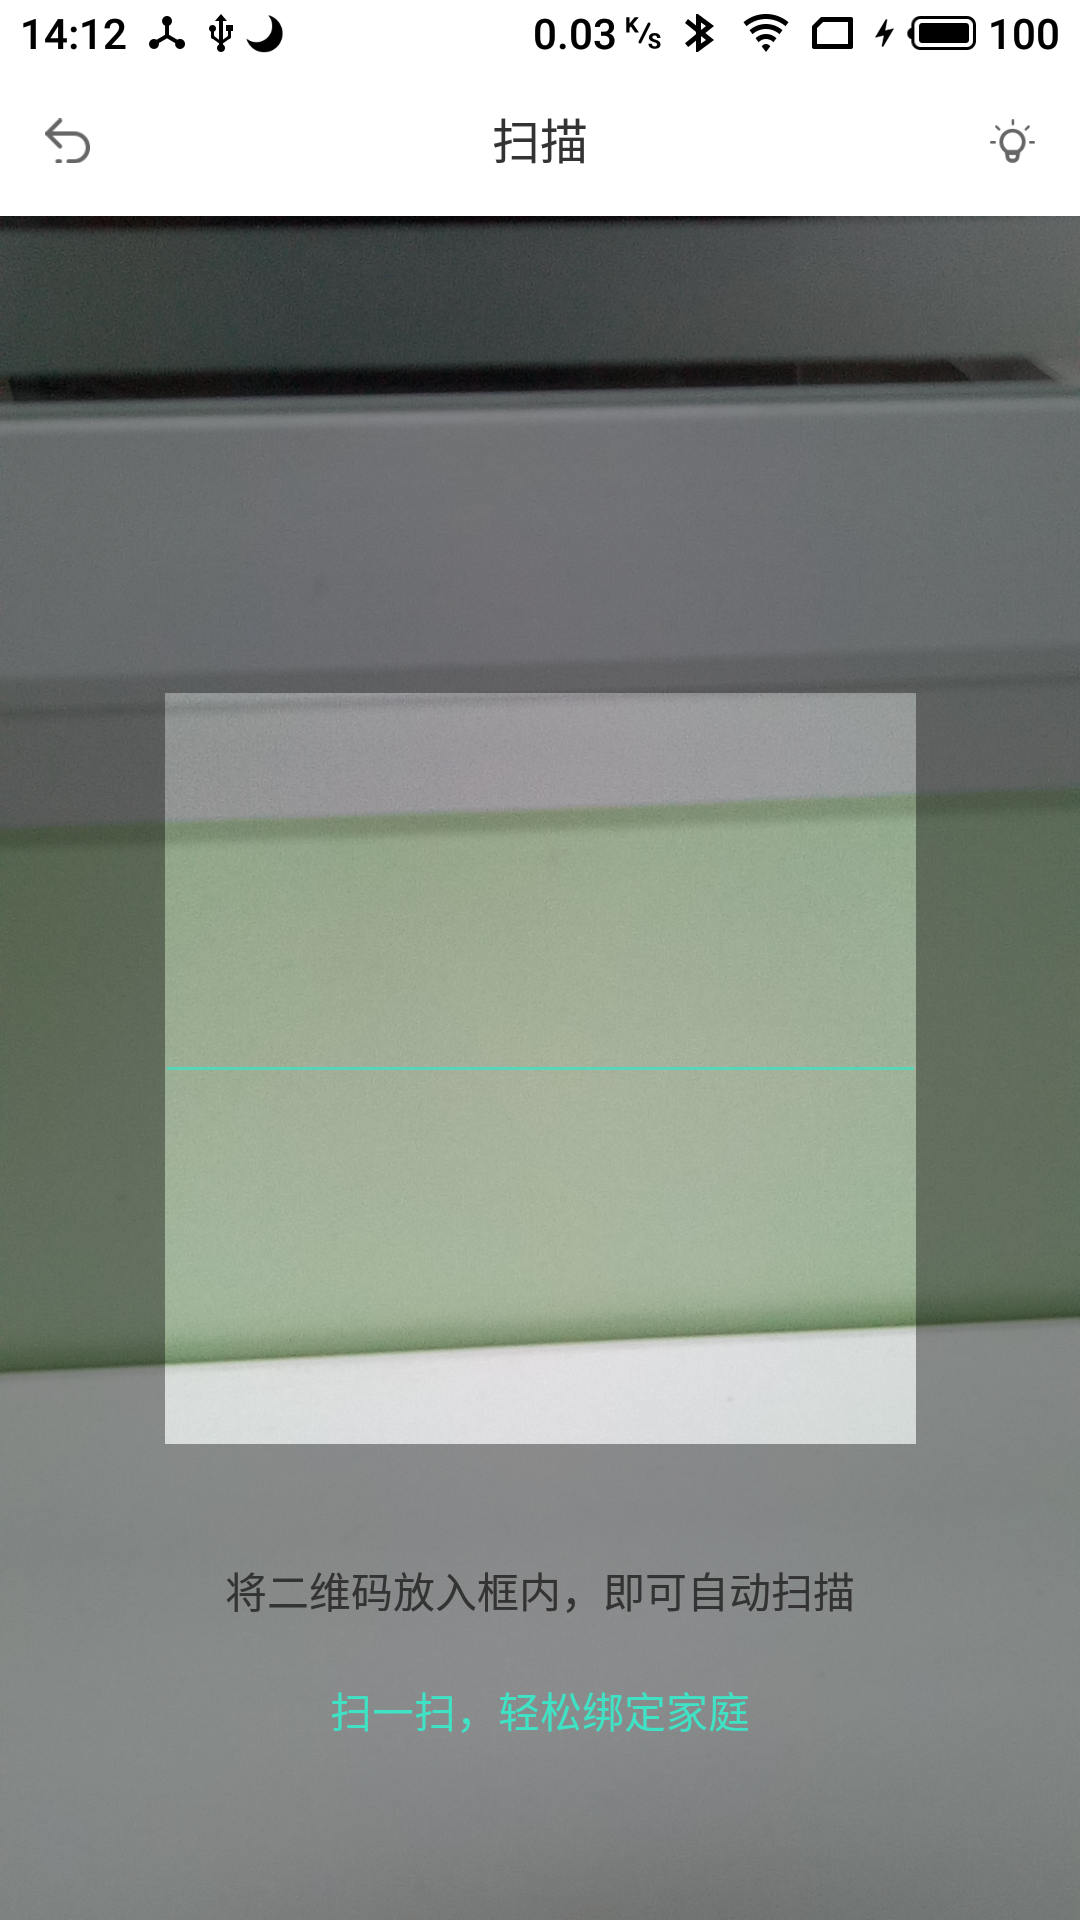
效果如下:
填业务
下一步就是写业务逻辑了
打开页面的方法:
new IntentIntegrator((Activity) mContext).setOrientationLocked(false)
                .setCaptureActivity(CaptureActivity.class).initiateScan();
然后监听回调:
// Get the results:
@Override
protected void onActivityResult(int requestCode, int resultCode, Intent data) {
    IntentResult result = IntentIntegrator.parseActivityResult(requestCode, resultCode, data);
    if(result != null) {
        if(result.getContents() == null) {
            Toast.makeText(this, "Cancelled", Toast.LENGTH_LONG).show();
        } else {
            Toast.makeText(this, "Scanned: " + result.getContents(), Toast.LENGTH_LONG).show();
        }
    } else {
        super.onActivityResult(requestCode, resultCode, data);
    }
}
是不是特别简单!