1.安装
#mkdir otter-manager
#tar xf manager.deployer-4.2.17.tar.gz -C otter-manager
#mv otter-manager /data/services/
上一篇文章给出了下载地址,二进制解压即可。
2.配置
#vim /data/services/otter-manager/conf/otter.properties
otter.domainName = 172.18.165.118
otter.port = 8088
otter.jetty = jetty.xml
otter.database.driver.class.name = com.mysql.jdbc.Driver
otter.database.driver.url = jdbc:mysql://xxxxxx.aliyuncs.com:3306/otter_tools
otter.database.driver.username = online_otter
otter.database.driver.password = online_xxxxxx
otter.communication.manager.port = 1099
otter.communication.payload = 8388608
otter.communication.pool.size = 10
otter.zookeeper.cluster.default = 172.18.165.118:2181,172.18.165.119:2181,172.18.165.120:2181
otter.zookeeper.sessionTimeout = 60000
otter.manager.address = ${otter.domainName}:${otter.communication.manager.port}
otter.manager.productionMode = true
otter.manager.monitor.self.enable = true
otter.manager.monitor.self.interval = 120
otter.manager.monitor.recovery.paused = true
otter.manager.monitor.email.host = smtp.yeah.net
otter.manager.monitor.email.username = [email protected]
otter.manager.monitor.email.password = xxxxxxx
otter.manager.monitor.email.stmp.port = 465
上面监听地址,连接数据库地址和SMTP地址,账号密码修改成自己的,还有zookeeper集群地址
zookeeper最近的版本中有个内嵌的管理控制台是通过jetty启动,也会占用8080 端口。
因为manage和zookeeper同一台机子,所以我讲manager的端口改成了8088端口。
3.启动
#sh /data/services/otter-manager/bin/startup.sh
4.验证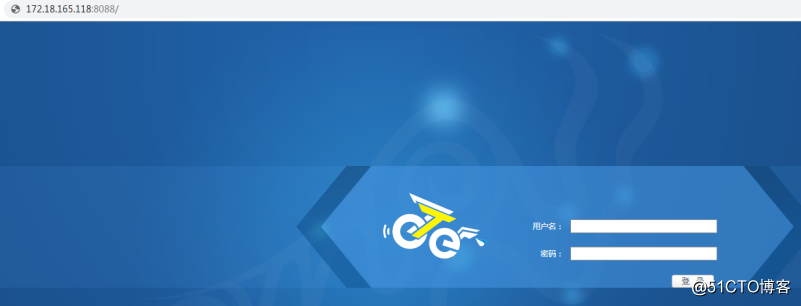
账号密码都是: admin