1.下载ElasticSearch
官网下载链接:https://www.elastic.co/cn/downloads/past-releases(进去的可能会比较慢,网络好的情况下会好一些)
我下的版本是7.0.3,和windows的5.6.8相比有很大的区别,包括一些属性方法什么的,所以要慎!重!选!择!
2.运行ElasticSearch
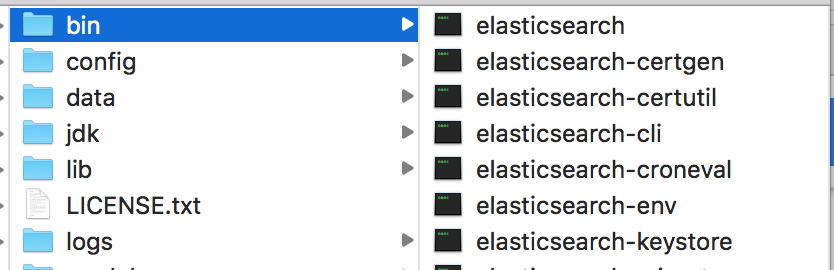
下完之后,解压到你想解压到的位置,打开bin
 点击第一个,会显示一堆启动日志,
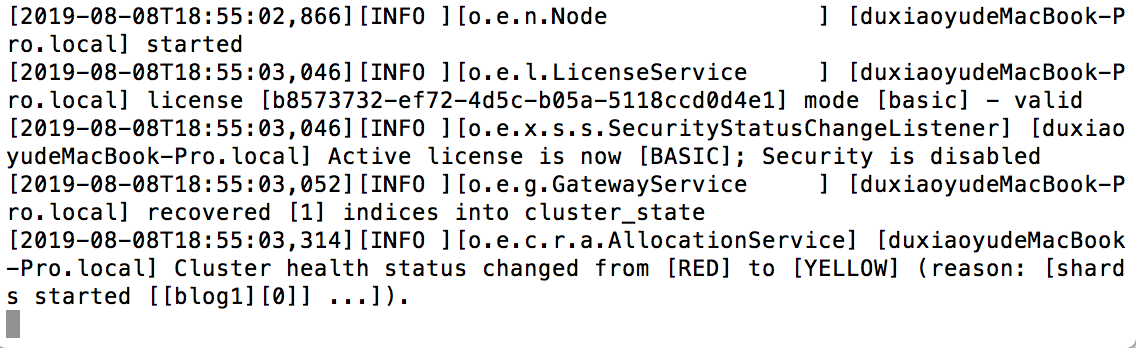 显示started就ok,
在浏览器地址栏输入http://localhost:9200
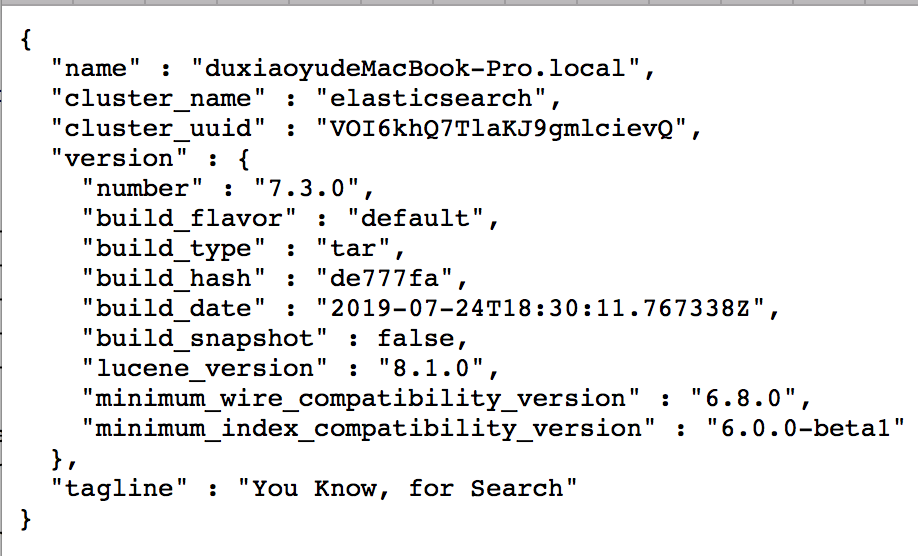
显示到这就说明ElasticSearch安装成功啦,关闭启动的elasticsearch服务 Mac终端:Ctrl + c。
3.安装node
这里用到的是homebrew
brew install node
等待安装完成,这里应该不会有什么坑,如果下载失败可以关闭终端重复几次(网络原因),用homebrew安装的时候npm是node的一个默认就会安装的组件,装完nodejs就自带了npm。
然后再homebrew里输入
git clone git://github.com/mobz/elasticsearch-head.git
把镜像克隆到本地,结束后进入目录查看 输入
cd elasticsearch-head
npm install
npm install -g grunt-cil//如果之前的不成功
执行之后,修改elasticsearch配置文件:elasticsearch.yml,增加以下两句命令:
http.cors.enable:true
http.cors.allow-origin:"*"
此步为允许elasticsearch跨越访问。
完成之后再进入head里,在命令提示符下输入:
grunt server
![]()
显示这个就可以通过http://loaclhost:9100进行访问啦
新建一个maven项目,导入jar包
 1 <dependency>
 2     <groupId>org.elasticsearch</groupId>
 3     <artifactId>elasticsearch</artifactId>
 4     <version>7.3.0</version>
 5 </dependency>
 6 <dependency>
 7     <groupId>org.elasticsearch.client</groupId>
 8     <artifactId>transport</artifactId>
 9     <version>7.3.0</version>
10 </dependency>
11 <dependency>
12         <groupId>org.apache.logging.log4j</groupId>
13          <artifactId>log4j-to-slf4j</artifactId>
14          <version>2.9.1</version>
15 </dependency>
16  <dependency>
17         <groupId>org.slf4j</groupId>
18         <artifactId>slf4j-api</artifactId>
19         <version>1.7.24</version>
20 </dependency>
21  <dependency>
22         <groupId>org.slf4j</groupId>
23         <artifactId>slf4j-simple</artifactId>
24         <version>1.7.21</version>
25 </dependency>
26  <dependency>
27         <groupId>log4j</groupId>
28         <artifactId>log4j</artifactId>
29         <version>1.2.12</version>
30 </dependency>
新建class
import java.io.IOException;
import java.net.InetAddress;
import org.elasticsearch.client.transport.TransportClient;
import org.elasticsearch.common.settings.Settings;
import org.elasticsearch.common.transport.TransportAddress;
import org.elasticsearch.common.xcontent.XContentBuilder;
import org.elasticsearch.common.xcontent.XContentFactory;
import org.elasticsearch.transport.client.PreBuiltTransportClient;
public class test {

    public static void main(String[] args) throws Exception {
        //1、创建es客户端连接对象
        TransportClient client = new PreBuiltTransportClient(Settings.EMPTY).
        addTransportAddress(new TransportAddress(InetAddress.getByName("127.0.0.1"), 9300));
        //2、创建文档内容
        XContentBuilder builder = XContentFactory.jsonBuilder()
        .startObject()
        .field("id",1) .field("title","elasticsearch是一个基于lucene的搜索服务") .field("content","ElasticSearch是一个基于Lucene的搜索服务器。" +
        "它提供了一个分布式多用户能力的全文搜索引擎,基于RESTful web接口。" + "Elasticsearch是用Java开发的,并作为Apache许可条款下的开放源码发布," + "是当前流行的企业级搜索引擎。设计用于云计算中,能够达到实时搜索,稳定," + "可靠,快速,安装使用方便。")
        .endObject(); //3、建立文档对象
        client.prepareIndex("blog1", "article", "1").setSource(builder).get(); //4、释放资源
        client.close();
    }
}
运行这个,在打开http://localhost:9100,

这样就是成功啦,如果还是没有显示的话:
1.要先检查导入的jar包和自己的elasticsearch的版本是否一致,
2.看maven dependencies有没有下全
~~~~~~~~·~~~~~~~~·~~~~~~~~·~~~~~~~~·~~~~~~~~·~~~~~~~~·~~~~~~~~·~~~~~~~~·~~~~~~~~·~~~~~~~~·~~~~~~~~·~~~~~~~~·~~~~~~~~