成功的买到了这本叫做课本的书之后
我想到了一个案例
打算自己来做一做
目的是储存班级的每一个人的基本信息
相比于之前的文章来说
这个新的案例,在外部看起来没有什么和之前的有什么比较特别的地方
但是实现代码上来说,
我尝试了很多不同的方法来实现基本同样的功能
通过调试,检测每一个控件的属性,
属性没有研究到的大概就是不太常用的,
在以后会慢慢的补充,
还有百度真是个好东西哈哈哈哈
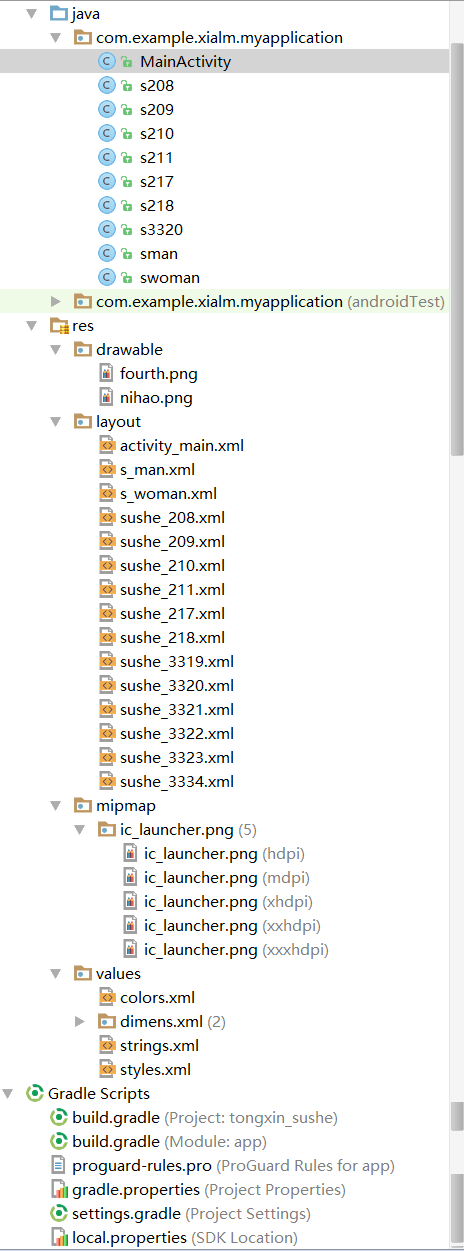
首先对我的程序框架进行介绍,
我使用了10个activity,每个activity代表了一个界面的代码
在看下面的界面和逻辑之前需要先看一下AndroidManifest
下面的“//”实际上是用来我自己看的,要是真的想注释的话,使用ctrl+shift+/
<?xml version="1.0" encoding="utf-8"?>
<manifest xmlns:android="http://schemas.android.com/apk/res/android"  //叫什么命名空间下载地址的
    package="com.example.xialm.myapplication">

    <application
        android:allowBackup="true"   //是否允许返回操作
        android:icon="@mipmap/ic_launcher"   //图标使用什么
        android:label="@string/app_name"  //app上面显示的是什么
        android:supportsRtl="true"  //是否支持从右向左的布局,right to left ,api17或者更高才能生效
        android:theme="@style/AppTheme">  //什么的主题

        <activity android:name=".MainActivity">     //这个算是声明登记一下,出现在逻辑中的activity都要在这里声明

  //在这里告诉大家是从这个见面开始
        <intent-filter>
                <action android:name="android.intent.action.MAIN" />
                <category android:name="android.intent.category.LAUNCHER" />
            </intent-filter>
        </activity>

//下面都是声明
        <activity android:name=".sman"></activity>
        <activity android:name=".swoman"></activity>
        <activity android:name=".s218"></activity>
        <activity android:name=".s208"></activity>
        <activity android:name=".s3320"></activity>
        <activity android:name=".s209"></activity>
        <activity android:name=".s210"></activity>
        <activity android:name=".s211"></activity>
        <activity android:name=".s217"></activity>

        <!-- ATTENTION: This was auto-generated to add Google Play services to your project for
             App Indexing.  See https://g.co/AppIndexing/AndroidStudio for more information.
             这是自动生成的,用于将谷歌Play services添加到您的项目中
             应用程序索引-->
        <meta-data
            android:name="com.google.android.gms.version"
            android:value="@integer/google_play_services_version" />
    </application>
</manifest>
下面是各个activity以及他们显示的界面
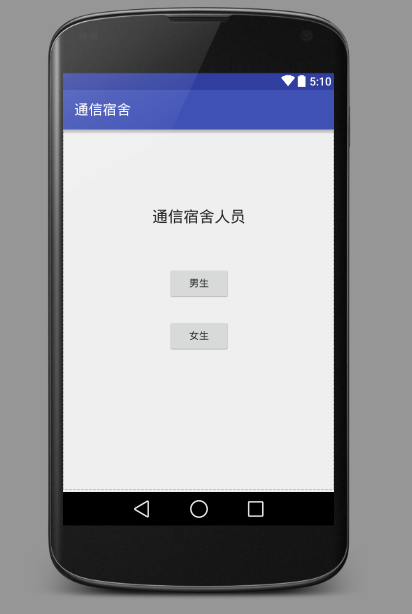
mainactivity代码用来选择查看男生还是女生
xml:
<?xml version="1.0" encoding="utf-8"?>
<RelativeLayout xmlns:android="http://schemas.android.com/apk/res/android"
    xmlns:tools="http://schemas.android.com/tools"
    android:layout_width="match_parent"
    android:layout_height="match_parent"
    android:paddingBottom="@dimen/activity_vertical_margin"
    android:paddingLeft="@dimen/activity_horizontal_margin"
    android:paddingRight="@dimen/activity_horizontal_margin"
    android:paddingTop="@dimen/activity_vertical_margin"
    tools:context="com.example.xialm.myapplication.MainActivity">

    <TextView
        android:layout_width="wrap_content"
        android:layout_height="wrap_content"
        android:textAppearance="?android:attr/textAppearanceLarge"
        android:text="@string/lable_sushe"
        android:id="@+id/textView"
        android:layout_marginTop="94dp"
        android:layout_alignParentTop="true"
        android:layout_centerHorizontal="true" />

    <Button
        android:layout_width="wrap_content"
        android:layout_height="wrap_content"
        android:text="@string/lable_man"
        android:id="@+id/button"
        android:layout_below="@+id/textView"
        android:onClick="c_man"
        android:layout_centerHorizontal="true"
        android:layout_marginTop="57dp" />

    <Button
        android:layout_width="wrap_content"
        android:layout_height="wrap_content"
        android:text="@string/lable_woman"
        android:id="@+id/button2"
        android:onClick="c_woman"
        android:layout_below="@+id/textView"
        android:layout_alignStart="@+id/button"
        android:layout_marginTop="131dp" />
</RelativeLayout>
mainactivity:
package com.example.xialm.myapplication;

import android.content.Intent;
import android.support.v7.app.AppCompatActivity;
import android.os.Bundle;
import android.view.View;

public class MainActivity extends AppCompatActivity {
    protected void onCreate(Bundle savedInstanceState) {
        super.onCreate(savedInstanceState);//不知道什么意思
        setContentView(R.layout.activity_main);//设置显示什么界面
    }
    public void c_man(View view)
    {
        Intent cman = new Intent(MainActivity.this,sman.class);//转换界面的意图
        startActivity(cman);//开启意图
    }
    public void c_woman(View view)
    {
        Intent cwoman = new Intent(MainActivity.this,swoman.class);

        startActivity(cwoman);
    }
}
这个activity是自动生成的框架
如果我们写一个自己的activity
那么就是我要介绍的下一步,点击进入男生宿舍时的界面
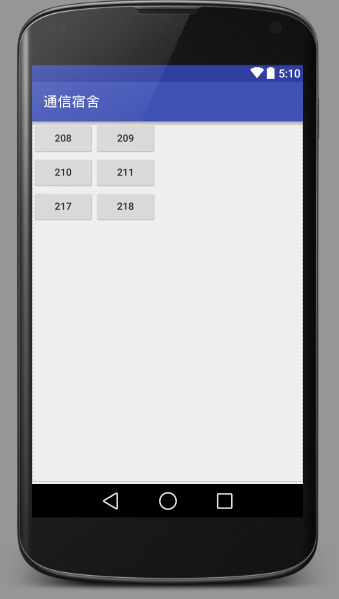
这个界面使用到的是列表布局
xml:
<?xml version="1.0" encoding="utf-8"?>
<LinearLayout xmlns:android="http://schemas.android.com/apk/res/android"
    android:layout_width="match_parent"
    android:layout_height="match_parent">

    <!--男生宿舍有6个使用按钮演示-->
    <!--这里使用表格布局,女生也使用表格布局-->
    <TableLayout
        android:layout_width="match_parent"
        android:layout_height="wrap_content"
        android:collapseColumns="3"           //表格的列数
        >
        <!--延伸列,十分洋气。android:stretchColumns="2"-->

        <TableRow                              //表格的第一行里面的东西
            android:layout_width="wrap_content"     //正好包裹
            android:layout_height="wrap_content">
            <Button
                android:layout_width="wrap_content"
                android:layout_height="wrap_content"
                android:text="208"
                android:id="@+id/b208"               //加个id为了加上点击事件

                />
            <Button
                android:layout_width="wrap_content"
                android:layout_height="wrap_content"
                android:text="209"
                android:id="@+id/b209"

                />

        </TableRow>

        <TableRow>                    //第二行的东西
            <Button
                android:layout_width="wrap_content"
                android:layout_height="wrap_content"
                android:text="210"
                android:id="@+id/b210"
                />
            <Button
                android:layout_width="wrap_content"
                android:layout_height="wrap_content"
                android:text="211"
                android:id="@+id/b211"

                />

        </TableRow>

        <TableRow>              //第三行的东西
            <Button
                android:layout_width="wrap_content"
                android:layout_height="wrap_content"
                android:text="217"
                android:id="@+id/b217"
                />
            <Button
                android:layout_width="wrap_content"
                android:layout_height="wrap_content"
                android:text="218"
                android:id="@+id/b218"
                />

        </TableRow>

    </TableLayout>

</LinearLayout>
activity:
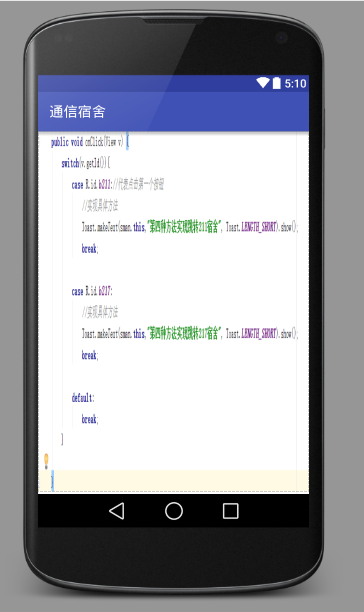
package com.example.xialm.myapplication;
import android.content.Intent;
import android.os.Bundle;
import android.view.View;
import android.widget.Button;
import android.widget.Toast;

public class sman extends MainActivity implements View.OnClickListener{

    protected void onCreate(Bundle savedInstanceState) {
        super.onCreate(savedInstanceState);
        setContentView(R.layout.s_man);

//匿名内部类点击时间的方法,注意是在oncreate的方法里面写这些东西
        Button bb_208 = (Button) findViewById(R.id.b208);
        bb_208.setOnClickListener(new View.OnClickListener() {

            public void onClick(View v) {
          //这里是写代码的
                Intent my1 = new Intent(sman.this, s208.class);   //转换界面的意图
                startActivity(my1);                               //开始转换的代码
            }
        });

//第二个按钮,同样的匿名内部类
        Button bb_218 = (Button) findViewById(R.id.b218);
        bb_218.setOnClickListener(new View.OnClickListener() {
            @Override
            public void onClick(View v) {

                Intent my1 = new Intent(sman.this, s218.class);
                startActivity(my1);
            }
        });

        Button bb_209 = (Button) findViewById(R.id.b209);
        bb_209.setOnClickListener(new View.OnClickListener() {
            @Override
            public void onClick(View v) {

                Intent my1 = new Intent(sman.this, s209.class);

                startActivity(my1);
                //这里写代码
            }
        });
//匿名内部类
        Button bb_210 = (Button) findViewById(R.id.b210);
        bb_210.setOnClickListener(new View.OnClickListener() {
            @Override
            public void onClick(View v) {
                Intent mmy = new Intent(sman.this,s210.class);
                startActivity(mmy);
            }
        });


//////////////////////////////////////////////////////////////////
//这里是为了下面的使用第四种点击事件的方法
        Button btn =(Button)findViewById(R.id.b211);
        Button btn2 =(Button)findViewById(R.id.b217);
        btn.setOnClickListener(this);
        btn2.setOnClickListener(this);
/////////////////////////////////////////////////////////////////


    }


//***************************************************************
//这个就是第四种方法,需要让铺垫的东西写在上面的oncreate里面,
//下面这个方法写在oncreate方法下面
    public void onClick(View v) {
        switch(v.getId()){
            case R.id.b211://代表点击第一个按钮
                //实现具体方法
                Toast.makeText(sman.this,"第四种方法实现跳转211宿舍", Toast.LENGTH_SHORT).show();
                Intent ii = new Intent(sman.this,s211.class);
                startActivity(ii);
                break;

            case R.id.b217:
                //实现具体方法
                Toast.makeText(sman.this,"第四种方法实现跳转217宿舍", Toast.LENGTH_SHORT).show();
                Intent jj = new Intent(sman.this,s217.class);
                startActivity(jj);
                break;

            default:
                break;
        }
    }

//***************************************************************************

}
男生宿舍208的界面
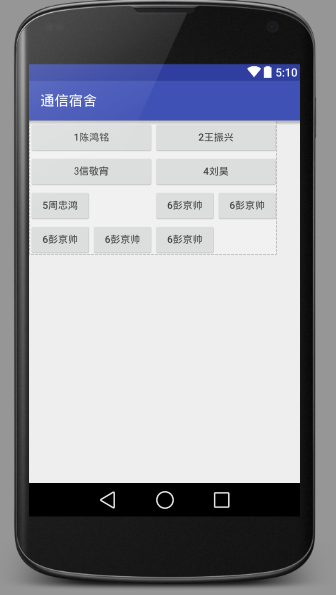
这个布局使用到的是网格布局,
xml:GridLayout
<?xml version="1.0" encoding="utf-8"?>
<LinearLayout xmlns:android="http://schemas.android.com/apk/res/android"
    android:layout_width="match_parent"
    android:layout_height="match_parent">

    <GridLayout
        android:layout_width="wrap_content"
        android:layout_height="wrap_content"
        android:columnCount="4"          //这个是列数
        android:orientation="horizontal"      //这个是下面解释了
        android:rowCount="3">            //这个是行数
<!--android:orientation="horizontal" 意思是超过规定数量是向右发展还是向下发展-->
        <Button
            android:text="1陈鸿铭"
            android:layout_columnSpan="2"        //这个是两列长度
                              //android:layout_rowSpan = "2"  跨越行数

            android:layout_gravity="fill"      //  这个是把两列长度填满

            />
        <!--android:layout_columnSpan="2"  这个是列跨越数-->
        <!--android:layout_gravity="fill"   这个是跨越了两列之后的 满填满-->

        <Button
            android:text="2王振兴"
            android:layout_columnSpan="2"
            android:layout_gravity="fill"

            />
        <Button
            android:text="3信敬宵"
            android:layout_columnSpan="2"

            android:layout_gravity="fill"

            />
        <Button
            android:text="4刘昊"
            android:layout_columnSpan="2"
            android:layout_gravity="fill"

            />
        <Button
            android:text="5周忠鸿"
            android:layout_columnSpan="2"
            />
        <Button
            android:text="6彭京帅"

            />
        <Button
            android:text="6彭京帅"
            />
        <Button
            android:text="6彭京帅"

            />
        <Button
            android:text="6彭京帅"

            />
        <Button
            android:text="6彭京帅"

            />

    </GridLayout>

</LinearLayout>
activity:
宿舍的成员页都没有什么东西了
209宿舍,使用的是相对布局
<?xml version="1.0" encoding="utf-8"?>
<LinearLayout xmlns:android="http://schemas.android.com/apk/res/android"
    android:layout_width="match_parent"
    android:layout_height="match_parent"
    >

    <RelativeLayout
        android:layout_width="wrap_content"
        android:layout_height="wrap_content">

        <Button
            android:layout_width="wrap_content"
            android:layout_height="wrap_content"
            android:text="王洪天"
            android:id="@+id/tt"

            />
        <Button
            android:layout_width="wrap_content"
            android:layout_height="wrap_content"
            android:text="郭轲贤"
            android:id="@+id/kexian"
            android:layout_below="@+id/tt"                      //在这个下面
            />

        <Button
            android:layout_width="wrap_content"
            android:layout_height="wrap_content"
            android:text="郝继东"
            android:id="@+id/jidong"
            android:layout_below="@+id/kexian"        //在这个下面
            />

        <Button
            android:layout_width="wrap_content"
            android:layout_height="wrap_content"
            android:text="刘宗尚"
            android:layout_toRightOf="@+id/tt"        //在这个右面
            android:layout_marginLeft="50px"          //距离左面的距离是50px
            />

        <Button
            android:layout_width="wrap_content"
            android:layout_height="wrap_content"
            android:text="侍晓琦"
            android:layout_toRightOf="@+id/jidong"      //在这个的右边
            android:layout_below="@+id/tt"            //而且在这个的下面
            android:layout_marginLeft="150px"          //和左边的东西距离是150px
            android:id="@+id/xiaoqi"
            />

        <Button
            android:layout_width="wrap_content"
            android:layout_height="wrap_content"
            android:text="崔浩"
            android:layout_toRightOf="@id/xiaoqi"        //在这个东西的右边

            android:layout_below="@id/xiaoqi"            //在这个东西的下面
            />

    </RelativeLayout>

</LinearLayout>
//由此可见我们的控件需要确定位置时,需要的是两个属性,一个确定x,一个确定y。
//然后我们在确定相隔的距离就可以了,慢慢调一调就可以调出自己喜欢的位置
210宿舍使用的线性布局
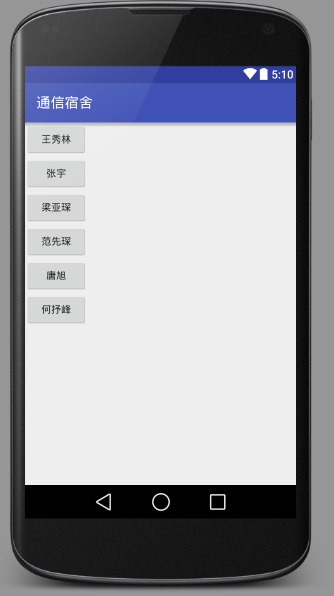
<?xml version="1.0" encoding="utf-8"?>
<LinearLayout xmlns:android="http://schemas.android.com/apk/res/android"
    android:layout_width="match_parent"
    android:layout_height="match_parent"
    android:orientation="vertical"           //要确定我们的线性布局的布局,是垂直还是水平,这个是垂直,
                            //水平布局时,是horizontal
    >

    <Button
        android:layout_width="wrap_content"
        android:layout_height="wrap_content"
        android:text="王秀林"

        />
    <Button
        android:layout_width="wrap_content"
        android:layout_height="wrap_content"
        android:text="张宇"

        />
    <Button
        android:layout_width="wrap_content"
        android:layout_height="wrap_content"
        android:text="梁亚琛"

        />
    <Button
        android:layout_width="wrap_content"
        android:layout_height="wrap_content"
        android:text="范先琛"

        />
    <Button
        android:layout_width="wrap_content"
        android:layout_height="wrap_content"
        android:text="唐旭"

        />
    <Button
        android:layout_width="wrap_content"
        android:layout_height="wrap_content"
        android:text="何抒峰"

        />

</LinearLayout>
211宿舍我玩了一个背景设置
xml:
<?xml version="1.0" encoding="utf-8"?>
<LinearLayout xmlns:android="http://schemas.android.com/apk/res/android"
    android:layout_width="match_parent"
    android:layout_height="match_parent"
    android:background="@drawable/fourth"  //设置背景,背景的图片是我找到了我的drawable目录,
                          //然后把我的图片放了进去 就可以导入啦

    >

</LinearLayout>
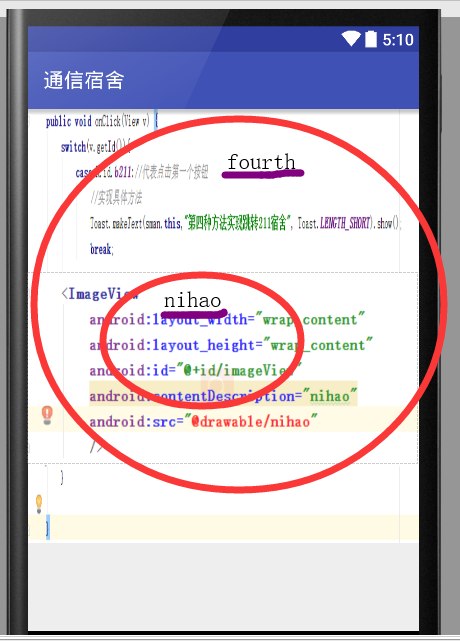
217宿舍我放了一个imageview的这么一个图片的区域,
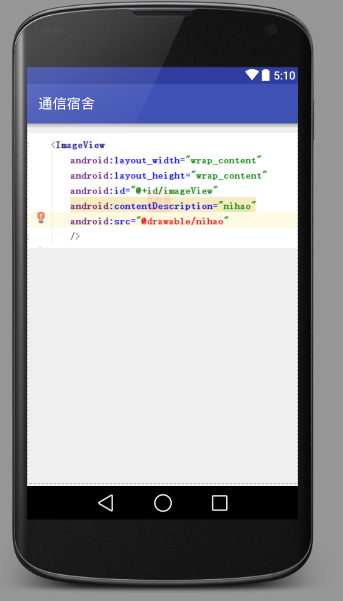
<?xml version="1.0" encoding="utf-8"?>
<LinearLayout xmlns:android="http://schemas.android.com/apk/res/android"
    android:layout_width="match_parent"
    android:layout_height="match_parent">

    <ImageView
        android:layout_width="wrap_content"
        android:layout_height="wrap_content"
        android:id="@+id/imageView"
        android:contentDescription="nihao"
        android:src="@drawable/nihao"     //这个是图片,导入方法是把图片放进文件夹里面
        />
</LinearLayout>
218宿舍使用绝对布局
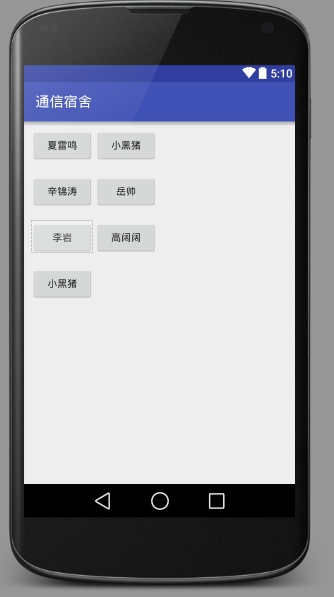
<?xml version="1.0" encoding="utf-8"?>
<LinearLayout xmlns:android="http://schemas.android.com/apk/res/android"
    android:layout_width="match_parent"
    android:layout_height="match_parent">

    <AbsoluteLayout
        android:layout_width="wrap_content"
        android:layout_height="wrap_content">
        <Button
            android:layout_width="wrap_content"
            android:layout_height="wrap_content"
            android:layout_x="20px"
            android:layout_y="20px"
            android:text="夏雷鸣"
            android:id="@+id/xia"
            />

        <Button
            android:layout_width="wrap_content"
            android:layout_height="wrap_content"
            android:layout_x="200px"
            android:layout_y="20px"
            android:text="小黑猪"
            android:id="@+id/xiao"
            />

        <Button
            android:layout_width="wrap_content"
            android:layout_height="wrap_content"
            android:layout_x="20px"
            android:layout_y="150px"
            android:text="辛锦涛"

            />
        <Button
            android:layout_width="wrap_content"
            android:layout_height="wrap_content"
            android:layout_x="200px"
            android:layout_y="150px"
            android:text="岳帅"

            />
        <Button
            android:layout_width="wrap_content"
            android:layout_height="wrap_content"
            android:layout_x="20px"
            android:layout_y="280px"
            android:text="李岩"

            />
        <Button
            android:layout_width="wrap_content"
            android:layout_height="wrap_content"
            android:layout_x="200px"
            android:layout_y="280px"
            android:text="高阔阔"

            />
        <Button
            android:layout_width="wrap_content"
            android:layout_height="wrap_content"
            android:layout_x="20px"
            android:layout_y="410px"
            android:text="小黑猪"

            />

    </AbsoluteLayout>
</LinearLayout>
//这种布局的主要是xy轴距离的确定
3319宿舍使用了框架布局
xml
<?xml version="1.0" encoding="utf-8"?>
<FrameLayout xmlns:android="http://schemas.android.com/apk/res/android"
    android:layout_width="match_parent"
    android:layout_height="match_parent">

//放在下面
<ImageView
    android:layout_width="wrap_content"
    android:layout_height="wrap_content"
    android:background="@drawable/fourth"
    />

//放在上边

    <ImageView
        android:layout_width="wrap_content"
        android:layout_height="wrap_content"
        android:background="@drawable/nihao"
        android:layout_gravity="center"
        />
</FrameLayout>
总结一下,本次案例中我学会了
第一:使用按键的四种点击方法,
其中最简单的是给按钮加onclick的属性,再去activity中加入onclick的方法
但是最常用的还是匿名内部类的方法,看起来会比较有条理,
当然还有第四种方法,类似于我之前在java里面学习的switch
也有可能是当时上课的时候只会用这种方法,哈哈,不过现在都明白了
第二:是布局
线性布局(LinearLayout),是一种顺序排列的布局,可以选择是横向或者纵向
相对布局(RelativeLayout),反映了布局中各个控件之间的关系
表格布局(TableLayout),是在确定了几列之后,把行加入的一种布局
绝对布局(AbsoluteLayout),是xy的方式显示子组件
框架布局(FrameLayout),是用层叠的方式显示子组件
网格布局(GridLayout),确定几行几列,一个控件可以占领几个行列是可以控制的
其中使用起来比较好用的是绝对布局和网格布局吧,