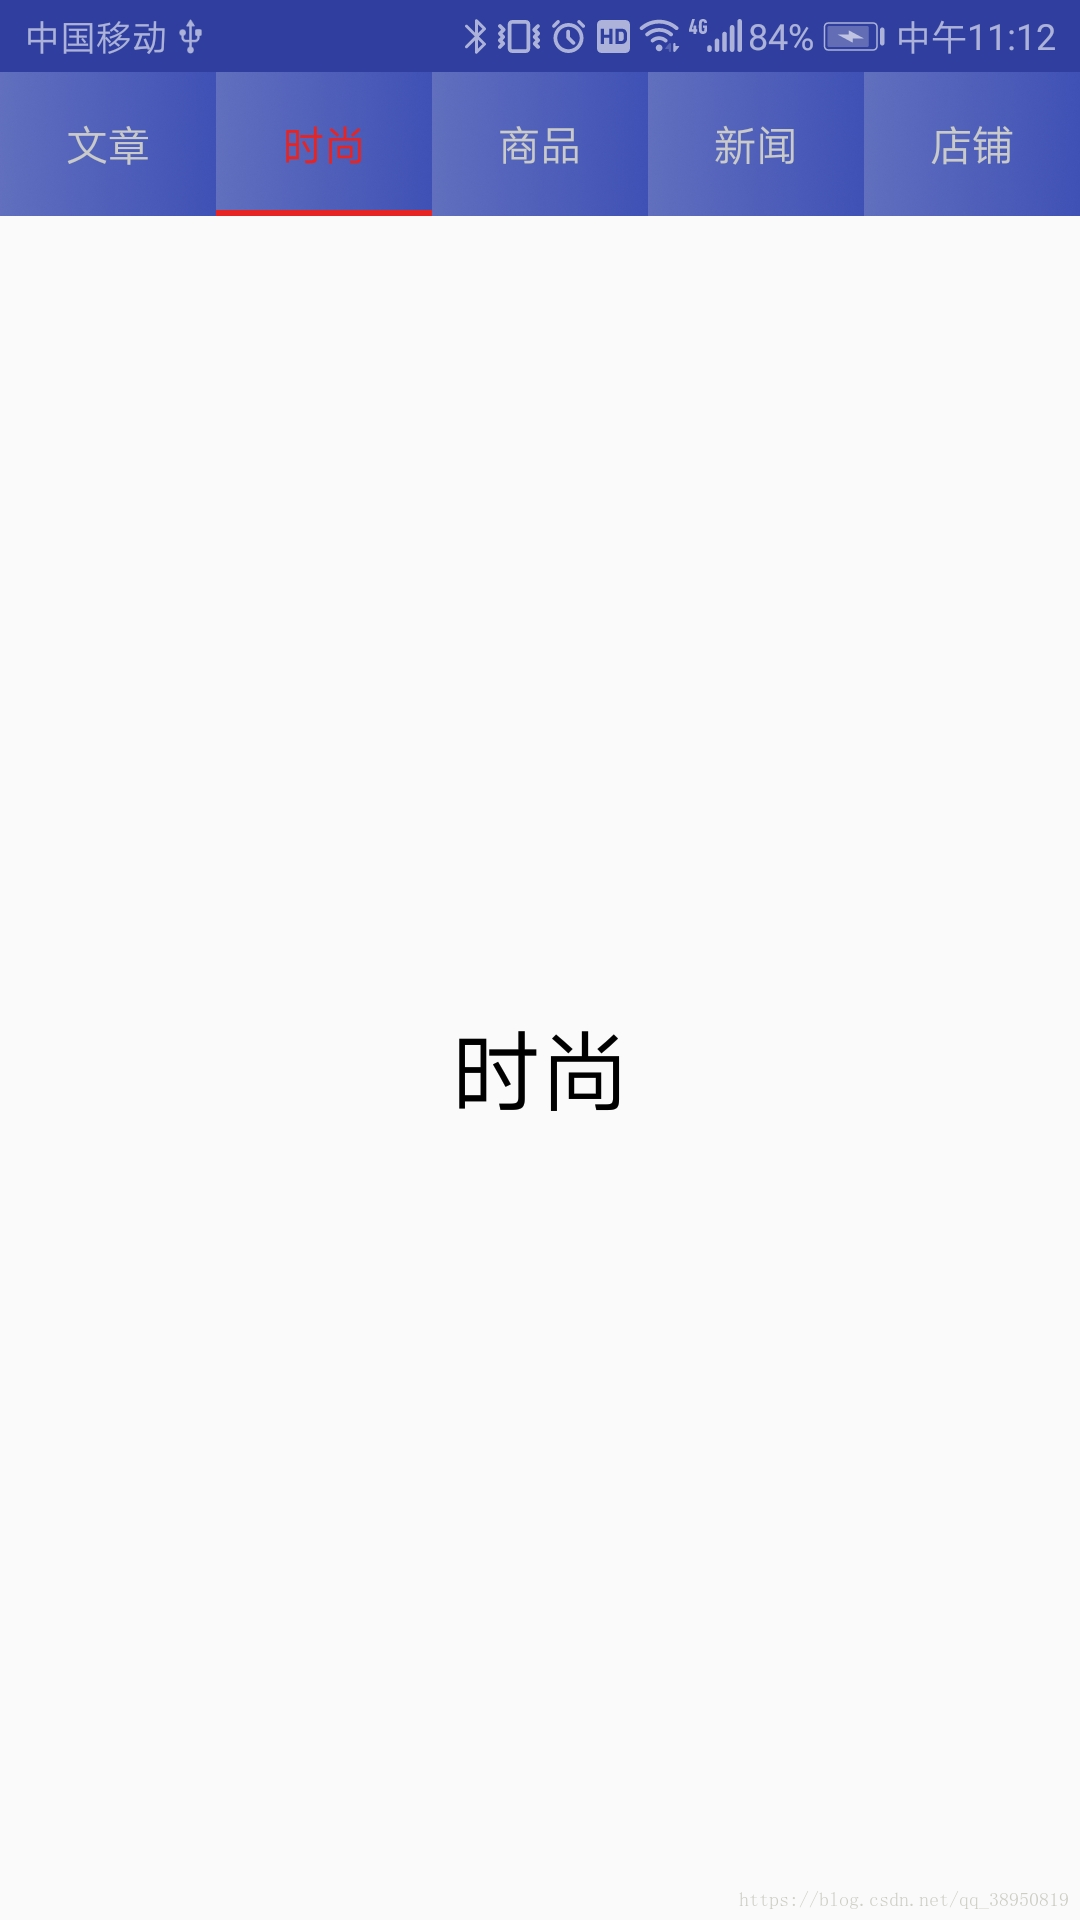
之前实现如下图中的导航效果时,都是顶部一个线性布局+ViewPager+Fragment,线性布局中再去部署TextView和View,ViewPager滑动时,线性布局的布局就要跟着变化。直到我遇到了Metrial Design的TabLayout,我才意识到原来实现一个这样的导航效果还可以这么方便,下面我就来使用TabLayout实现如图的导航栏效果。
首先,要进行Material Design包的加载,我使用的是Android Studio 3.0版本,在app的build.gradle中添加依赖:
implementation 'com.android.support:design:28.0.0-alpha1'

接着,实现如图的导航,除了使用TabLayout,仍然需要ViewPager和Fragment的配合。
这里设置导航分为文章、时尚、商品、新闻、店铺、旅游6个部分,对应的需要定义6个Fragment布局和类。
文章 fragment_article.xml如图:
<?xml version="1.0" encoding="utf-8"?>
<LinearLayout xmlns:android="http://schemas.android.com/apk/res/android"
    android:layout_width="match_parent"
    android:layout_height="match_parent"
    android:orientation="vertical"
    android:gravity="center">

    <TextView
        android:layout_width="wrap_content"
        android:layout_height="wrap_content"
        android:textSize="30sp"
        android:textColor="#000000"
        android:id="@+id/tv_article"/>

</LinearLayout>
文章 ArticleFragment.java如图:
//注意:这里的Fragment导入的包是v4下的,android.support.v4.app.Fragment
public class ArticleFragment extends Fragment {

    private TextView textView;

    @Nullable
    @Override
    public View onCreateView(@NonNull LayoutInflater inflater, @Nullable ViewGroup container, @Nullable Bundle savedInstanceState) {
        View view=inflater.inflate(R.layout.fragment_article,container,false);
        textView=view.findViewById(R.id.tv_article);
        return view;
    }

    @Override
    public void onViewCreated(@NonNull View view, @Nullable Bundle savedInstanceState) {
        super.onViewCreated(view, savedInstanceState);

        textView.setText("文章");
    }
}
其他5个部分类似,此处就不贴代码了。既然使用了ViewPager+Fragment就必须需要一个适配器来为ViewPager填充内容,下面是自定义的FragmentAdapter.java:
public class FragmentAdapter extends FragmentPagerAdapter {

    private List<String> titleList;  //存放导航的标题
    private List<Fragment> list;     //存放ViewPager中要填充的Fragment

    public FragmentAdapter(FragmentManager fm,List<String> titleList,List<Fragment> list) {
        super(fm);
        this.titleList=titleList;
        this.list=list;
    }


    @Override
    public Fragment getItem(int i) {
        return list.get(i);
    }

    @Override
    public int getCount() {
        return list.size();
    }

    @Nullable
    @Override
    //重载此方法  设置导航栏中对应的标题
    //如果不重载,导航栏的标题就没有内容,只有滑动条
    public CharSequence getPageTitle(int position) {
        return titleList.get(position);
    }
}
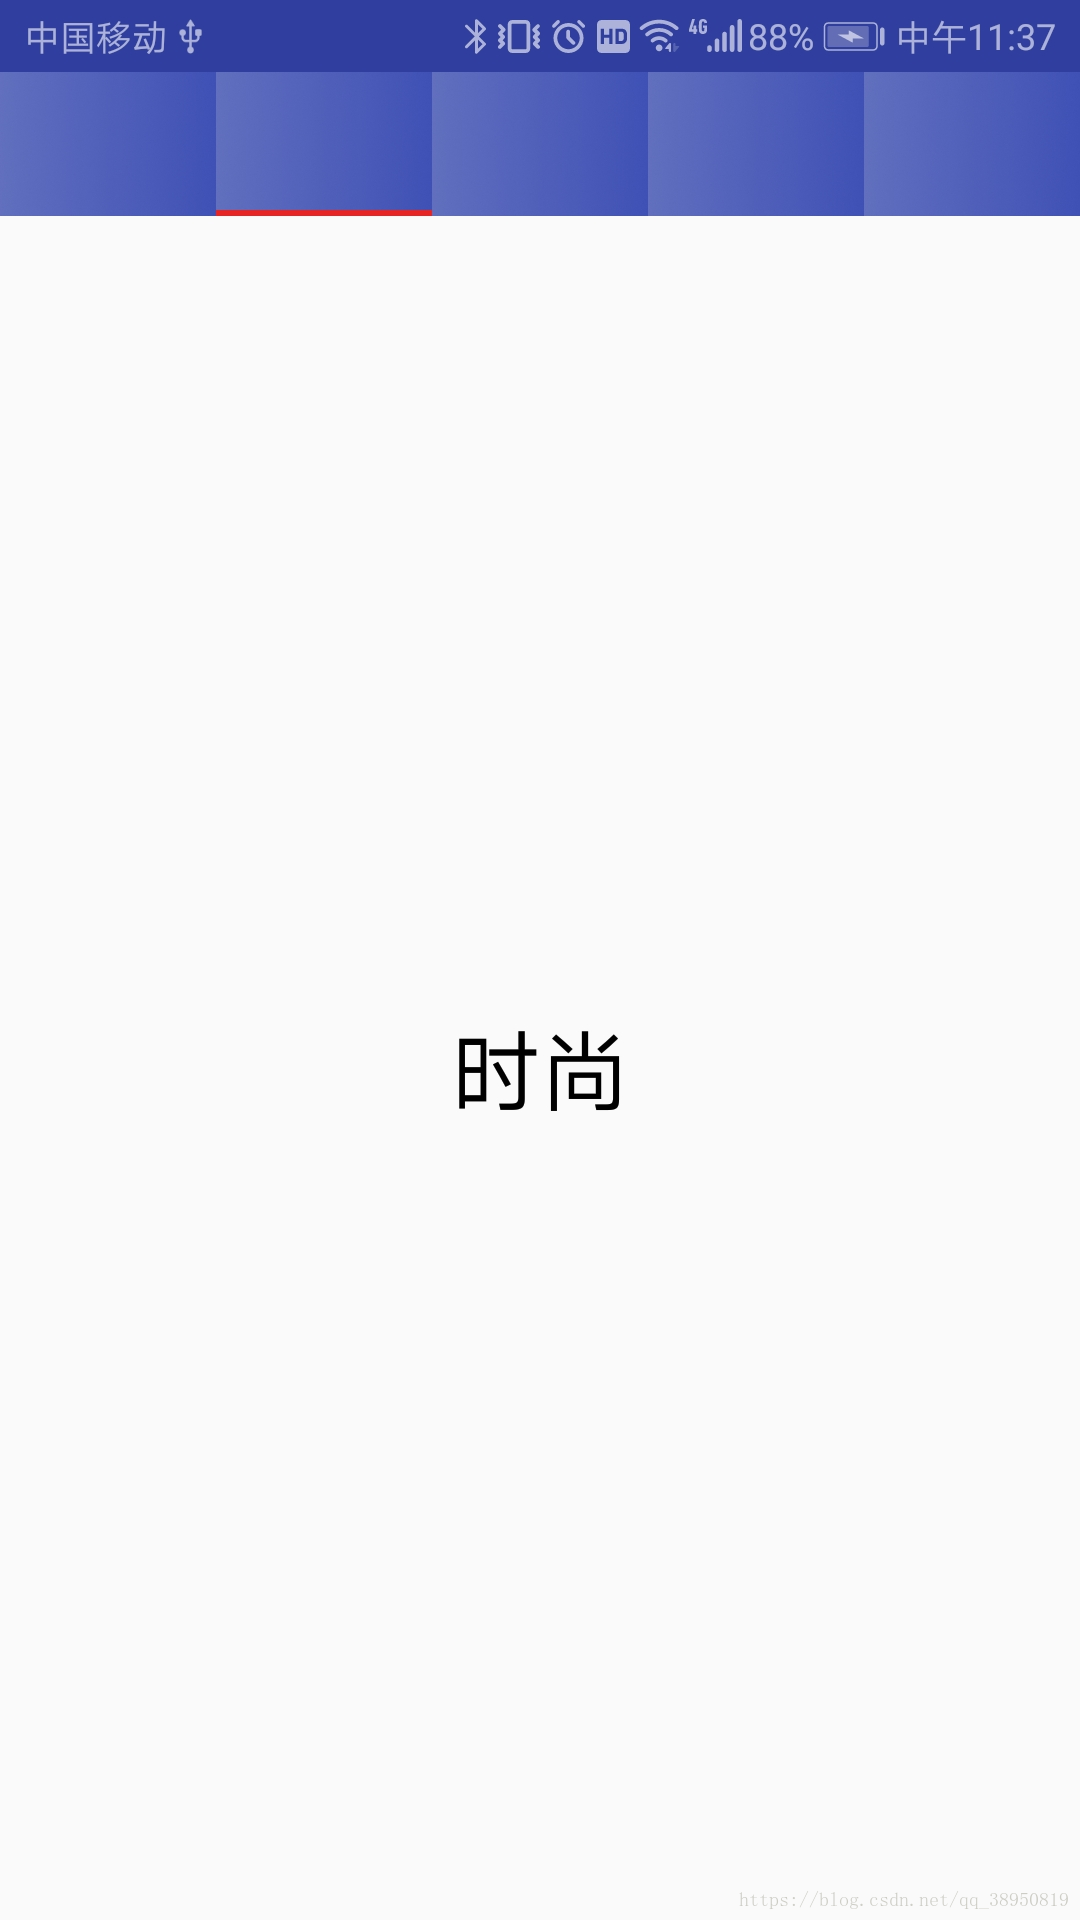
这里要注意的是,一定要重载getPageTitle()这个方法,否则导航栏没有标题,只有一个导航条,如下图:
在布局中使用TabLayout,下面是activity_material_design.xml布局:
<?xml version="1.0" encoding="utf-8"?>
<LinearLayout xmlns:android="http://schemas.android.com/apk/res/android"
    xmlns:app="http://schemas.android.com/apk/res-auto"
    xmlns:tools="http://schemas.android.com/tools"
    android:layout_width="match_parent"
    android:layout_height="match_parent"
    android:orientation="vertical"
    tools:context=".MaterialDesignActivity">

    <android.support.design.widget.TabLayout
        android:id="@+id/tablelayout"
        android:layout_width="match_parent"
        android:layout_height="wrap_content"
        app:tabMode="scrollable"
        app:tabTextColor="#cacaca"
        app:tabSelectedTextColor="#e62424"
        app:tabIndicatorColor="#e62424"
        app:tabBackground="@drawable/tab_bg"
        app:tabTextAppearance="@android:style/TextAppearance.Small">
    </android.support.design.widget.TabLayout>

    <android.support.v4.view.ViewPager
        android:id="@+id/viewpager"
        android:layout_width="match_parent"
        android:layout_height="0dp"
        android:layout_weight="1">
    </android.support.v4.view.ViewPager>

</LinearLayout>
这里要说明一下TabLayout的几个属性:
app:tabBackground 设置TableLayout的背景色
app:tabTextColor 设置未被选中时文字的颜色
app:tabSelectedTextColor 设置选中时文字的颜色
app:tabIndicatorColor 设置滑动条的颜色
app:tabTextAppearance="@android:style/TextAppearance.Large"
设置TableLayout的文本主题,无法通过textSize来设置文字大小,只能通过主题来设定
app:tabMode="scrollable"
设置TableLayout可滑动,当页数较多时,一个界面无法呈现所有的导航标签,此时就必须要用。
这里app:tabBackground属性使用的是我自己定义的一个背景tab_bg.xml,布局如下:
<?xml version="1.0" encoding="utf-8"?>
<shape xmlns:android="http://schemas.android.com/apk/res/android">

    <gradient android:startColor="#616fbe"
        android:endColor="@color/colorPrimary"
        android:type="linear"/>

</shape>
下面再贴一下MaterialDesignActivity.java的代码:
public class MaterialDesignActivity extends AppCompatActivity {

    private TabLayout tabLayout;
    private ViewPager viewPager;

    private List<String> titleList;
    private List<Fragment> list;
    private FragmentAdapter fragmentAdapter;

    @Override
    protected void onCreate(Bundle savedInstanceState) {
        super.onCreate(savedInstanceState);
        setContentView(R.layout.activity_material_design);

        initView();
        initData();
    }


    private void initView() {
        tabLayout=findViewById(R.id.tablelayout);
        viewPager=findViewById(R.id.viewpager);
    }

    private void initData() {
        titleList=new ArrayList<>();
        list=new ArrayList<>();

        titleList.add("文章");
        titleList.add("时尚");
        titleList.add("商品");
        titleList.add("新闻");
        titleList.add("店铺");
        titleList.add("旅游");

        list.add(new ArticleFragment());
        list.add(new FashionFragment());
        list.add(new GoodsFragment());
        list.add(new NewsFragment());
        list.add(new ShopFragment());
        list.add(new TourismFragment());

        fragmentAdapter=new FragmentAdapter(getSupportFragmentManager(),titleList,list);
        viewPager.setAdapter(fragmentAdapter);

        //此方法设置导航  作用有3:从ViewPager中获取TableLayout的title
        //ViewPager滑动时设置TabLaout的Title和indicator(滑动条)
        //点击TabLayout时ViewPager相应变化
        tabLayout.setupWithViewPager(viewPager);

    }
}
下面就可以运行项目,效果就是一开始的图,这里TabLayout使用了app:tabMode="scrollable"的属性,所以运行结果导航栏是可以滑动。好了,TabLayout的简单使用到这里就完成了,最后感谢一下https://blog.csdn.net/chenyuan_jhon/article/details/62898808博客的内容讲解。