版权声明:本文为博主原创文章,遵循 CC 4.0 BY-SA 版权协议,转载请附上原文出处链接和本声明。
ZFJFormKit
介绍
ZFJFormKit,通过整合数据和事件为一个Model来配置不同类型的Cell来动态设置UITableView。
| 项目地址: | https://github.com/zfjsyqk/ZFJFormKit.git |
|---|---|
| Demo地址: | https://gitee.com/zfj1128/ZFJFormKit.git |
| 博客地址: | https://zfj1128.blog.csdn.net/article/details/93515776 |
软件架构
主要通过ZFJFormModel来配置每一个Cell,这里面可以配置Cell的值和事件;还可以通过ZFJFormCellConfig来配置Cell的通用属性,当然也可以为每个不同的Cell设置不同的ZFJFormCellConfig,
ZFJFormConfig类主要用于设置ZFJFormTableView的相关属性;项目的所以Cell都继承于ZFJFormCell;
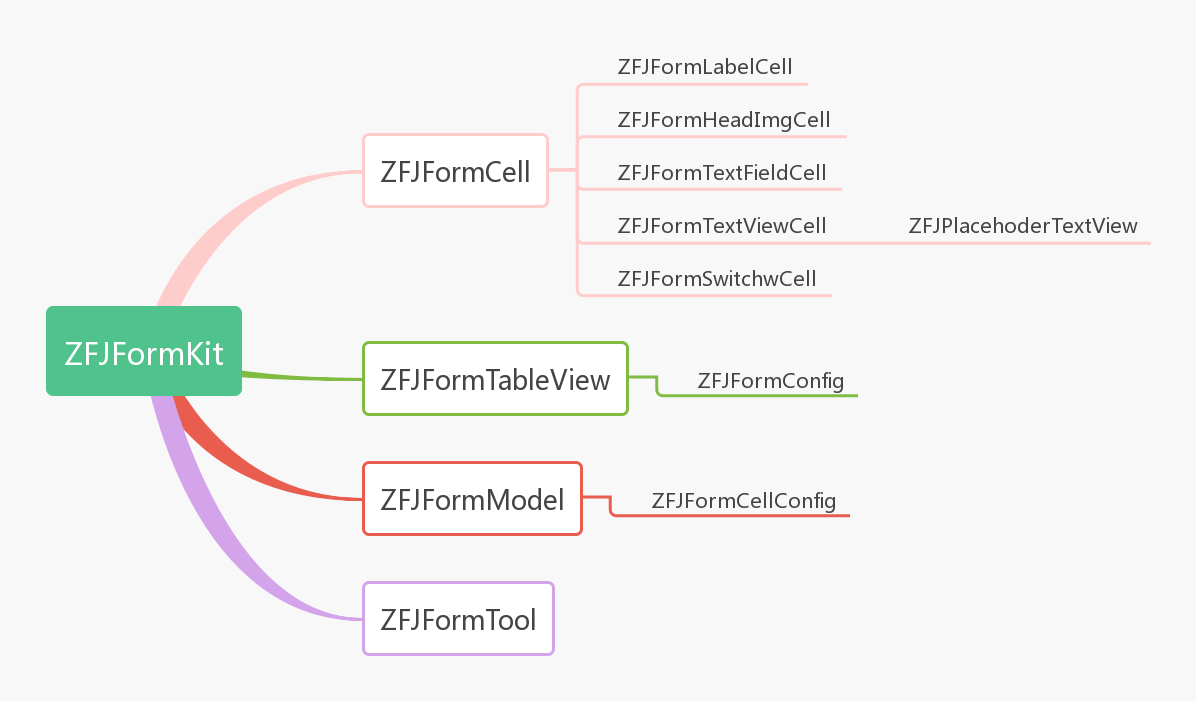
ZFJFormKit通过ZFJFormCell、ZFJFormModel和ZFJFormCellConfig来设置ZFJFormCell,然后又通过ZFJFormConfig来配置ZFJFormTableView,通过ZFJFormCell和ZFJFormTableView来实现我们想要的表单Form。
ZFJPlacehoderTextView是自定义带占位符placeholder的textView。
具体结构图如下:
安装教程
- pod ‘ZFJFormKit’
- pod install
- 导入头文件#import “ZFJFormKit.h”
使用说明
ZFJFormKit包含6中CELL类型,具体类型如下:
typedef NS_ENUM(NSInteger, ZFJFormCellType) {
    KFormCellLabelType      = 0,    //信息展示
    KFormCellHeadImgType    = 1,    //右边头像
    KFormCellTextFieldType  = 2,    //单行输入
    KFormCellTextViewType   = 3,    //多行输入
    KFormCellSwitchType     = 4,    //右侧开关
    KFormCellCustomType     = 5     //自定义CELL
};
- Cell通用配置
    //CELL的通用配置Model,也可以根据不同的CELL分别配置
    ZFJFormCellConfig *configModel = [[ZFJFormCellConfig alloc] init];
    //左边title
    configModel.titleColor = [UIColor blackColor];
    configModel.titleFont = [UIFont fontWithName:@"PingFangSC-Regular" size:16];
    //头像圆角尺寸
    configModel.headImgRadius = 5;
    //CELL右边值得颜色和字体
    configModel.valueColor = [UIColor blueColor];
    configModel.valueFont = [UIFont fontWithName:@"PingFangSC-Regular" size:16];
    //分割线的配置
    configModel.separatorLineColor = [UIColor groupTableViewBackgroundColor];
    configModel.isHiddenLine = NO;
    //占位符颜色
    configModel.placeholderColor = [UIColor colorWithRed:0.776 green:0.776 blue:0.800 alpha:1.00];
    //控件左右两边的间距
    configModel.marginSize = 15;
- 文本信息展示
这里的不能修改也不是绝对意义上的不能修改,可以通过设置isCanSelect属性,然后在ZFJFormTableView的点击事件回调中didSelectRowBlock,重新设置model.value的值;
	//姓名 不能修改,所以不能输入
    ZFJFormModel *name_model = [[ZFJFormModel alloc] init];
    name_model.formCellType = KFormCellLabelType;
    name_model.configModel = _configModel;
    name_model.title = @"姓名";
    name_model.value = @"张福杰";
    name_model.height = 50;
    [self.dataArray addObject:name_model];
- 头像类型Cell设置
需要说明的是iconObject是NSObject类型,支持的类型有UIImage或者NSString或者NSData;这里面设置isCanSelect为YES,可以点击重新从相册里面设置新的图片,当然这个功能不单单只是用于头像功能,用户也可以根据自己的需要设置其他类型的image的cell;
	/**
	 头像(UIImage或者NSString或者NSData)
	 */
	@property (nonatomic,strong) NSObject *iconObject;
	ZFJFormModel *headImg_model = [[ZFJFormModel alloc] init];
    //CELL类型
    headImg_model.formCellType = KFormCellHeadImgType;
    //CELL的通用配置Model,也可以根据不同的CELL分别配置
    headImg_model.configModel = configModel;
    headImg_model.title = @"头像";
    headImg_model.iconObject = @"https://timgsa.baidu.com/timg?image&quality=80&size=b9999_10000&sec=1561278644354&di=3cc92ef55c2336b29b1fe09cbf614705&imgtype=0&src=http%3A%2F%2Fimg4q.duitang.com%2Fuploads%2Fitem%2F201408%2F08%2F20140808171354_XkhfE.jpeg";
    headImg_model.height = 100;
    headImg_model.isCanSelect = YES;
    headImg_model.isShowCellRightImg = YES;
    [self.dataArray addObject:headImg_model];
- 单行输入
	//昵称(单行输入 KFormCellTextFieldType)
    ZFJFormModel *nickName_model = [[ZFJFormModel alloc] init];
    nickName_model.formCellType = KFormCellTextFieldType;
    nickName_model.configModel = configModel;
    nickName_model.title = @"昵称";
    nickName_model.placeholder = @"请输入您的昵称";
    nickName_model.height = 50;
    nickName_model.validateBlock = ^BOOL(ZFJFormModel * _Nullable model) {
        if(model.value <= 0){
            [MBProgressHUD SHOWPrompttext:model.placeholder];
            return NO;
        }
        return YES;
    };
    [self.dataArray addObject:nickName_model];
- 多行输入
多行输入可以设置最大高度textView_maxHeight,如果超过最大高度,则textView内就进行滚动展示,cell 的高度也不会增加;
	//个人简介(KFormCellTextViewType 多行输入)
    ZFJFormModel *introduction_model = [[ZFJFormModel alloc] init];
    introduction_model.formCellType = KFormCellTextViewType;
    introduction_model.configModel = configModel;
    introduction_model.title = @"个人简介";
    introduction_model.placeholder = @"请输入您的个人简介";
    introduction_model.height = 50;
    introduction_model.textView_maxHeight = 100;
    introduction_model.validateBlock = ^BOOL(ZFJFormModel * _Nullable model) {
        if(model.value <= 0){
            [MBProgressHUD SHOWPrompttext:model.placeholder];
            return NO;
        }
        return YES;
    };
    [self.dataArray addObject:introduction_model];
- 选择器
这里选择器的打开或者关闭状态可以通过设置model.value来控制,当model.value==nil的时候,选择器从处于关闭状态,反之处于打开状态;
	//选择器(KFormCellSwitchType)
    ZFJFormModel *switch_model = [[ZFJFormModel alloc] init];
    switch_model.formCellType = KFormCellSwitchType;
    switch_model.configModel = configModel;
    switch_model.title = @"是否开启好友推荐";
    switch_model.placeholder = @"请选择";
    switch_model.height = 50;
    switch_model.validateBlock = ^BOOL(ZFJFormModel * _Nullable model) {
        if(model.value == nil){
            [MBProgressHUD SHOWPrompttext:model.placeholder];
            return NO;
        }
        return YES;
    };
    [self.dataArray addObject:switch_model];
- 自定义Cell
关于自定义cell,一定要注册cell类型,即传custom_model.customCls = [SaveCell class];SaveCell即为你自定义的cell,自定义cell可以设置ZFJFormCellDelegate代理,也可以不用设置;
如果自定义Cell有事件需要处理可以使用custom_model.customCellEventBlock来接收事件和处理事件;
	//自定义CELL(KFormCellCustomType 保存)
    ZFJFormModel *custom_model = [[ZFJFormModel alloc] init];
    custom_model.formCellType = KFormCellCustomType;
    custom_model.configModel = configModel;
    custom_model.customCls = [SaveCell class];
    custom_model.height = 120;
    custom_model.isCanSelect = YES;
    //自定义CELL事件处理
    custom_model.customCellEventBlock = ^(id  _Nonnull obj) {
        NSLog(@"obj == %@",obj);
        [ZFJFormTool validateDataArray:self.dataArray];
    };
    [self.dataArray addObject:custom_model];
自定义Cell的设置如下:
- (void)configCellWithModel:(ZFJFormModel *)model{
    NSLog(@"aaaaaaa");
    _model = model;
}

- (void)saveBtnClick:(UIButton *)button{
    //自定义CELL的事件处理
    if(_model != nil && _model.customCellEventBlock){
        _model.customCellEventBlock(button);
    }
}
- ZFJFormTableView配置
- (ZFJFormTableView *)tableView{
    if (_tableView == nil){
        ZFJFormConfig *formConfig = [[ZFJFormConfig alloc] init];
        formConfig.backgroundColor = [UIColor groupTableViewBackgroundColor];

        _tableView = [[ZFJFormTableView alloc] initWithFrame:CGRectMake(0, KNavBarHei, ZFJForm_ScreenWidth, ZFJForm_ScreenHeight - KNavBarHei) config:formConfig];
    }
    return _tableView;
}
事件处理接收
_tableView.didSelectRowBlock = ^(NSIndexPath * _Nullable indexPath, ZFJFormModel * _Nullable model) {
            NSLog(@"%@",model);
        };
- 值验证
值验证我提供了两个方法,一个验证一维数组,一个验证二维数组;使用如下(一维数组):
[ZFJFormTool validateDataArray:self.dataArray];
- ZFJPlacehoderTextView
ZFJPlacehoderTextView是自定义带占位符placeholder的textView,使用如下:
- (ZFJPlacehoderTextView *)textView{
    if(_textView == nil){
        _textView = [[ZFJPlacehoderTextView alloc] init];
        _textView.font = [UIFont systemFontOfSize:14];
        _textView.delegate = self;
        _textView.textAlignment = NSTextAlignmentRight;
        _textView.placeholder = @"这是提示文字";
    }
    return _textView;
}
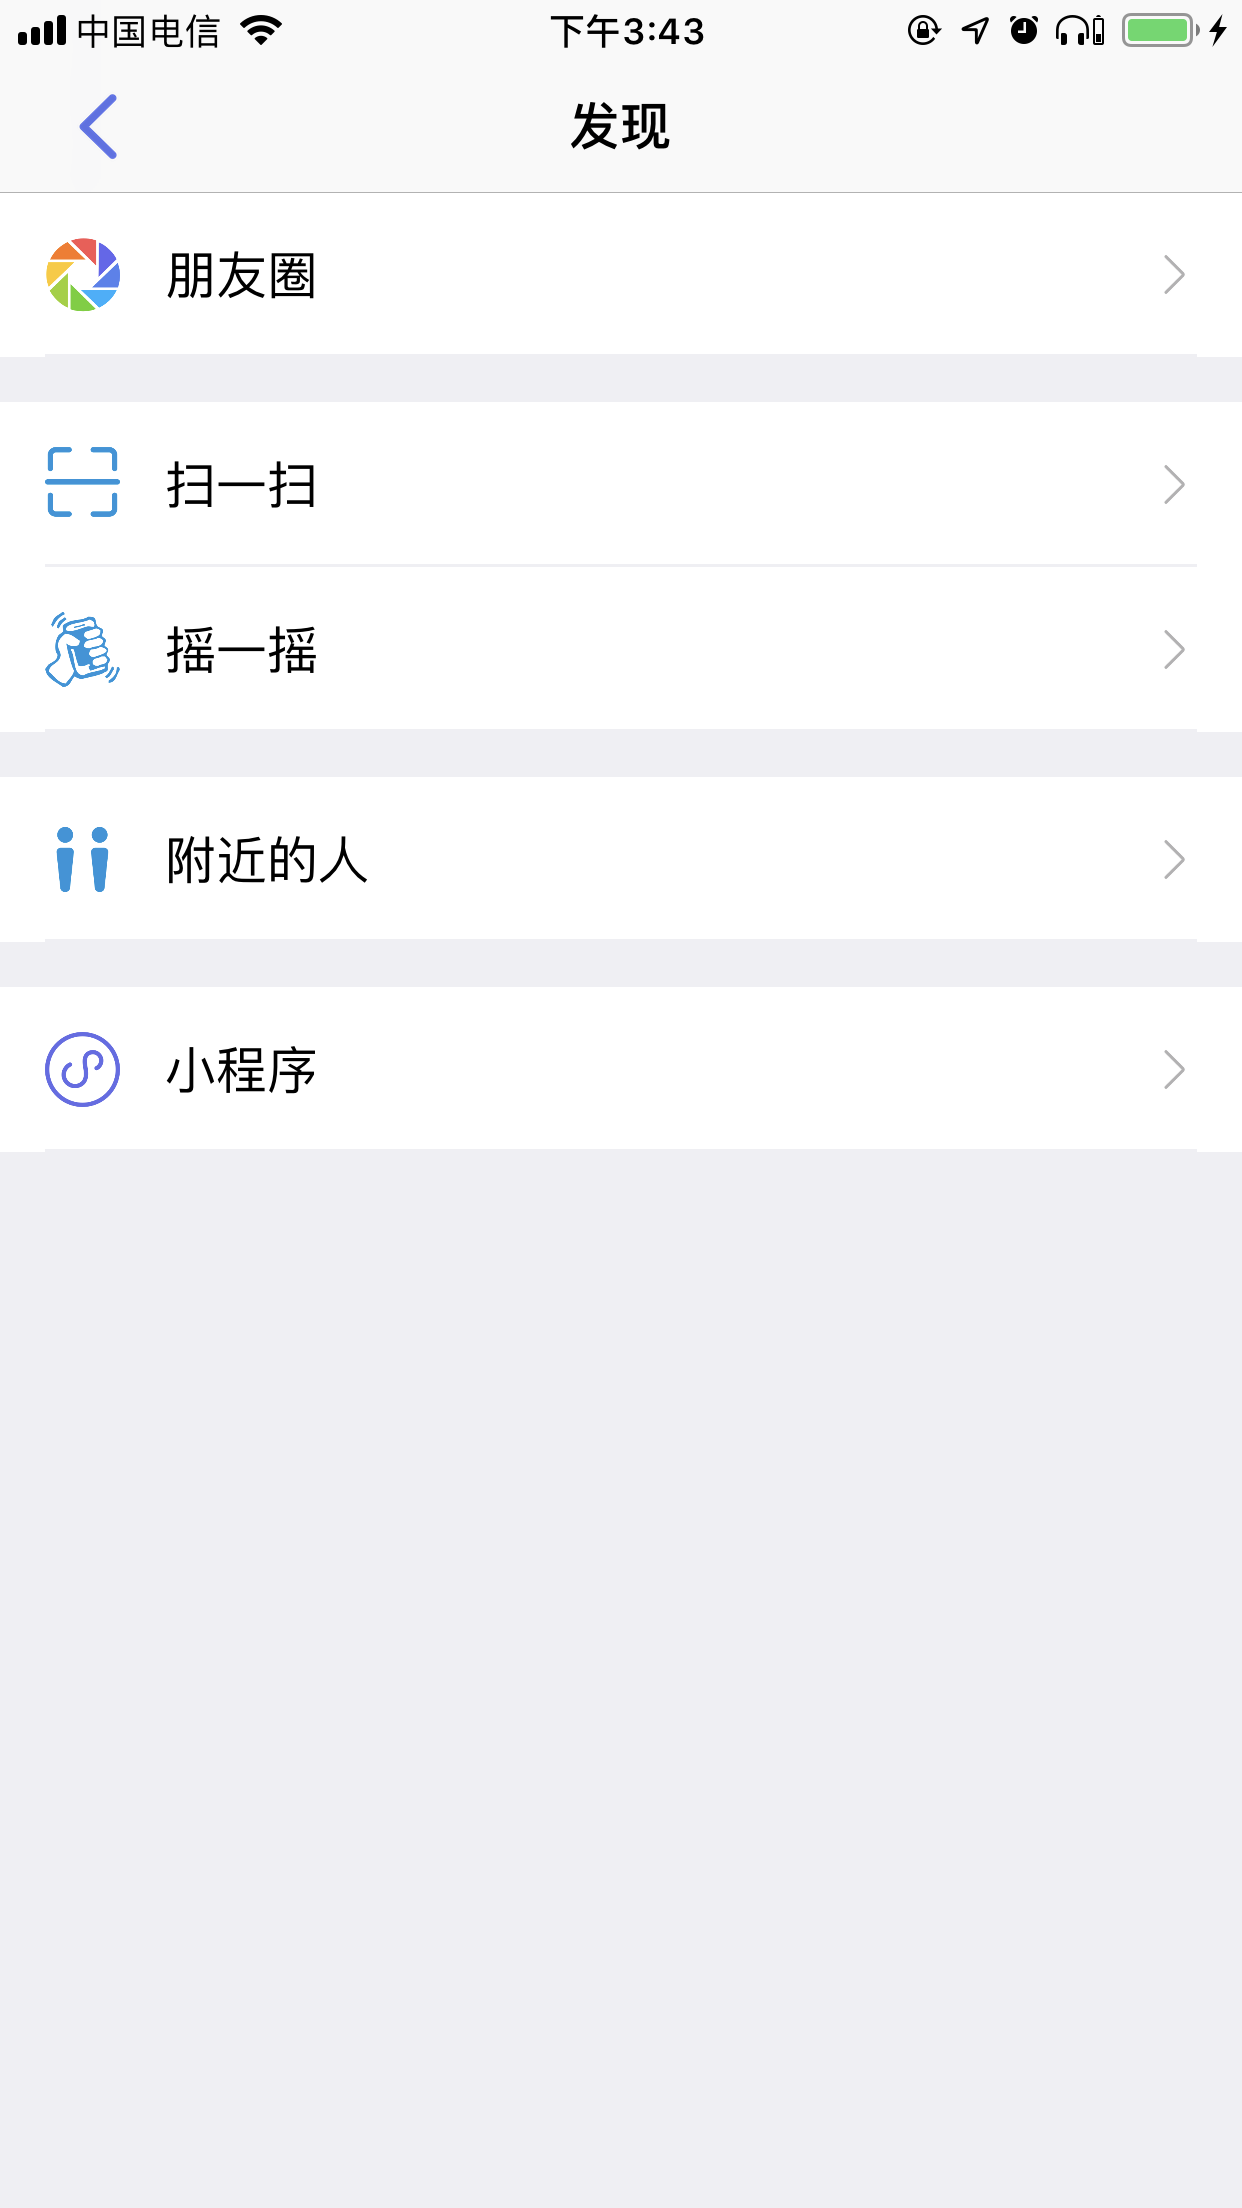
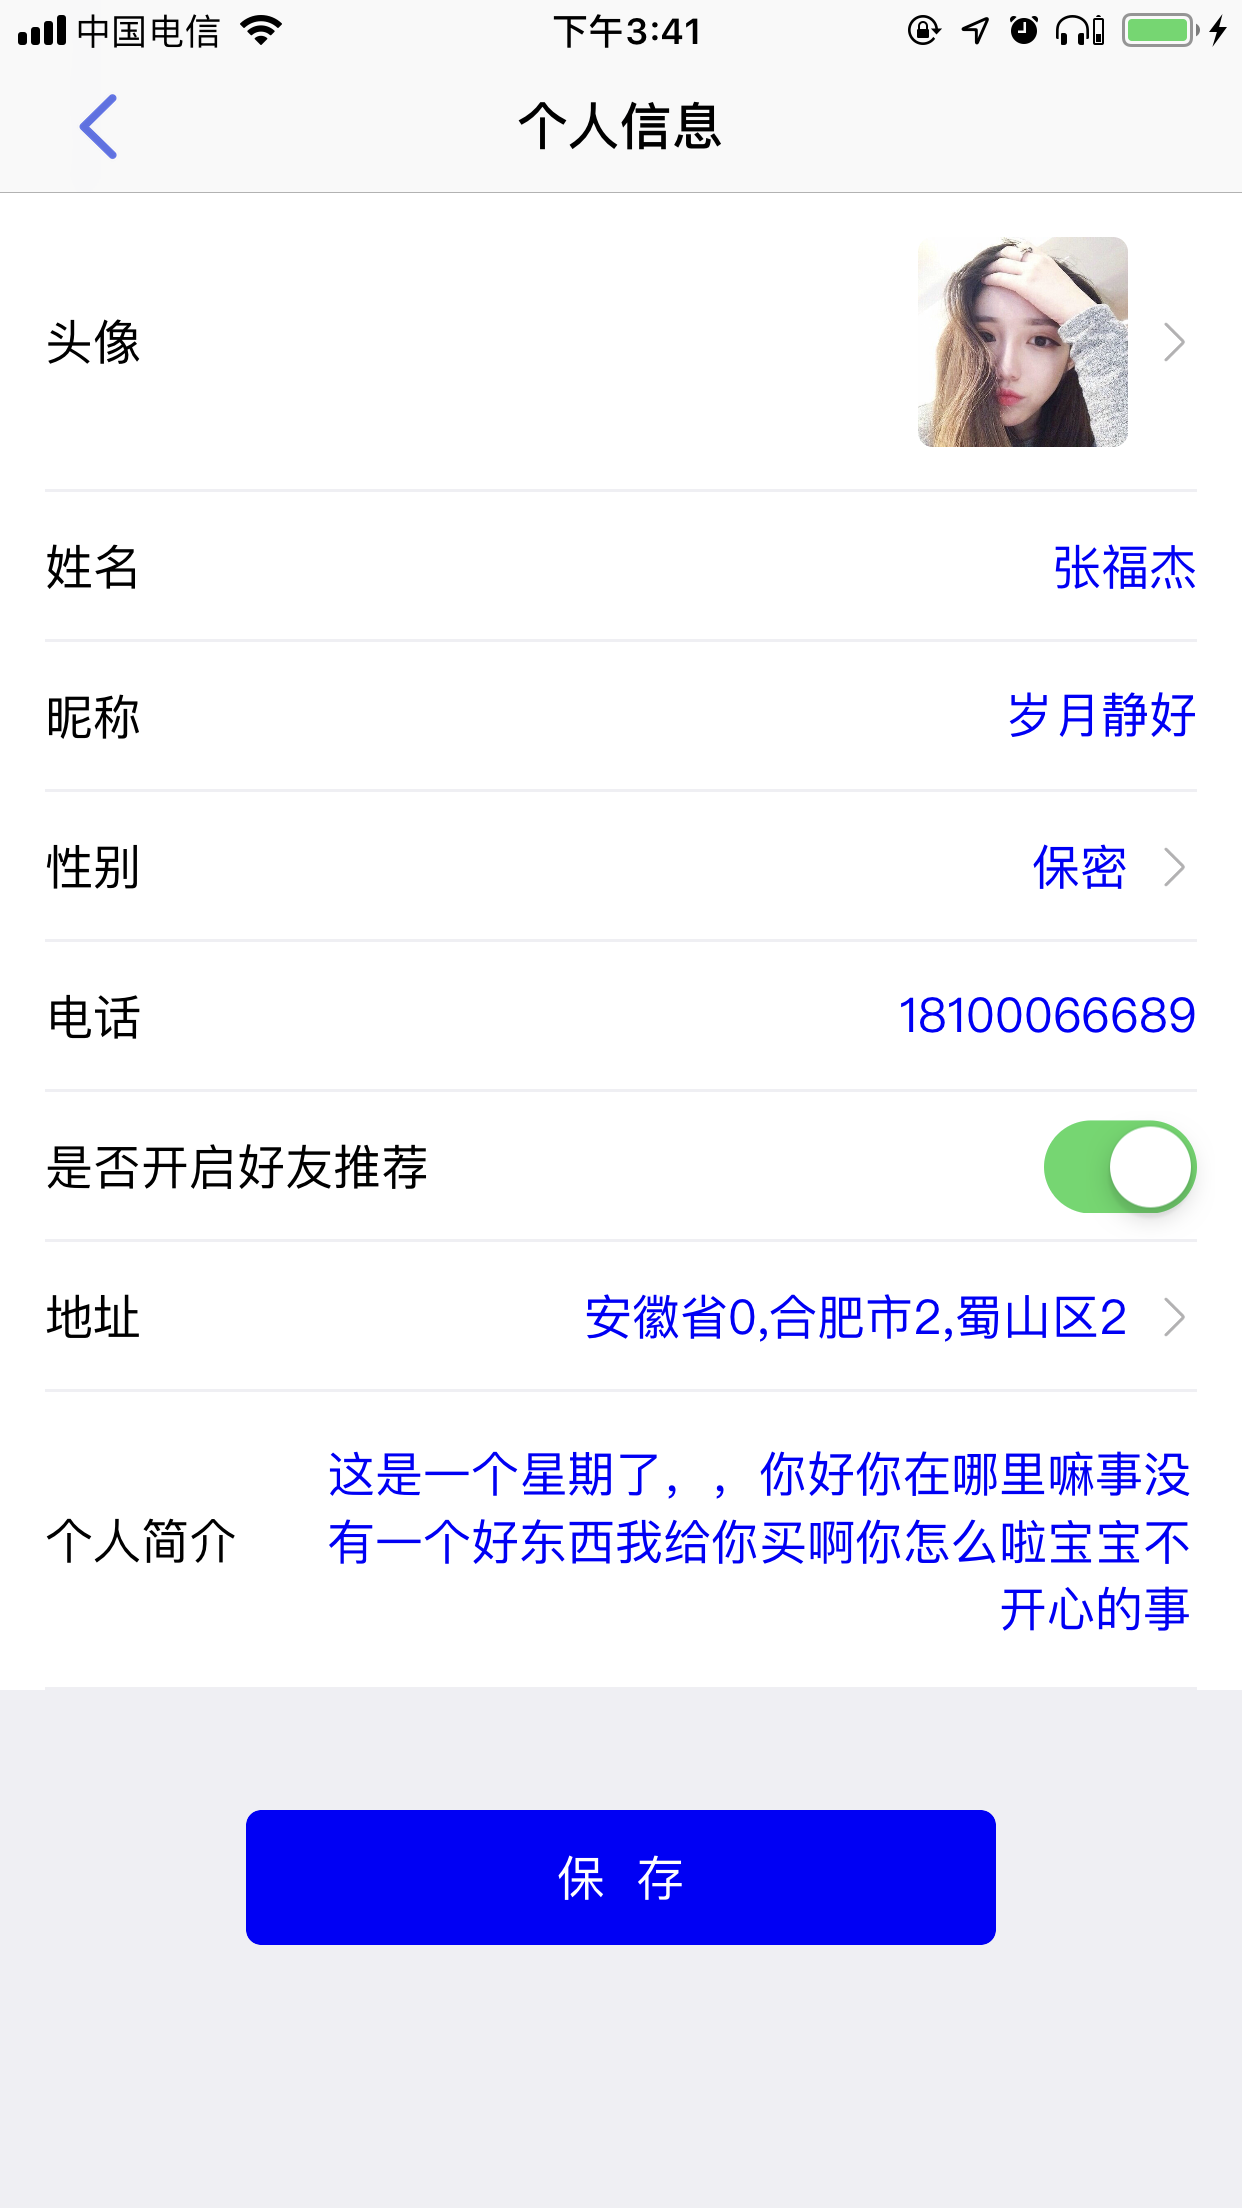
使用截图

结束语
闲来无事,把我在上个项目中自己封装表单配置框架抽出来,封装拿给大家使用,也欢迎各位大神提出宝贵的意见和建议,也欢迎大家进群交流365152048!