对于初学者而言,任何理论化的讲解都比不上一个简单的HelloWorld,我们在学习Spring时也不外乎用最简单的HelloWorld程序来将这个灵活而又强大的轻量级框架推送到诸位面前。想要说明的是现在我所写的这些文字,只针对初学者或还没有入门的各位朋友。如果您是一个熟练的Spring应用者,那么您可以略过这篇文章。
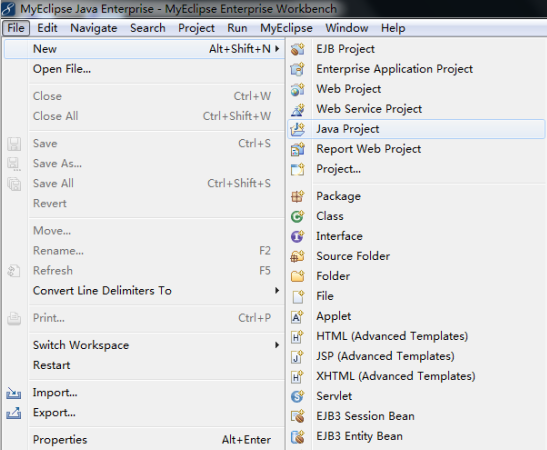
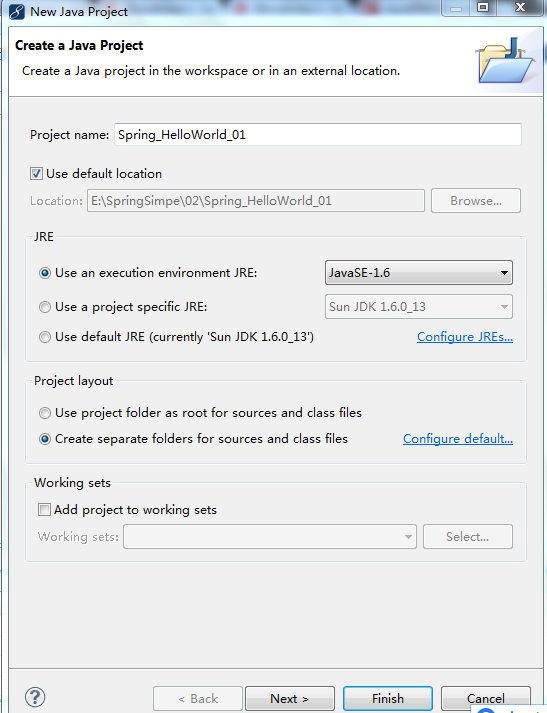
(1)首先打开Myeclipse,新建一个项目取名为 Spring_HelloWorld_01
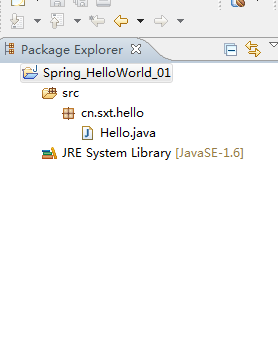
(3)新建一个包和Hello类
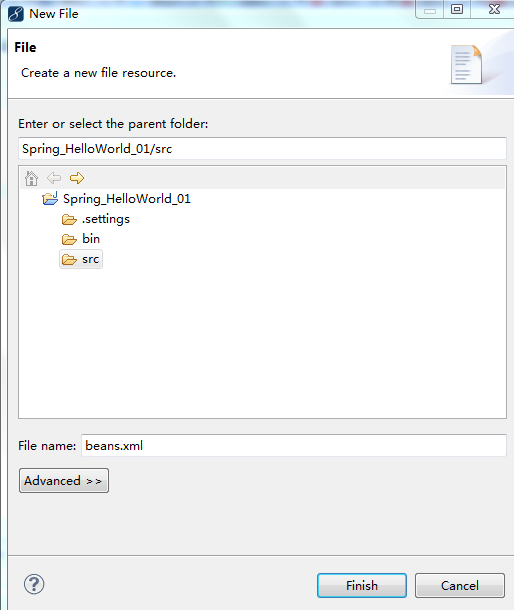
(4)创建Spring的xml配置文件
将以下内容粘贴到beans.xml文件中:
<?xml version="1.0" encoding="UTF-8"?>
<beans xmlns="http://www.springframework.org/schema/beans"
xmlns:xsi="http://www.w3.org/2001/XMLSchema-instance"
xmlns:p="http://www.springframework.org/schema/p"
xsi:schemaLocation="http://www.springframework.org/schema/beans
http://www.springframework.org/schema/beans/spring-beans.xsd">
如下图所示:
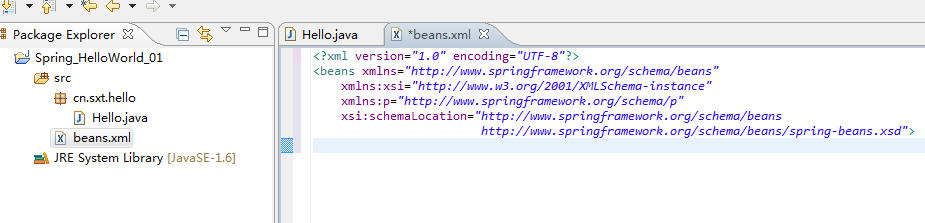
注意:beans文件应该放在src目录下。
(5)然后我们将Spring的一些依赖包导入到项目中。我们这里用到的是spring-framework-4.3.8.RELEASE-dist.zip这个版本。
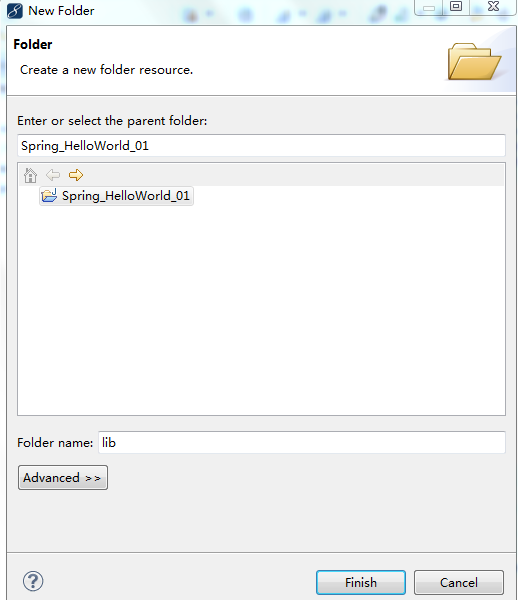
首先在工程下新建一个lib文件夹:
将所需的Spring的jar包拷贝到lib目录下(先下载相关的jar包然后直接拖拽就可以):
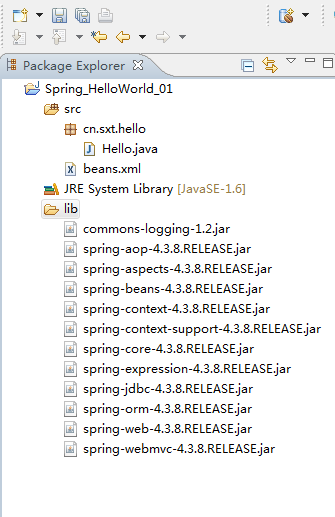
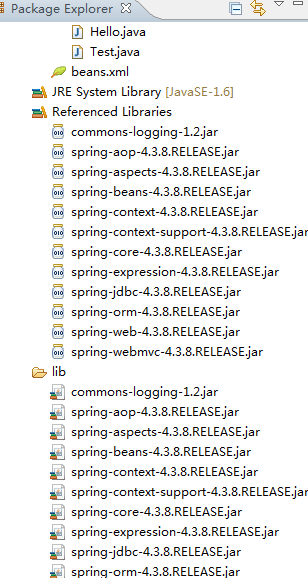
这里还要倒入一个日志jar包 :commons-logging-1.2.jar。然后将lib下的所有jar包选中,右键选中项,点击Build Path -> Add to Build Path,结果如图:
(6)完成Hello.java文件中的代码:
 1 package cn.sxt.hello;
 2
 3 public class Hello {
 4 private String name;
 5
 6 public String getName() {
 7 return name;
 8 }
 9
10 public void setName(String name) {
11 this.name = name;
12 }
13 public void show(){
14 System.out.println("Hello " + name);
15 }
16 }
(7)在beans.xml中添加配置内容如下:
<?xml version="1.0" encoding="UTF-8"?>
<beans xmlns="http://www.springframework.org/schema/beans"
    xmlns:xsi="http://www.w3.org/2001/XMLSchema-instance"
    xmlns:p="http://www.springframework.org/schema/p"
    xsi:schemaLocation="http://www.springframework.org/schema/beans
                        http://www.springframework.org/schema/beans/spring-beans.xsd">

    <bean name="hello" class="cn.sxt.hello.Hello">
        <property name="name" value="Spring"/>
    </bean>
</beans>
(8)编写一个测试类Test.java
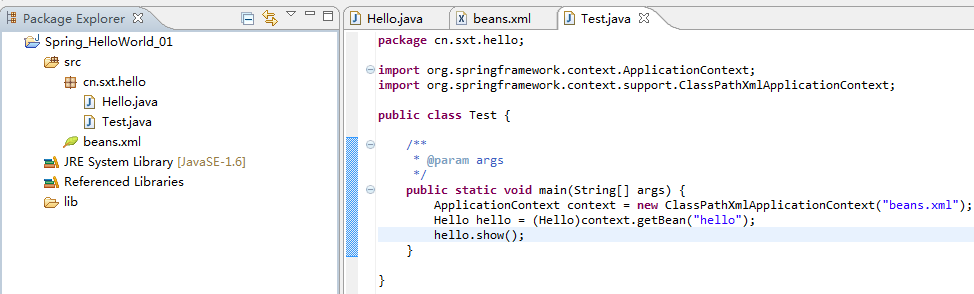
代码如下:
 1 package cn.sxt.hello;
 2
 3 import org.springframework.context.ApplicationContext;
 4 import org.springframework.context.support.ClassPathXmlApplicationContext;
 5
 6 public class Test {
 7
 8     /**
 9      * @param args
10      */
11     public static void main(String[] args) {
12         ApplicationContext context = new ClassPathXmlApplicationContext("beans.xml");
13         Hello hello = (Hello)context.getBean("hello");
14         hello.show();
15     }
16
17 }
(9)调试运行如下图:

至此,一个完整的最简单的Hello Spring程序就已经完成了。通过这个小小的Demo我们可以知道在这里Spring用到了翻转控制的方法来创建对象,也就是我们常说的IOC。它是将创建对象的过程完全隐藏起来,我们只需要通过beans.xml告诉容器我们想要哪个类对象,spring就会为我们创建。这里我们需要的是 cn.sxt.hello.Hello这个类的对象。