首先需要一个GitHub的账号
账号创建地址:https://github.com/join?source=header-home
下载安装Git:https://gitforwindows.org/
打开Git Bash
可以按win键再查找
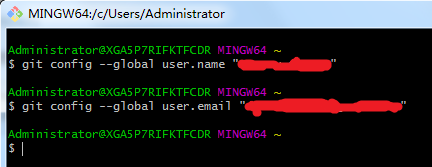
设置全局的账户,邮箱
在命令行中输入:
git config --global user.name "你的GitHub的帐户名"
git config --global user.email "你的GitHub绑定的邮箱"
在idea中进行配置
1.配置File > Settings > Version Control > Git
    在Path to Git executable: 中填写git.exe的路径
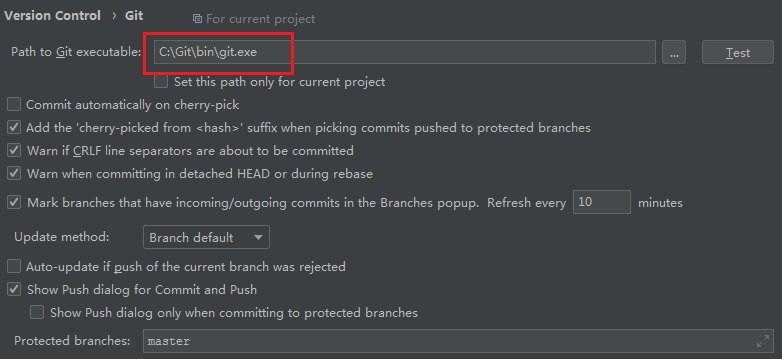
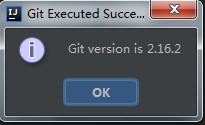
2.配置后点击Test检查是否设置成功(idea版本2019.1.3)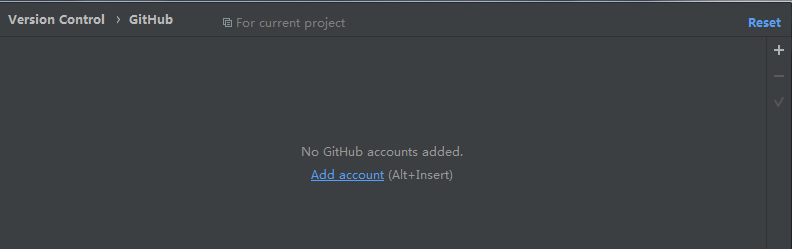
若成功则会弹出
3.配置 File > Settings > Version Control > GitHub
    添加账户点击 + 或者add account

配置完成后点击右下角Apply 和 OK

创建本地Git仓库
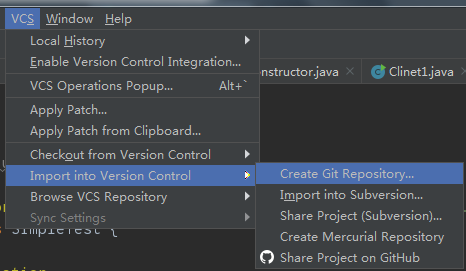
1.点击工具栏中的VCS > Import into Version Control > Create Git Repository...
2.选择你想要放入本地Git仓库的项目所在的目录

此时你的文件会变成红色
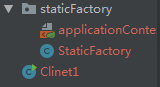
3.反键你需要放入本地Git仓库的部分的文件夹或者文件
    Git > add

此时你的文件会变成绿色
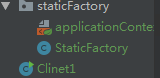
3.反键你需要上传的部分的文件夹或者文件
    Git > Commit Directory...(此时才是真正的提交到本地Git仓库)

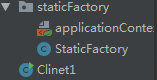
成功后文件会变成白色
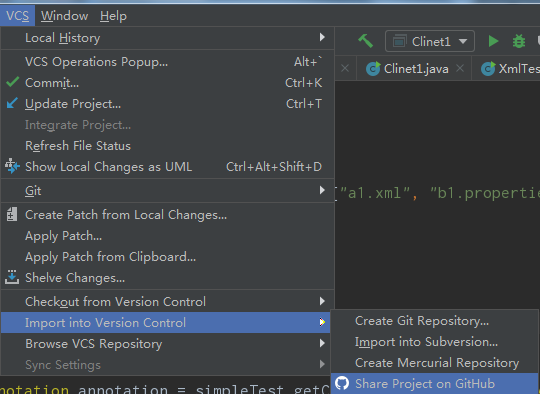
将本地Git仓库中的文件上传到GitHub
1.点击工具栏中的VCS > Import into Version Control > Share Project on GitHub
2.填写上传到GitHub上后的仓库名和简介
    并点击Share

上传成功后GitHub上的仓库结构
