对应 Sceneform 框架,官方给出了几个示例代码,其中一个示例工程 solarsystem (太阳系),给出了旋转动画是如何实现的
旋转动画
为了使代码看着简单,对示例代码中实现旋转的部分做了简化,就有了旋转节点 —— RotatingNode
class RotatingNode : Node() {
var rotationAnimation: ObjectAnimator? = null
val animationDuration = 5000L
// 启动动画
fun startAnimation() {
if (rotationAnimation != null) {
return
}
rotationAnimation = createAnimator()
rotationAnimation!!.target = this
rotationAnimation!!.duration = animationDuration
rotationAnimation!!.start()
}
// 停止动画
fun stopAnimation() {
if (rotationAnimation == null) {
return
}
rotationAnimation!!.cancel()
rotationAnimation = null
}
// 返回一个 ObjectAnimator 用来使节点旋转起来
private fun createAnimator(): ObjectAnimator {
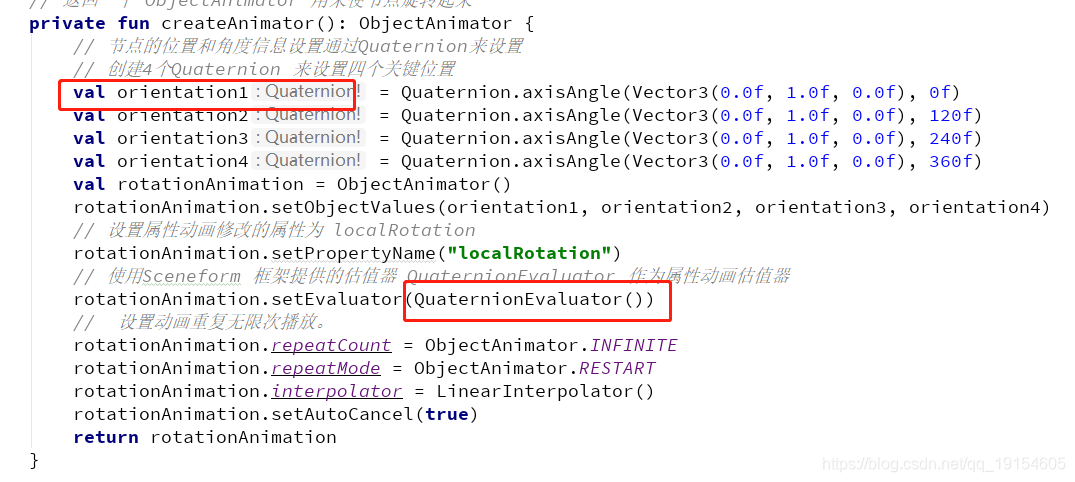
// 节点的位置和角度信息设置通过Quaternion来设置
// 创建4个Quaternion 来设置四个关键位置
val orientation1 = Quaternion.axisAngle(Vector3(0.0f, 1.0f, 0.0f), 0f)
val orientation2 = Quaternion.axisAngle(Vector3(0.0f, 1.0f, 0.0f), 120f)
val orientation3 = Quaternion.axisAngle(Vector3(0.0f, 1.0f, 0.0f), 240f)
val orientation4 = Quaternion.axisAngle(Vector3(0.0f, 1.0f, 0.0f), 360f)
val rotationAnimation = ObjectAnimator()
rotationAnimation.setObjectValues(orientation1, orientation2, orientation3, orientation4)
// 设置属性动画修改的属性为 localRotation
rotationAnimation.setPropertyName("localRotation")
// 使用Sceneform 框架提供的估值器 QuaternionEvaluator 作为属性动画估值器
rotationAnimation.setEvaluator(QuaternionEvaluator())
// 设置动画重复无限次播放。
rotationAnimation.repeatCount = ObjectAnimator.INFINITE
rotationAnimation.repeatMode = ObjectAnimator.RESTART
rotationAnimation.interpolator = LinearInterpolator()
rotationAnimation.setAutoCancel(true)
return rotationAnimation
}
}
移动动画
示例代码虽然给出了旋转动画是怎么实现的,但是没有找到移动动画的示例代码
好吧,只能先看看旋转动画实现依赖的类,旋转动画的核心是构建动画 createAnimator,构建动画过程中关键的两个类 Quaternion、QuaternionEvaluator
去对应的包名下,发现还有 Vector3 和 Vector3Evaluator 两个类
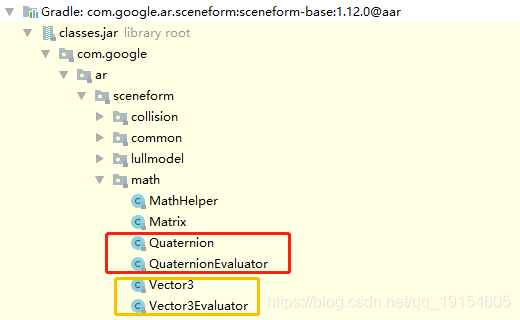
google 的工程师都是有很多年经验的,命名肯定是有一定规则,很明显这个名字就意味着和移动相关,再看看源码

这里说的是线性插值的估计,基本可以断定就是实现移动动画的类,接着仿照旋转节点实现移动节点 TranslatingNode
class TranslatingNode : Node() {
    private var instance = this
    var animation : ObjectAnimator? = null
    var animationDuration = 5000L   // 动画运行时长
    var isAutoDisamiss = true       // 是否自动消失的开关

    // 启动动画
    fun startAnimation() {
        if (animation != null) {
            return
        }

        animation = createAnimator()
        animation!!.target = this
        animation!!.duration = animationDuration
        animation!!.start()
    }

    // 停止动画
    fun stopAnimation() {
        if (animation == null) {
            return
        }

        animation!!.cancel()
        animation = null
    }


    // 返回一个 ObjectAnimator 用来使节点旋转起来
    private fun createAnimator(): ObjectAnimator {
        // 动画开始位置
        val start = Vector3(0f, 0f, 0f)
        // 动画结束位置
        val end = Vector3(0f, 2f, 0f)
        var transAnimation = ObjectAnimator()
        transAnimation.setObjectValues(start, end)
        // 设置属性动画修改的属性为 localPosition
        transAnimation.setPropertyName("localPosition")
        transAnimation.setEvaluator(Vector3Evaluator())
        transAnimation.interpolator = LinearInterpolator()
        transAnimation.setAutoCancel(true)
        transAnimation.addListener(object : Animator.AnimatorListener{
            override fun onAnimationStart(p0: Animator?) {}
            override fun onAnimationCancel(p0: Animator?) {}
            override fun onAnimationRepeat(p0: Animator?) {}
            override fun onAnimationEnd(p0: Animator?) {
                // 上升到最顶部的时候,自动消失
                if (isAutoDisamiss) {
                    instance.isEnabled = false
                }
            }
        })
        return transAnimation
    }
}
测试
代码基本都是完成了,需要一段测试代码
        arFragment!!.setOnTapArPlaneListener { hitResult: HitResult, plane: Plane, motionEvent: MotionEvent ->
            ModelRenderable.builder()
                    .setSource(this@MainActivity, R.raw.andy)     // 应该使用 BillBoardDetail 的 rollingModelPath 属性,动态获取旋转模型的资源
                    .build().thenAccept(
                    { renderable ->
                        val anchor = hitResult.createAnchor()
                        val anchorNode = AnchorNode(anchor)
                        anchorNode.setParent(arFragment!!.getArSceneView().scene)

//                        val showNode = TranslatingNode() // 测试移动
                        val showNode = RotatingNode()       // 测试旋转
                        showNode.setParent(anchorNode)

                        val show = TransformableNode(arFragment!!.transformationSystem)
                        show.setParent(showNode)
                        show.renderable = renderable
                        showNode.startAnimation()
                    })
        }


总结
旋转和移动的动画效果,也可以不使用 ObjectAnimator 实现,直接控制模型的姿态也可以实现,只是相对简单的姿态是用代码控制会比较繁杂,不如直接使用动画简洁
