环境:myeclipe2014
jdk1.7
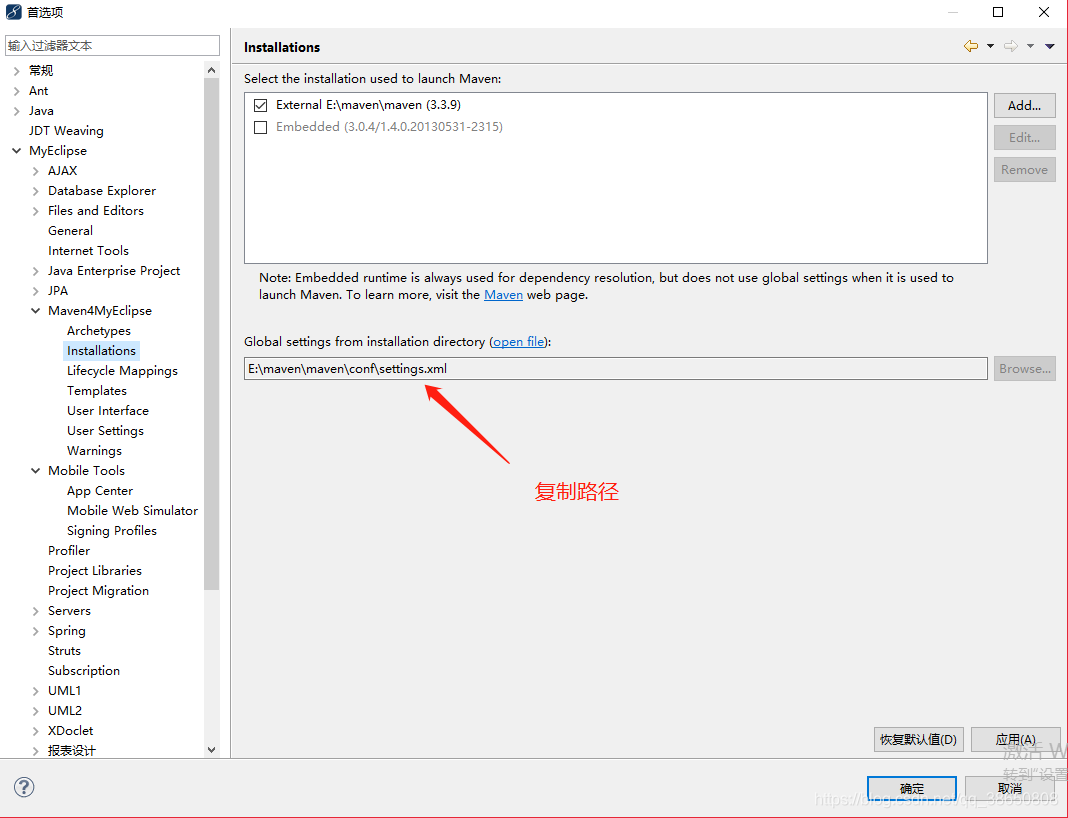
第一步、下载maven版本 我的是3.3.9版本,版本下载就不提供了
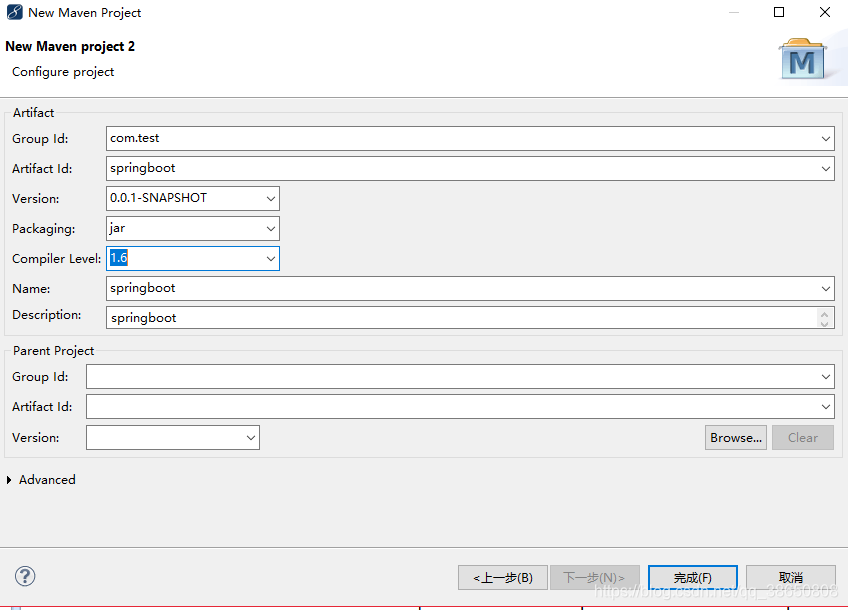
第二步、新建maven项目

第三步、在pom文件下替换下列代码
<project  xmlns="http://maven.apache.org/POM/4.0.0" xmlns:xsi="http://www.w3.org/2001/XMLSchema-instance" xsi:schemaLocation="http://maven.apache.org/POM/4.0.0 http://maven.apache.org/xsd/maven-4.0.0.xsd">
      <modelVersion>4.0.0</modelVersion>
      <groupId>com.test</groupId>
      <artifactId>springboot</artifactId>
      <version>0.0.1-SNAPSHOT</version>

      <parent>
      	<groupId>org.springframework.boot</groupId>
      	<artifactId>spring-boot-starter-parent</artifactId>
      	<version>1.5.9.RELEASE</version>
      </parent>

      <dependencies>
      	<dependency>
      		<groupId>org.springframework.boot</groupId>
      		<artifactId>spring-boot-starter-web</artifactId>
      	</dependency>

      	<dependency>
                  <groupId>junit</groupId>
                  <artifactId>junit</artifactId>
                  <version>3.8.1</version>
                  <scope>test</scope>
            </dependency>
      </dependencies>

      <build>
        <plugins>
          <plugin>
            <artifactId>maven-compiler-plugin</artifactId>
            <configuration>
              <source>1.7</source>
              <target>1.7</target>
            </configuration>
          </plugin>

    	<plugin>
    	      <groupId>org.springframework.boot</groupId>
    	      <artifactId>spring-boot-maven-plugin</artifactId>
    	</plugin>
        </plugins>
      </build>

    </project>
第四步、添加Application类
package controller;

import org.springframework.boot.SpringApplication;
import org.springframework.boot.autoconfigure.SpringBootApplication;


@SpringBootApplication
public class Application {

	public static void main(String[] args) {
		SpringApplication.run(Application.class,args);
	}

}
第五步、添加HelloController类
package controller;
import org.springframework.web.bind.annotation.RequestMapping;
import org.springframework.web.bind.annotation.RestController;

@RestController
public class HelloController {
	@RequestMapping("/hello")

	public String hello(){
		return "Hello Spring Boot!";
	}
}
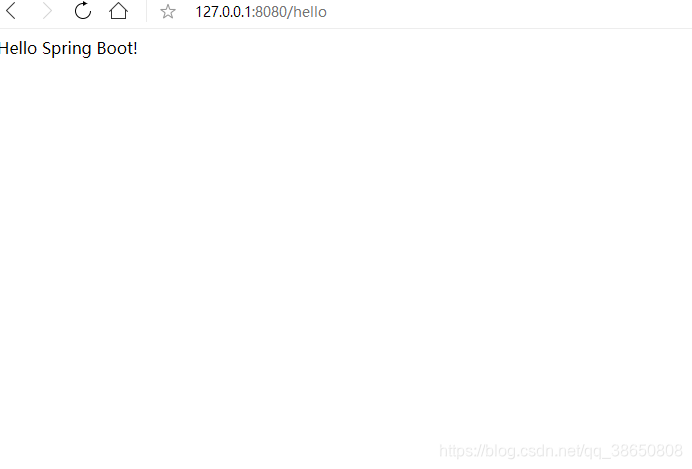
第六步、运行Application类,并在页面访问http://127.0.0.1:8080/hello