今天刚刚学习了微信小程序,学习微信小程序之前首先得熟悉弹性布局
如果把一个元素设置为display:flex,它的所有子元素都成为容器成员,称之为项目,并且,子元素的float,clear和vertical-align属性都会失效。以下介绍弹性布局设置在容器上的6种属性。
flex-direction
flex-wrap
flex-flow
justify-content
align-content
align-items
1.flex-direction 决定主轴(容器默认存在两根轴:水平的主轴和垂直的交叉轴,项目默认沿主轴排列)的方向
<meta charset="UTF-8">
<meta name="viewport" content="width=device-width, initial-scale=1.0">
<meta http-equiv="X-UA-Compatible" content="ie=edge">
<title>Document</title>
<style>
    body, html {
        height: 100%;
        background-color: pink;
    }
    .flex-row {
        width: 100%;
        height: 100%;
        display: flex;
        flex-direction: row;
    }
    .flex-item {
        width: 100px;
        height: 100px;
        text-align: center;
        line-height: 20px;
    }
    .bc_green {
        background-color: #09ba07;
    }
    .bc_red {
        background-color: #f76160;
    }
    .bc_blue {
        background-color: #0faeff;
    }
</style>
<div class="section">
    <div class="flex-wrap flex-row">
        <div class="flex-item bc_green"></div>
        <div class="flex-item bc_red"></div>
        <div class="flex-item bc_blue"></div>
    </div>
</div>
效果图如下:
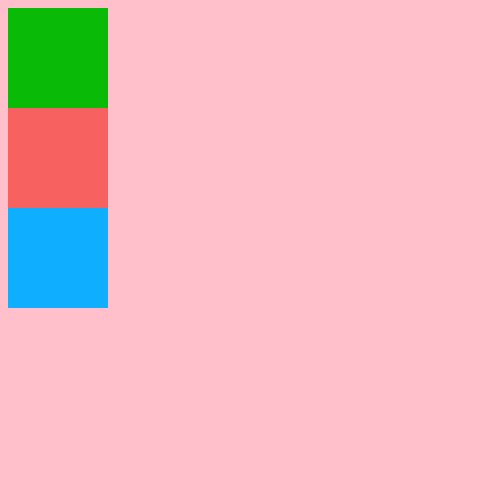
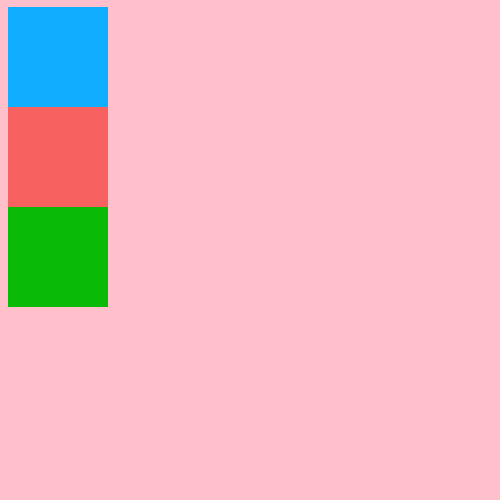
代码中将flex-direction设为row,即主轴在水平方向,也是flex-direction的默认值,flex-direction可以设置4个值,其他三个值与其对应的效果图如下:
flex-direction:row-reverse; flex-direction:column; flex-direction:column-reverse;2.flex-wrap 定义项目在一条轴线排不下时决定它怎么换行,代码就不放出来了,就是直接在上面代码的.flex-flow{}中添加flex-wrap属性,它有3个取值
 flex-wrap:nowrap; 不换行,也是默认值

 flex-wrap:wrap;换行,第一行在上面,排不下的继续往下面排

 flex-wrap:wrap-reverse; 换行,和wrap相反,第一行在下面,排不下的往上方排
是不是很简单
3.flex-flow 是flex-direction flex-wrap的简写形式,默认就是flex-flow:row nowrap,组合起来取值有12种情况;
4.align-items 定义项目在交叉轴上如何对齐,还是要放一小段代码
<style>
    body, html {
        height: 100%;
        background-color: pink;
    }
    .flex-row {
        width: 100%;
        height: 100%;
        display: flex;
        flex-direction: row;
        align-items: flex-start;
    }
    .flex-item {
        width: 100px;
        height: 100px;
        text-align: center;
        line-height: 20px;
    }
    .flex-item:nth-child(2n){
        height: 200px;
    }
    .bc_green {
        background-color: #09ba07;
    }
    .bc_red {
        background-color: #f76160;
    }
    .bc_blue {
        background-color: #0faeff;
    }
</style>
<div class="section">
    <div class="flex-wrap flex-row">
        <div class="flex-item bc_green"></div>
        <div class="flex-item bc_red"></div>
        <div class="flex-item bc_blue"></div>
        <div class="flex-item bc_green"></div>
        <div class="flex-item bc_red"></div>
        <div class="flex-item bc_blue"></div>
        <div class="flex-item bc_green"></div>
        <div class="flex-item bc_red"></div>
        <div class="flex-item bc_blue"></div>
    </div>
</div>
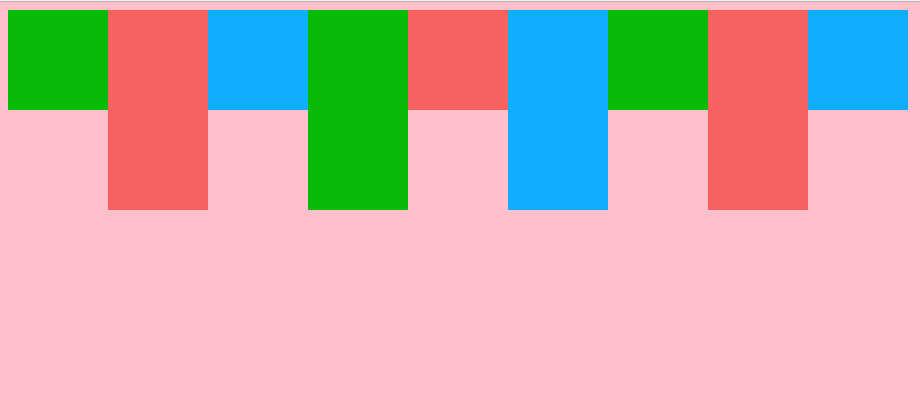
这段代码就是在第一段代码的基础上添加了6个项目,选中所有的与flex-item类同一辈并且是2的倍数的元素,将高设置为200px,并添加了align-items属性,align-items:flex-start;交叉轴的起点对齐效果图如下:
align-items: stretch;如果项目没有设置高度,将会占满整个容器的高度,也是该属性的默认值
align-items:flex-end;与交叉轴的终点对齐
align-items: center;与交叉轴的中点对齐
align-items: baseline;与项目中第一行文字的基线也就是底部对齐
5.align-content定义了多根轴线的对齐方式,如果项目只有一根轴线,该属性不会起任何作用,这个属性有6个取值,分别是:
flex-start:与交叉轴的起点对齐。
flex-end:与交叉轴的终点对齐。
center:与交叉轴的中点对齐。
space-between:与交叉轴两端对齐,轴线之间的间隔平均分布。
space-around:每根轴线两侧的间隔都相等。所以,轴线之间的间隔比轴线与边框的间隔大一
倍。
stretch(默认值):轴线占满整个交叉轴。
这里就不放图了,看了上面的几个这里应该很容易理解,别问我为什么,因为懒
6.justify-content定义了项目在主轴上的对齐方式,该属性有5个取值,分别是:
flex-start:左对齐,也是默认值
flex-end:右对齐
center: 居中
space-between:两边对齐,项目之间的间隔相等。
space-around:每个项目两侧间隔相等。
不放效果图,还是因为懒
这里只介绍了采用flex布局的容器的属性,后续可能会有更多,也有可能没有(微笑脸),哈哈哈,如有不足,请不吝指出,谢谢。


