springboot + 获取配置文件properties/yml中属性 学习
一:自定义属性
先在配置文件application.yml中自定义一组属性,如下:
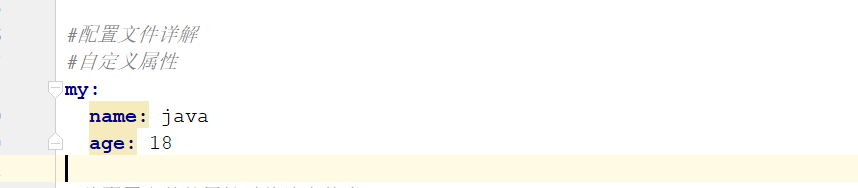
     如果需要读取配置文件application.yml的属性值,只需在变量上加@Value("${属性名}")注解,
     就可以将配置文件application.yml的一个属性值赋值给一个变量
/**
 * springboot 配置文件详解
 */
@RestController
public class PropertiesController {

    @Autowired
    private PropertiesBean propertiesBean;

    @Autowired
    private UserConfigBean userConfigBean;

    /**
     * 1.自定义属性
     * 如果需要读取配置文件application.yml的属性值,只需在变量上加@Value("${属性名}")注解,
     * 就可以将配置文件application.yml的一个属性值赋值给一个变量
     */
    @Value("${my.name}")
    private String name;
    @Value("${my.age}")
    private int age;

    @RequestMapping("/test1")
    public String test1() {
        return name + ":" + age;
    }
}
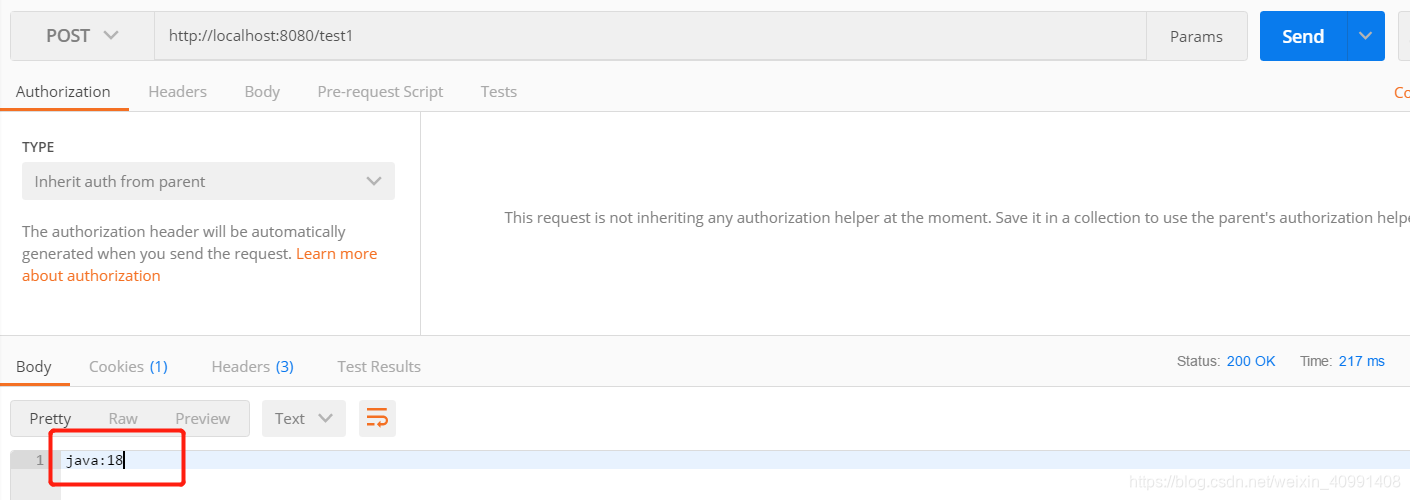
启动项目,打开浏览器或postman 访问 http://localhost:8080/test1 ,结果如下:
二:将配置文件的属性赋值给实体类
  当有很多配置属性时,如果逐个读取属性很麻烦。
  通常,会把这些属性名作为变量名俩创建一个JavaBean的变量,并将属性值赋值给JavaBean变量的值。

  在配置文件application.yml中添加如下属性
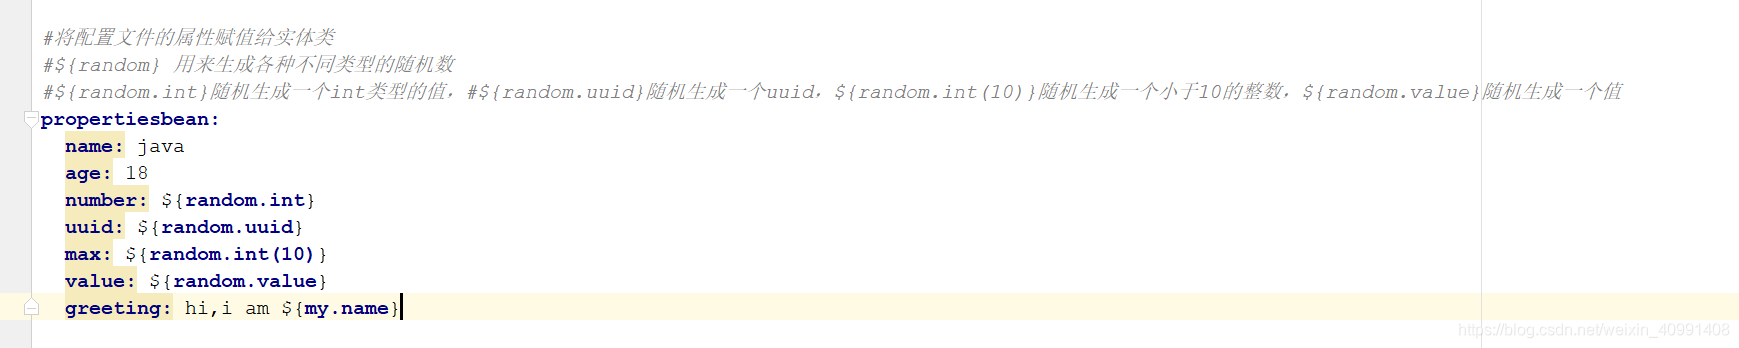
${random} 用来生成各种不同类型的随机数
${random.int}随机生成一个int类型的值,#${random.uuid}随机生成一个uuid,
${random.int(10)}随机生成一个小于10的整数,
${random.value}随机生成一个值

创建一个JavaBean,其代码如下:
/**
 * 在PropertiesConfig类上加注解@ConfigurationProperties,表明该类是配置属性类,并加上配置的prefix
 * 在PropertiesConfig类上加注解@Component,springboot在启动时通过包扫描将该类作为一个Bean注入IoC容器中
 */

@ConfigurationProperties(prefix = "propertiesbean")
@Component
public class PropertiesBean {

    private String name;
    private int age;
    private int number;
    private String uuid;
    private int max;
    private String value;
    private String greeting;

    public String getName() {
        return name;
    }

    public void setName(String name) {
        this.name = name;
    }

    public int getAge() {
        return age;
    }

    public void setAge(int age) {
        this.age = age;
    }

    public int getNumber() {
        return number;
    }

    public void setNumber(int number) {
        this.number = number;
    }

    public String getUuid() {
        return uuid;
    }

    public void setUuid(String uuid) {
        this.uuid = uuid;
    }

    public int getMax() {
        return max;
    }

    public void setMax(int max) {
        this.max = max;
    }

    public String getValue() {
        return value;
    }

    public void setValue(String value) {
        this.value = value;
    }

    public String getGreeting() {
        return greeting;
    }

    public void setGreeting(String greeting) {
        this.greeting = greeting;
    }
}
 在PropertiesConfig类上加注解@ConfigurationProperties,表明该类是配置属性类,并加上配置的prefix
 在PropertiesConfig类上加注解@Component,springboot在启动时通过包扫描将该类作为一个Bean注入IoC容器中

 在controller类上,加@EnableConfigurationProperties  指明需要引用的JavaBean的类,开启引用配置属性的功能,代码如下:
/**
 * springboot 配置文件详解
 */
@RestController
//@EnableConfigurationProperties  指明需要引用的JavaBean的类,开启引用配置属性的功能
@EnableConfigurationProperties({PropertiesBean.class})
public class PropertiesController {

    @Autowired
    private PropertiesBean propertiesBean;

    /**
     * 2.将配置文件的属性赋值给实体类
     * 当有很多配置属性时,如果逐个读取属性很麻烦。
     * 通常,会把这些属性名作为变量名俩创建一个JavaBean的变量,并将属性值赋值给JavaBean变量的值
     */
    @RequestMapping("/test2")
    public String test2() {
        return propertiesBean.getGreeting() + "-" + propertiesBean.getName() + "-" + propertiesBean.getUuid() +
                "-" + propertiesBean.getMax();
    }
}
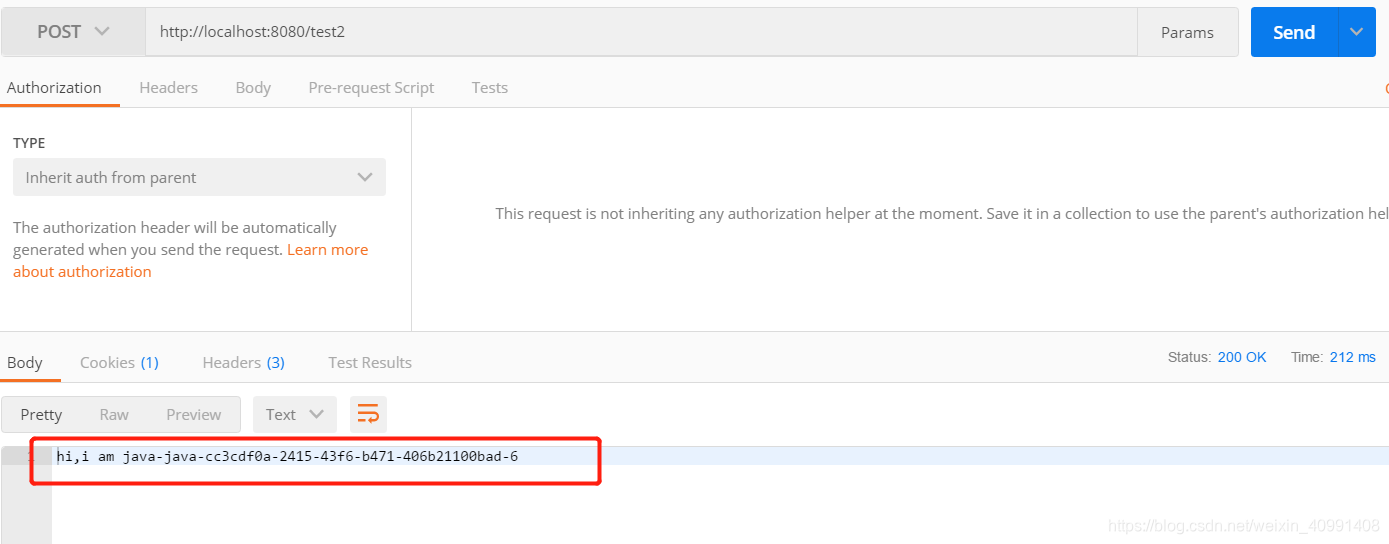
启动项目,打开浏览器或postman 访问 http://localhost:8080/test2 ,结果如下:
三:自定义配置文件
当属性太多时,把所有的配置属性都写到application.yml配置文件中不太合适,这时需要自定义配置文件
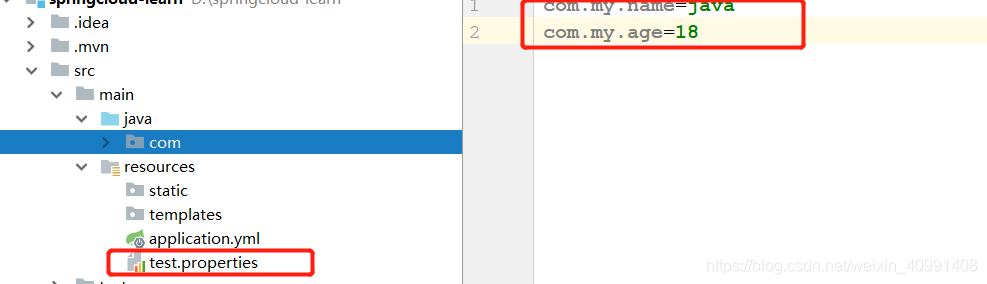
例如:在src/main/resources,目录下自定义一个test.properties配置文件,其配置信息如下:
创建一个JavaBean,其代码如下:
@Component
@PropertySource(value = "classpath:test.properties")
@ConfigurationProperties(prefix = "com.my")
public class UserConfigBean {

    private String name;
    private int age;

    public String getName() {
        return name;
    }

    public void setName(String name) {
        this.name = name;
    }

    public int getAge() {
        return age;
    }

    public void setAge(int age) {
        this.age = age;
    }
}
     在PropertiesConfig类上加注解@ConfigurationProperties,表明该类是配置属性类,并加上配置的prefix
     @PropertySource 和 @ConfigurationProperties 组合使用,可以将属性文件与一个Java类绑定,将属性文件中的变量值注入到该     Java类的成员变量中。
     需要注意的是,在springboot 1.4或1.4之前,还需要在@PropertySource 注解上加location,并指明该配置文件的路径

    在controller类上,加@EnableConfigurationProperties  指明需要引用的JavaBean的类,开启引用配置属性的功能,代码如下:
@RestController
//@EnableConfigurationProperties  指明需要引用的JavaBean的类,开启引用配置属性的功能
@EnableConfigurationProperties({ UserConfigBean.class})
public class PropertiesController {

    @Autowired
    private UserConfigBean userConfigBean;

    /**
     * 3.自定义配置文件
     * 当属性太多时,把所有的配置属性都写到application.yml配置文件中不太合适,这时需要自定义配置文件
     * 例如:在src/main/resources,目录下自定义一个test.properties配置文件
     */
    @RequestMapping("/test3")
    public String test3() {
        return userConfigBean.getName() + ":" + userConfigBean.getAge();
    }
}
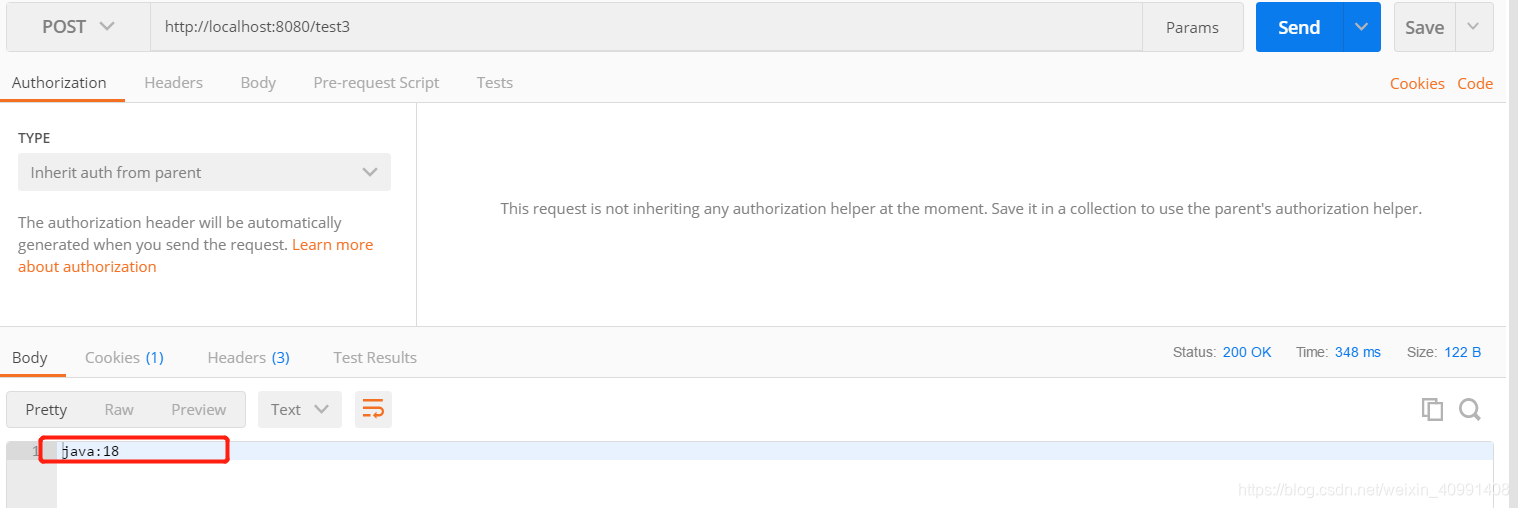
启动项目,打开浏览器或postman 访问 http://localhost:8080/test3 ,结果如下: