使用 Jmeter 实现对云服务器进行 3000+ 并发压测
对 Unittest 和 Page Object 设计模式进行简单的了解:
Unitest 是 Python 自带的一个单元测试框架,它可以用来做自动化测试框架的用例组织执行框架
- 优点:为我们提供用例组织与执行方法、提供比较方法、提供丰富的日志和清晰的报告等
Unitest 操作的大致流程:
- TestCase 就是大家常说的测试用例
- 然后由TestLoader来加载TestCase到TestSuite(就是过个测试用例集合在一起)
- 最后由TextTestRunner来运行TestSuite,并把运行的结果保存到TextTestResult中
- 通过命令行或者 unittest.main() 来执行时,main()会调用TextTestRunner中的run()方法来执行,也可以直接通过 TextTestRunner来执行测试用例。在Runner执行时,会默认将执行的结果输出到控制台中,为了方便查看输出的结果,我们可以使用 logging 日志来对输出的结果进行管理,可以把结果直接输出到指定的文件中。
而 Page Object 则是Selenium自动化测试开发实践的最佳设计模式之一,通过对界面元素的封装来减少代码的冗余,同时在后期维护中,元素的定位一旦发生变化,我们只需要调整页面元素封装的代码,这样可以提高测试用例的可维护性。
针对前面书写的关于豌豆荚的登录测试用例使用 Page Object 设计模式对书写的代码进行重构,重构的思路如下:
- 将一些常用的内容,(如一些取消更新、跳过元素定位等)抽离出来
- 将元素定位的方法和元素的属性值与业务的代码进行分离
- 将登录功能独立封装成一个模块
- 最后使用unittest来进行综合统筹
代码实现:
1、对 豌豆荚App 的启动信息进行单独的封装
xgCaps.py
from appium import webdriver
import yaml, logging, logging.config

log_file = '../log.conf'
logging.config.fileConfig(log_file)
logging = logging.getLogger()

def appium_caps():
    file = open('../appium_two/wdj_capability.yaml', 'r')
    data = yaml.load(file, Loader=yaml.FullLoader)

    xg_caps = {}
    xg_caps['platformName'] = data['platformName']
    xg_caps['platformVersion'] = data['platformVersion']
    xg_caps['deviceName'] = data['deviceName']

    xg_caps['appPackage'] = data['appPackage']
    xg_caps['appActivity'] = data['appActivity']

    xg_caps['noReset'] = data['noReset']
    xg_caps['unicodeKeyboard'] = data['unicodeKeyboard']
    xg_caps['resetKeyboard'] = data['resetKeyboard']

    logging.info('start app ......')
    driver = webdriver.Remote('http://'+str(data['ip'])+':'+str(data['port'])+'/wd/hub', xg_caps)

    driver.implicitly_wait(6)
    return driver

if __name__ == '__main__':
    appium_caps()
2、封装一个基类 baseView.py
在这个基类里面主要是对 driver 的初始化和元素的定位方式进行一些封装
class BaseView(object):
    def __init__(self, driver):
        self.driver = driver

    def find_element(self, *location):
        return self.driver.find_element(*location)

    def find_elements(self, *location):
        return self.driver.find_elements(*location)

    def get_window_size(self):
        return self.driver.get_window_size()

    def swipe(self, st_x, st_y, end_x, end_y, duration):
        return self.driver.swipe(st_x, st_y, end_x, end_y, duration)
3、封装一个公共类 general_class.py
在这个公共类里主要是对后面实现多账号切换登录准备的,因为在多账号登录时都有可能会遇到更新和跳过的画面
from page_unit.baseView import BaseView
from selenium.common.exceptions import NoSuchElementException
from page_unit.xgCaps import appium_caps
from selenium.webdriver.common.by import By
import logging, time

class general_view(BaseView):
    cancelBtn = (By.ID, 'com.wandoujia.phoenix2:id/s5')
    jumpBtn = (By.ID, 'com.wandoujia.phoenix2:id/v8')

    def click_cancelBtn(self):
        logging.info('*' * 10 + 'cancelBtn' + '*' * 10)
        try:
            cancel_element = self.driver.find_element(*self.cancelBtn)
        except NoSuchElementException:
            logging.info('cancelBtn is not found !')
        else:
            logging.info('click cancelBtn')
            cancel_element.click()

    def click_jumpBtn(self):
        logging.info('——' * 10 + 'jumpBtn' + '——' * 10)
        try:
            jump_element = self.driver.find_element(*self.jumpBtn)
        except NoSuchElementException:
            logging.info('jumpBtn is not fond !')
        else:
            logging.info('click jumpBtn')
            jump_element.click()

    def getTime(self):
        self.currentTime = time.strftime("%Y-%m-%d %H_%M_%S")
        return self.currentTime

    def get_screenSzie(self):
        x = self.get_window_size()['width']
        y = self.get_window_size()['height']
        return (x, y)

if __name__ == '__main__':
    driver = appium_caps()
    general = general_view(driver)
    general.click_cancelBtn()
    general.click_jumpBtn()
4、对登录操作进行封装
在这一步的操作中,会用到一个 By 模块,它里面的内容比较简单,很容易看懂的哦,只需要指定用的哪一种定位的方式,然后在后面跟上这个元素的定位方式对应的内容即可
by.py 内容
class By(object):
    """
    Set of supported locator strategies.
    """

    ID = "id"
    XPATH = "xpath"
    LINK_TEXT = "link text"
    PARTIAL_LINK_TEXT = "partial link text"
    NAME = "name"
    TAG_NAME = "tag name"
    CLASS_NAME = "class name"
    CSS_SELECTOR = "css selector"
至于,By 这个类的具体使用,可以看下面的 login_view.py
from page_unit.general_class import general_view
from page_unit.xgCaps import appium_caps
from selenium.webdriver.common.by import By
import logging

class login_view(general_view):
    # 主导航菜单
    navigation_element = (By.ID, 'com.wandoujia.phoenix2:id/w4')
    # 设置菜单
    setting_element = (By.ID, 'com.wandoujia.phoenix2:id/pp_item_setting')
    # 登录
    login_element = (By.ID, 'com.wandoujia.phoenix2:id/ow')
    # 用户名、密码
    username_element = (By.ID, 'com.wandoujia.phoenix2:id/l_')
    password_element = (By.ID, 'com.wandoujia.phoenix2:id/la')
    # 复选框
    checkBox_element = (By.ID, 'com.wandoujia.phoenix2:id/mw')
    # 登录按钮
    loginBtn_element = (By.ID, 'com.wandoujia.phoenix2:id/mf')

    def login_action(self, username, password):
        self.click_jumpBtn()
        self.click_cancelBtn()
        logging.info('=' * 10 + 'login_action' + '=' * 10)
        self.driver.find_element(*self.navigation_element).click()
        self.driver.find_element(*self.setting_element).click()
        self.driver.find_element(*self.login_element).click()
        logging.info('username is:%s' % username)
        self.driver.find_element(*self.username_element).send_keys(username)
        logging.info('password is:*************')
        self.driver.find_element(*self.password_element).send_keys(password)
        logging.info('check the box')
        self.driver.find_element(*self.checkBox_element).click()
        logging.info('click loginBtn')
        self.driver.find_element(*self.loginBtn_element).click()

if __name__ == '__main__':
    driver = appium_caps()
    login = login_view(driver)
    login.login_action('用户名', '密码')
5、使用 unittest 用例 封装
5.1 对用例启动和结束时的配置进行封装
xgunit.py
from page_unit.xgCaps import appium_caps
import unittest, logging
from time import sleep

class startAndEnd(unittest.TestCase):

    def setUp(self):
        logging.info('-' * 10 + 'setUp' + '-' * 10)
        self.driver = appium_caps()

    def tearDown(self):
        logging.info('=' * 10 + 'tearDown' + '=' * 10)
        sleep(5)
        self.driver.close_app()
5.2 对多个账号的登录进行封装
xg_login.py
from page_unit.login_view import login_view
from page_unit.xgUnit import startAndEnd
import logging, unittest

class TestLogin(startAndEnd):

    def test_login_first(self):
        logging.info('-' * 10 + 'first' + '-' * 10)
        first = login_view(self.driver)
        first.login_action('用户名', '密码')

    def test_login_second(self):
        logging.info('=' * 10 + 'second' + '=' * 10)
        second = login_view(self.driver)
        second.login_action('用户名', '密码')

    def test_login_third(self):
        logging.info('*' * 10 + 'third' + '*' * 10)
        third = login_view(self.driver)
        third.login_action('用户名', '密码')

if __name__ == '__main__':
    unittest.main()
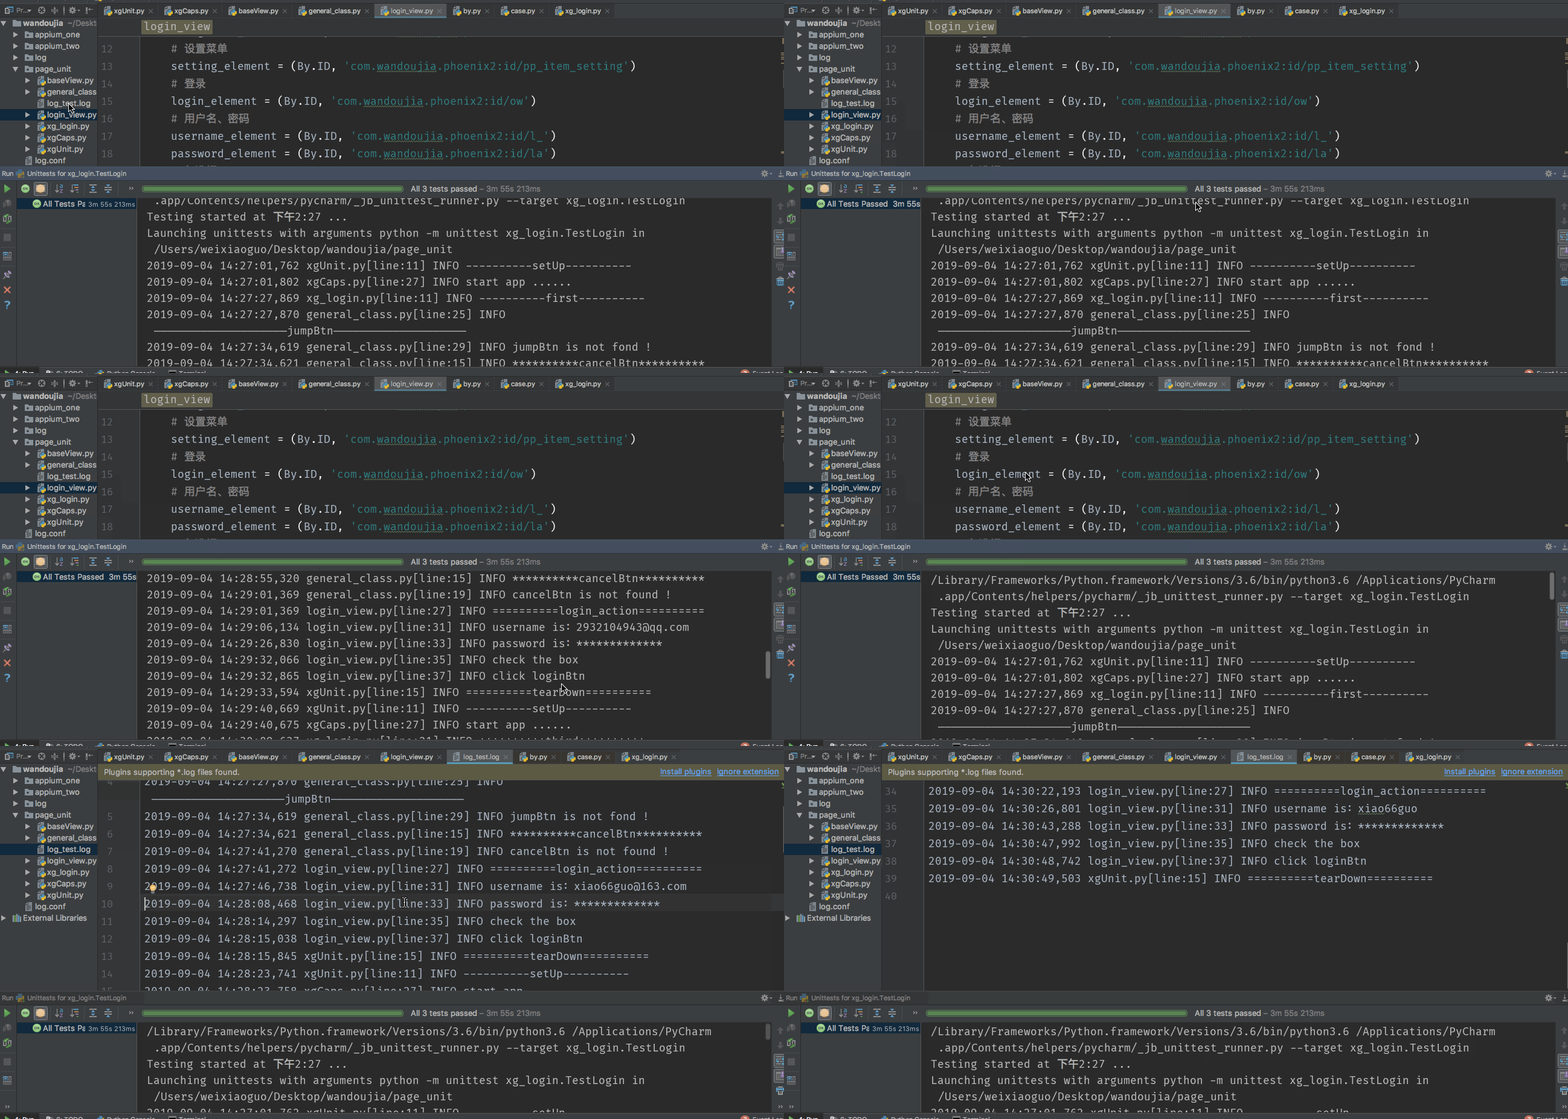
6、执行过程及结果

执行的日志及控制台打印情况:

