先直接上步骤吧 以后有时间补充进来
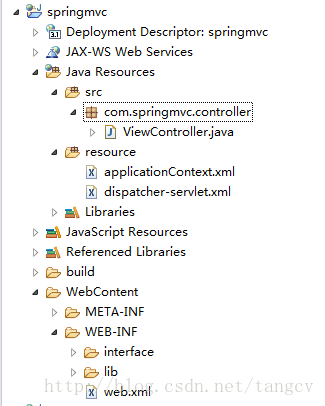
先显示下项目结构,后面如果不知道文件创建在哪里就看看这个目录
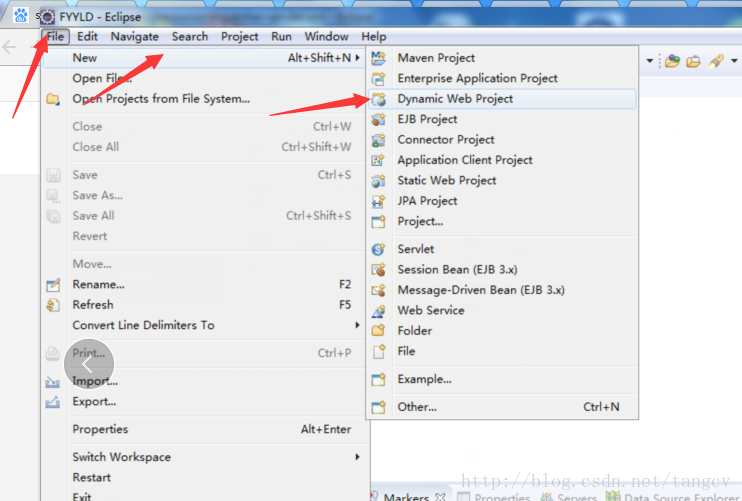
开始创建javaweb项目
如果这里没有Dynamic Web project 可以在other中的web中找到


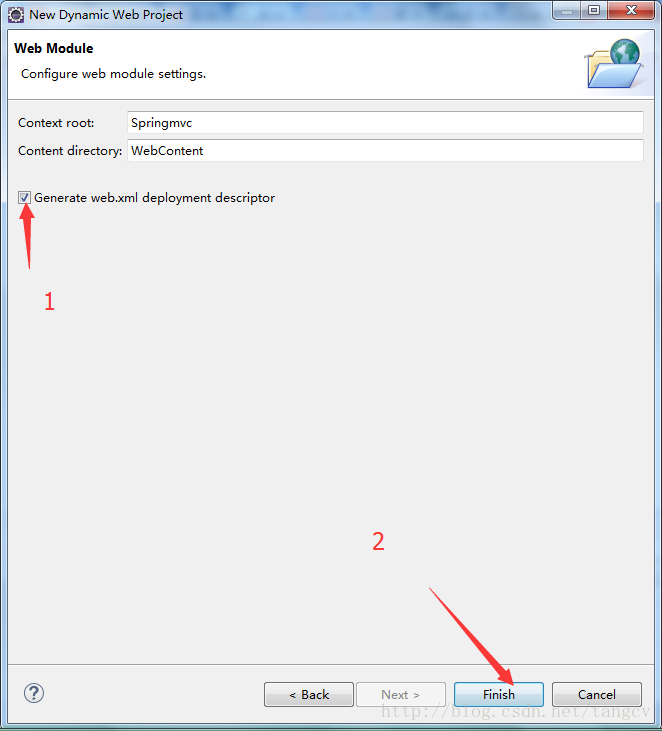
创建后点Next
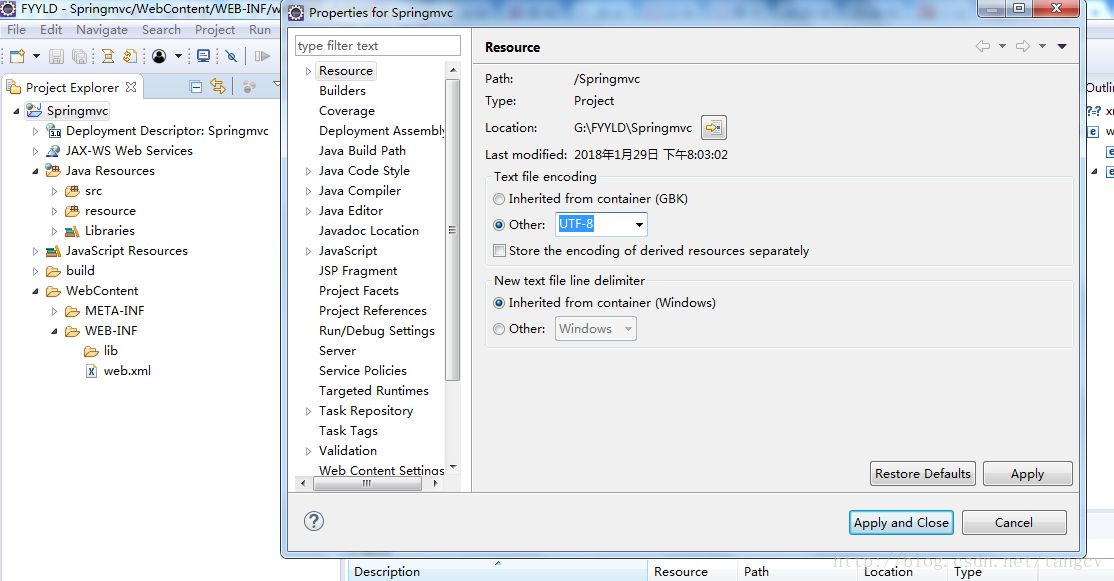
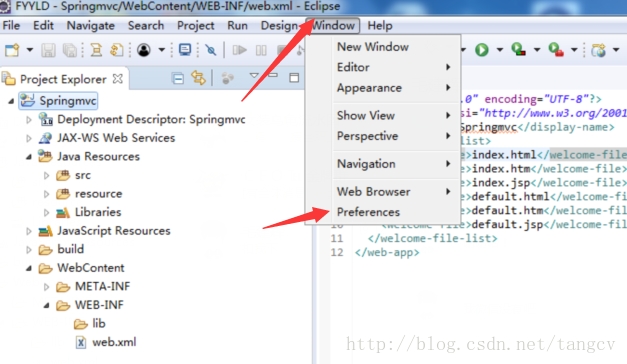
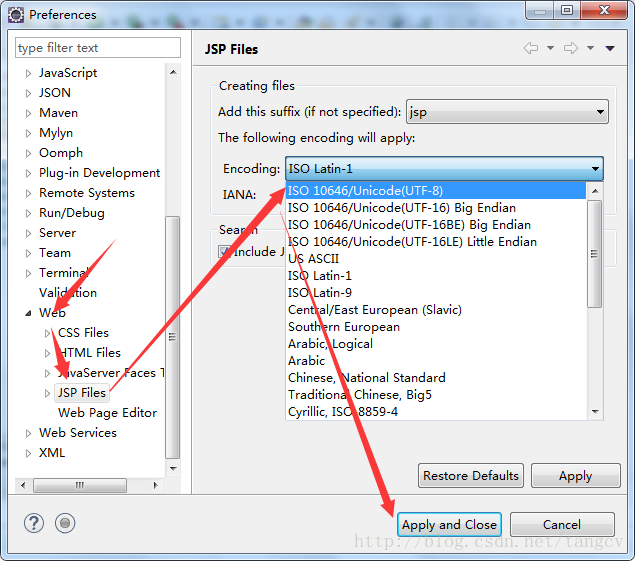
修改编码格式为UTF-8 点击Apply and close 保存
修改新创建的jsp格式为UTF-8
lib中的包
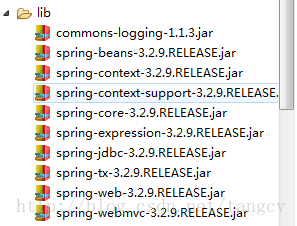
下载地址:http://download.csdn.net/download/tangcv/10230448
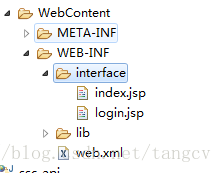
创建interface目录并且在里面创建login.jsp和index.jsp
login.jsp中代码
<%@ page language="java" contentType="text/html; charset=UTF-8" pageEncoding="UTF-8"%>
<html>
	<head>
		<meta charset="UTF-8" />
	</head>

	<body>
		这是登录<br/>
    <form action="view" method="post">
   一个跳转请求:<input type="text" name="path"style="text-align:center;"><br>
		<input type="submit"/>
	</form>
	<br>
	</body>
</html>
index.jsp中代码
<%@ page language="java" contentType="text/html; charset=UTF-8" pageEncoding="UTF-8"%>
<html>
	<head>
		<meta charset="UTF-8" />
	</head>

	<body>
		这是主页
	</body>
</html>
下面编写web.xml内容
<?xml version="1.0" encoding="UTF-8"?>
<web-app xmlns:xsi="http://www.w3.org/2001/XMLSchema-instance" xmlns="http://xmlns.jcp.org/xml/ns/javaee" xsi:schemaLocation="http://xmlns.jcp.org/xml/ns/javaee http://xmlns.jcp.org/xml/ns/javaee/web-app_3_1.xsd" id="WebApp_ID" version="3.1">

  <context-param>
    <param-name>contextConfigLocation</param-name>
    <param-value>classpath:dispatcher-servlet.xml</param-value>
  </context-param>

  <!-- 配置监听器 -->
  <listener>
    <listener-class>org.springframework.web.context.ContextLoaderListener</listener-class>
  </listener>
  <listener>
    <listener-class>org.springframework.web.util.IntrospectorCleanupListener</listener-class>
  </listener>

 <!--  配置过滤器,解决POST乱码问题 -->
  <filter>
    <filter-name>encoding</filter-name>
    <filter-class>org.springframework.web.filter.CharacterEncodingFilter</filter-class>
    <init-param>
      <param-name>encoding</param-name>
      <param-value>UTF-8</param-value>
    </init-param>
  </filter>

  <!-- 配置SpringMVC分发器,拦截所有请求 -->
  <filter-mapping>
    <filter-name>encoding</filter-name>
    <url-pattern>/*</url-pattern>
  </filter-mapping>
  <servlet>
    <servlet-name>springmvc</servlet-name>
    <servlet-class>org.springframework.web.servlet.DispatcherServlet</servlet-class>
    <init-param>
      <param-name>contextConfigLocation</param-name>
      <param-value>classpath*:dispatcher-servlet.xml</param-value>
    </init-param>
  </servlet>
  <servlet-mapping>
    <servlet-name>springmvc</servlet-name>
    <url-pattern>/</url-pattern>
  </servlet-mapping>

</web-app>
在这个配置中,我们规定了
DispatcherServlet
的关联 XML 文件名称叫做
dispatcher-servlet
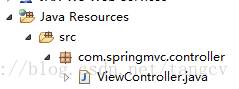
然后创建 com.springmvc.comtroller包,顺便创建ViewController.java文件等后面编写
dispatcher-servlet.xml中代码
<?xml version="1.0" encoding="UTF-8" ?>
<beans xmlns="http://www.springframework.org/schema/beans"
	xmlns:xsi="http://www.w3.org/2001/XMLSchema-instance"
	xmlns:p="http://www.springframework.org/schema/p"
	xmlns:context="http://www.springframework.org/schema/context"
	xmlns:util="http://www.springframework.org/schema/util"
	xmlns:mvc="http://www.springframework.org/schema/mvc"
	xsi:schemaLocation="http://www.springframework.org/schema/beans
       http://www.springframework.org/schema/beans/spring-beans-3.0.xsd
       http://www.springframework.org/schema/context
       http://www.springframework.org/schema/context/spring-context-3.0.xsd
       http://www.springframework.org/schema/util
       http://www.springframework.org/schema/util/spring-util-3.0.xsd
       http://www.springframework.org/schema/mvc
       http://www.springframework.org/schema/mvc/spring-mvc.xsd
      ">

 	  <!-- 开启注解模式驱动 -->
	  <mvc:annotation-driven></mvc:annotation-driven>
 	  <!-- 扫包 -->
 	  <context:component-scan base-package="com.springmvc.*"></context:component-scan>
   	  <!-- 静态资源过滤 -->
	  <mvc:resources location="/resources/" mapping="/resources/**"/>


	   <!-- 视图渲染 -->
	   <bean class="org.springframework.web.servlet.view.InternalResourceViewResolver">
		   	<!-- 制定页面存放的路径 -->
		   	<property name="prefix" value="/WEB-INF/interface/"></property>
		   	<!-- 文件的后缀 -->
		   	<property name="suffix" value=".jsp"></property>
	   </bean>

</beans>
扫包 ------ 它会扫描 com.springmvc 包下所有的Java类,但凡是遇到有注解的,比如@Controller , @Service , @Autowired ,就会将它们加入到Spring的bean工厂里面去。
静态资源过滤------相当于告诉SpringMVC,凡是请求路径为 /resources/ 开始的,都自动映射到 resources目录 下面相同文件名的文件去,而不经过DispatcherServlet过滤,这样就已经搞定了。
视图渲染------请求后跳转地址
创建一个applicationContext.xml文件
<?xml version="1.0" encoding="UTF-8"?>
<beans xmlns="http://www.springframework.org/schema/beans"
	xmlns:xsi="http://www.w3.org/2001/XMLSchema-instance" xmlns:aop="http://www.springframework.org/schema/aop"
	xmlns:context="http://www.springframework.org/schema/context" xmlns:tx="http://www.springframework.org/schema/tx"
	xmlns:util="http://www.springframework.org/schema/util" xmlns:p="http://www.springframework.org/schema/p"
	xsi:schemaLocation="http://www.springframework.org/schema/beans
  http://www.springframework.org/schema/beans/spring-beans.xsd
  http://www.springframework.org/schema/aop
  http://www.springframework.org/schema/aop/spring-aop-4.0.xsd
  http://www.springframework.org/schema/tx
  http://www.springframework.org/schema/tx/spring-tx-4.0.xsd
  http://www.springframework.org/schema/context
  http://www.springframework.org/schema/context/spring-context-4.0.xsd
  http://www.springframework.org/schema/util
  http://www.springframework.org/schema/util/spring-util-4.0.xsd
  ">


</beans>
然后编写ViewController.java文件
package com.springmvc.controller;
import javax.servlet.http.HttpServletRequest;
import org.springframework.stereotype.Controller;
import org.springframework.web.bind.annotation.RequestMapping;
import org.springframework.web.servlet.ModelAndView;

@Controller
public class ViewController {

	@RequestMapping("/login")
	public ModelAndView login(HttpServletRequest request){
		System.err.println("登录");
		String path = "login";
		ModelAndView mav = new ModelAndView();
		String contextPath = request.getContextPath();
		mav.addObject("contextPath" , contextPath);
		System.err.println("contextPath:"+contextPath);
		mav.setViewName(path);
		return mav;
	}

	@RequestMapping("/view")
	public ModelAndView view(HttpServletRequest request){
		String path = request.getParameter("path") + "";
		ModelAndView mav = new ModelAndView();
		mav.setViewName(path);
		return mav;
	}
}
到这里项目文件全部都有了 然后用Tomcat启动访问
http://localhost:8080/springmvc/login
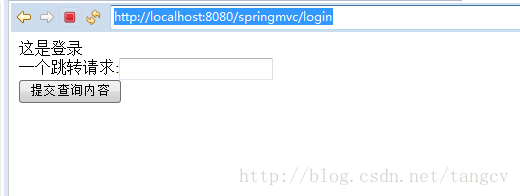
显示的内容 文本框中填写index,像springmvc发送请求
