这次新建一个空项目,命名为UICustonViews
本次自定义一个标题栏控件
一、引入布局
写个title.xml
<?xml version="1.0" encoding="utf-8"?>
<LinearLayout xmlns:android="http://schemas.android.com/apk/res/android"
    android:orientation="horizontal" android:layout_width="match_parent"
    android:layout_height="wrap_content"
    android:background="@drawable/ic_launcher_background">

    <Button
        android:id="@+id/title_back"
        android:layout_width="wrap_content"
        android:layout_height="70dp"
        android:layout_gravity="center"
        android:layout_margin="5dp"
        android:background="@drawable/back"
        android:text="返回"
        android:textColor="#fff" />

    <TextView
        android:id="@+id/titile_text"
        android:layout_width="0dp"
        android:layout_height="70dp"
        android:layout_gravity="center"
        android:layout_weight="1"
        android:gravity="center"
        android:text="文字标题"
        android:textColor="#fff"
        android:textSize="24sp" />

    <Button
        android:id="@+id/titile_edit"
        android:layout_width="wrap_content"
        android:layout_height="70dp"
        android:layout_gravity="center"
        android:layout_margin="5dp"
        android:background="@drawable/edit"
        android:text="编辑"
        android:textColor="#fff" />

</LinearLayout>
其中android:background为指定背景,android:layout_margin指定边距
那么,怎么引用呢?通过<include>就行了。
修改主布局:
<?xml version="1.0" encoding="utf-8"?>
<LinearLayout xmlns:android="http://schemas.android.com/apk/res/android"
    android:orientation="vertical" android:layout_width="match_parent"
    android:layout_height="match_parent">

    <include layout="@layout/title"/>

</LinearLayout>
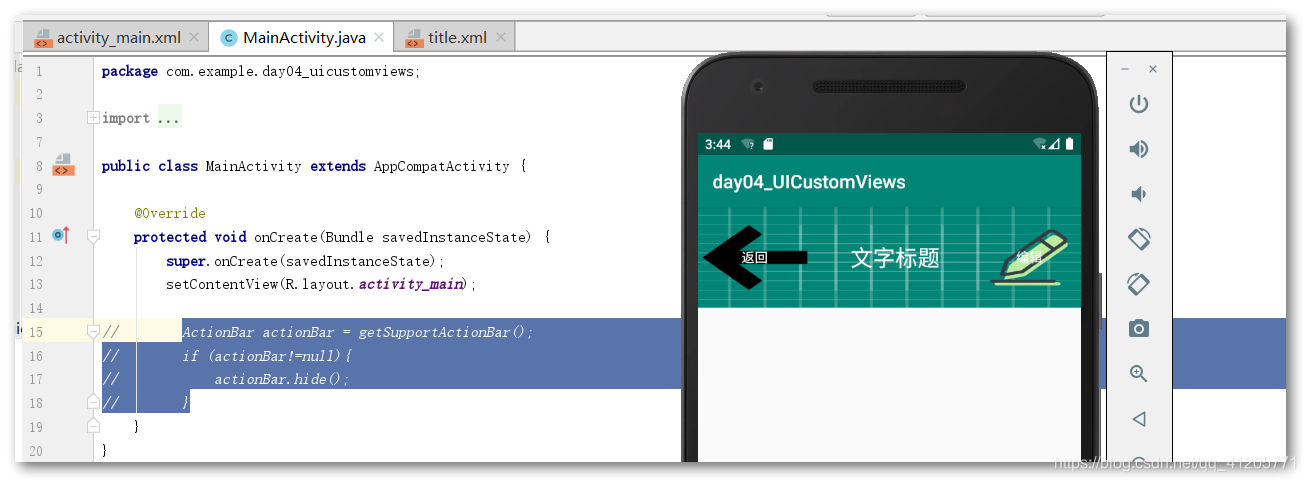
然后将自带的标题栏隐藏掉:
protected void onCreate(Bundle savedInstanceState) {
    super.onCreate(savedInstanceState);
    setContentView(R.layout.activity_main);

    ActionBar actionBar = getSupportActionBar();
    if (actionBar!=null){
        actionBar.hide();
    }
}
通过getSupportActionBar()获得ActionBar,然后再调用hide()将其隐藏
运行一下:

不隐藏就会像这样:
二、创建自定义控件
每次引入布局只需要<include>即可,但在每个活动中为这些控件单独编写一次注册事件的代码就很麻烦了,所以又有了自定义控件的做法
新建一个TitleLayout 继承自LinearLayout,让其成为自定义标题栏的控件。
public class TitleLayout extends LinearLayout {
    public TitleLayout(Context context, AttributeSet attrs){
        super(context, attrs);
        LayoutInflater.from(context).inflate(R.layout.title, this);
    }
}
- 首先引入了
LinearLayout的构造函数,只要调用TitleLayout就会调用这个构造函数 - 接下来需要对标题栏布局进行动态加载,这就需要
LayoutInflater了- 其
from()方法可以构建出一个LayoutInflater对象 - 其
inflate()方法可以动态加载布局文件,需要两个参数:- 布局文件的
ID - 加载好的布局的父布局
- 布局文件的
- 其
这样,一个自定义的控件就完成了
三、引入自定义控件
添加自定义控件需要指明完整的类名
<?xml version="1.0" encoding="utf-8"?>
<LinearLayout xmlns:android="http://schemas.android.com/apk/res/android"
    android:orientation="vertical" android:layout_width="match_parent"
    android:layout_height="match_parent">

<!--    <include layout="@layout/title"/>-->
    <com.example.day04_uicustomviews.TitleLayout
        android:layout_width="match_parent"
        android:layout_height="wrap_content"
        />
</LinearLayout>
重新运行效果一样:

四、为自定义控件注册事件
方法一样
public class TitleLayout extends LinearLayout {
    public TitleLayout(Context context, AttributeSet attrs){
        super(context, attrs);
        LayoutInflater.from(context).inflate(R.layout.title, this);

        Button titleBack = (Button) findViewById(R.id.title_back);
        Button titileEdit = (Button) findViewById(R.id.titile_edit);
        titleBack.setOnClickListener(new OnClickListener() {
            @Override
            public void onClick(View v) {
                ((Activity) getContext()).finish();
            }
        });
        titileEdit.setOnClickListener(new OnClickListener() {
            @Override
            public void onClick(View v) {
                Toast.makeText(getContext(),"你点击了编辑按钮",Toast.LENGTH_SHORT).show();
            }
        });
    }
}
getContext()获取的是当前对象所在的Context,此处不能填写this

运行也莫得问题。
