根据前一篇的环境搭建完成,然后写一个入门案例,简单的页面跳转
一、类文件
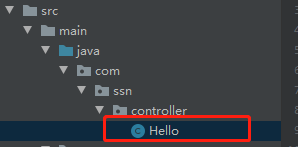
@Controller("hello")
public class Hello {
    @RequestMapping(path = "/sayHello")
    public String sayHello(){
        System.out.println("hello 执行");
        //这个字符串返回的是需要请求的页面的名字(此过程通过springmvc.xml文件配置的视图解析器对象)
        //这里好像只能通过视图控制器来映射到jsp文件,别的html什么的文件好像不行,因为springmvc默认的就是寻找jsp
        return "success";
    }
}
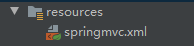
二、编写springmvc.xml文件
在resources文件夹下创建一个springmvc.xml文件
<?xml version="1.0" encoding="UTF-8"?>
<beans xmlns="http://www.springframework.org/schema/beans"
       xmlns:xsi="http://www.w3.org/2001/XMLSchema-instance"
       xmlns:context="http://www.springframework.org/schema/context"
       xmlns:aop="http://www.springframework.org/schema/aop"
       xmlns:tx="http://www.springframework.org/schema/tx"
       xmlns:mvc="http://www.springframework.org/schema/mvc"
       xsi:schemaLocation="http://www.springframework.org/schema/beans
        http://www.springframework.org/schema/beans/spring-beans.xsd
        http://www.springframework.org/schema/context
        http://www.springframework.org/schema/context/spring-context.xsd
        http://www.springframework.org/schema/aop
        http://www.springframework.org/schema/aop/spring-aop.xsd
        http://www.springframework.org/schema/tx
        http://www.springframework.org/schema/tx/spring-tx.xsd
        http://www.springframework.org/schema/mvc
        http://www.springframework.org/schema/mvc/spring-mvc.xsd">

	//上面是最全的约束,基本都能用了

	//开启注解扫描
    <context:component-scan base-package="com.ssn"></context:component-scan>

	//配置视图控制器,用于接收返回值并指定跳转到哪个页面
    <bean id="internalResourceViewResolver" class="org.springframework.web.servlet.view.InternalResourceViewResolver">
        <property name="prefix" value="/WEB-INF/pages/"></property>
        <property name="suffix" value=".jsp"></property>
    </bean>

    //开启springmvc的注解支持
    //使 用 <mvc:annotation-driven> 自动加载
     RequestMappingHandlerMapping (处理映射器) 和RequestMappingHandlerAdapter(处理适配器)
    <mvc:annotation-driven></mvc:annotation-driven>
</beans>
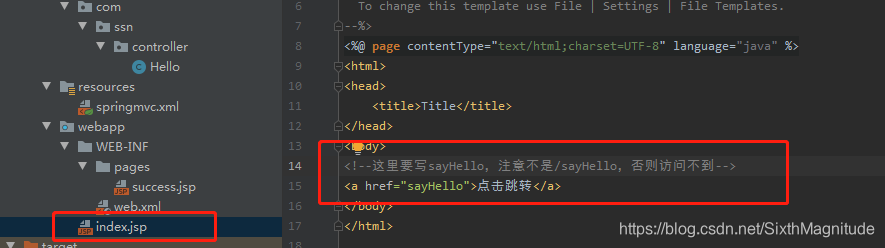
三、前端页面和跳转页面
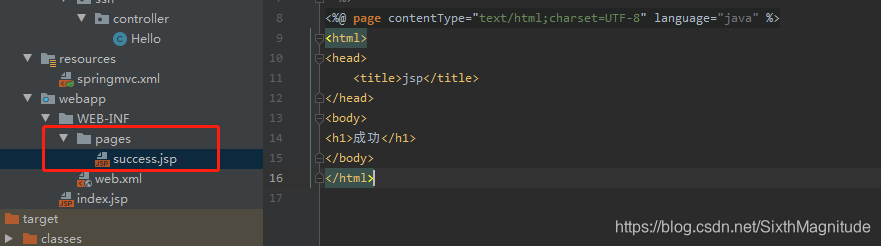
四、web.xml文件
1、配置前端控制器DispatcherServlet,以及对应的servlet-mapping,url-pattern为/,表明所有的请求都经过这个前端控制器
2、在服务器启动时,指定初始化要加载的配置文件,这里为springmvc.xml配置文件,用于创建对象到spring的ioc容器等等操作。
<web-app>
  <display-name>Archetype Created Web Application</display-name>
  <!--配置前端控制器的-->
  <servlet>
    <servlet-name>dispatcherServlet</servlet-name>
    <servlet-class>org.springframework.web.servlet.DispatcherServlet</servlet-class>
    <!--指明初始化加载的配置文件-->
    <init-param>
      <param-name>contextConfigLocation</param-name>
      <param-value>classpath:springmvc.xml</param-value>
    </init-param>
    <!--表明随着服务器启动就开始加载-->
    <load-on-startup>1</load-on-startup>
  </servlet>
  <servlet-mapping>
    <servlet-name>dispatcherServlet</servlet-name>
    <url-pattern>/</url-pattern>
  </servlet-mapping>
</web-app>
五、运行流程
1、启动服务器阶段
(1)DispatcherServlet(前端控制器)对象创建
(2)加载springmvc.xml文件,进行创建对象到IOC
2、发送请求,后台处理请求
(1)点击index.jsp的<a href="sayHello">点击跳转</a>
(2)服务器接收到请求,根据这个sayHello,再找到@requestMapping为/sayHello的方法,这样就对应起来了,如图
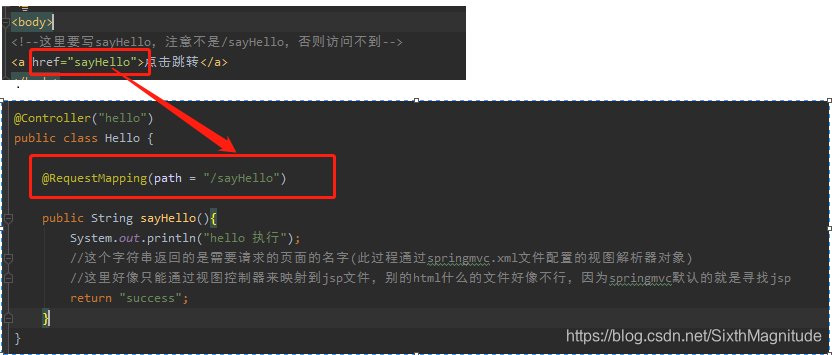
(3)找到要执行的方法后,在控制台打印出 “ hello 执行 ”,返回success字符串。
(4)根据方法返回的字符串,springmvc框架根据视图解析器InternalResourceViewResolver,将字符串拼接,变成一个具体的访问路径,返回给前端控制器,即:
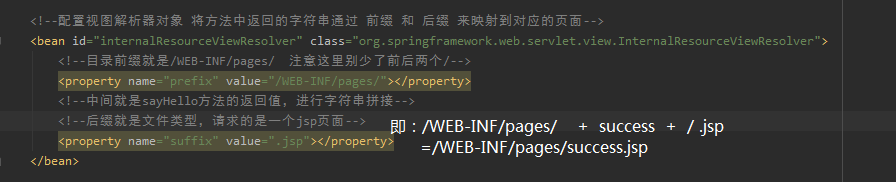
(5)前端控制器拿到这个路径,就实现跳转,最终访问到success.jsp这个页面
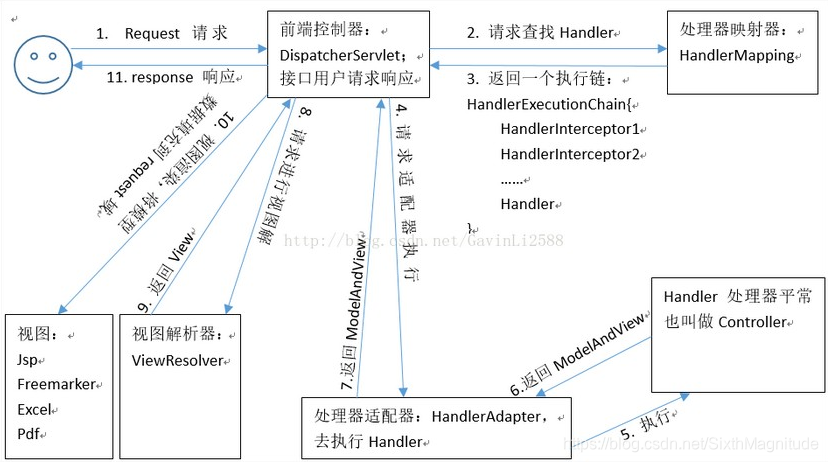
六、盗图总结
图片应该是来自于水印中的blog,侵删。