一、开发准备
备注:开发及测试环境基于RN:0.61.5
运行环境 / 依赖:
- Node 版本必须大于10
- Python2 (暂时不支持python3)
- adb (建议安装,这里是为了后期android查看日志用)
- JDK版本必须为1.8,需修改classpath环境变量(非必须)
- Android Studio 及所需 SDK(非必须)
- 包管理工具:npm 或 yarn
- 安卓模拟器(可以用as自带或者夜神等第三方模拟器)
vscode插件:
Using React in Visual Studio Code
- ESLint: js,jsx,es6代码语法检测
- ReactNativeTools:微软官方出的ReactNative插件
React Native Hello World
初始化项目
react-native init ReactNativeDemo
安装项目依赖
cd ReactNativeDemo
yarn install
react-native run-android
运行在安卓模拟器中,这时命令行会中显示js bundle 的状态,当进度条执行到100%的时候,表示项目运行成功。
备注:
1,运行之前可以在 cmd 中运行 adb devices 查看真机或者模拟器是否在线。
2,这里如果想单独的看android日志,打开 cmd 后运行 adb logcat 可以查看android 的详细日志。
二、技术点
MapboxGL
yarn add @react-native-mapbox-gl/maps
在项目的根目录中创建 accesstoken 文件,将自己的秘钥粘贴到该文件中保存。
使用示例
import React, {Component} from "react";
import {StyleSheet, View} from "react-native";
import MapboxGL from "@react-native-mapbox-gl/maps";

MapboxGL.setAccessToken("*****************************************");

const styles = StyleSheet.create({
    map: {
        flex: 1
    }
});

export default class ShowMap extends Component {
    componentDidMount() {
        MapboxGL.setTelemetryEnabled(false);

    }

    render() {
        return (
            <View style={styles.map}>
                <MapboxGL.MapView style={styles.map}
                                  zoomLevel={10}
                                  centerCoordinate={[-117.20611157485, 52.180961084261]}>
                </MapboxGL.MapView>
            </View>
        );
    }
}
android 需要修改内容:参考链接
- android/build.gradle
- android/app/build.gradle
- android/settings.gradle
- android/app/src/main/java/com/PROJECT_NAME/MainApplication.java
在 index.js 中指定启动文件,执行 react-native run-android 运行项目。
import ShowMap from './app/mapbox/ShowMap'
AppRegistry.registerComponent(appName, () => ShowMap);

RabbitMQ、lz-string
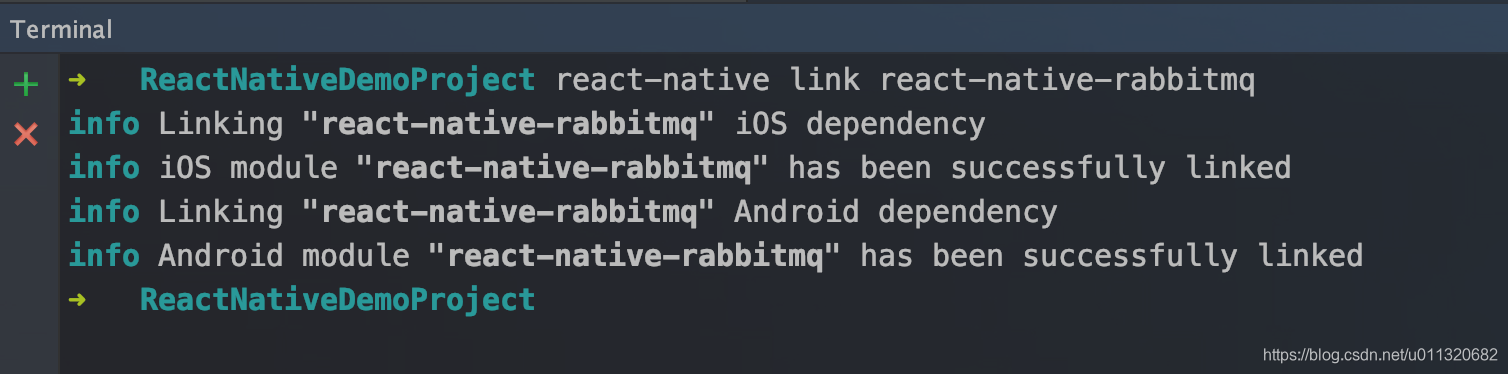
yarn add react-native-rabbitmq
yarn add lz-string
执行安装后,需要进行react-native link react-native-rabbitmq 检查如图所示:
使用示例:
import React, {Component} from "react";
import { StyleSheet, Text, View} from "react-native";
import {Connection, Exchange, Queue} from 'react-native-rabbitmq';
import LZString from "lz-string";
export default class MQ3 extends Component {
constructor(props) {
super(props);
this.state = {
reaceiveMQInfo: "",
};
}
componentDidMount() {
this.initMQData();
}
// 初始化MQ
initMQData() {
const config = {
host: '202.43.148.91',
port: 5003,
username: 'admin',
password: 'Cast',
virtualhost: '/',
ttl: 1000,// Message time to live,
heartbeat: 60
};
// 声明 连接、队列等变量
let connection = new Connection(config);
connection.connect();
let connected = false;
let queue;
let exchange;
// 创建变量
connection.on('connected', event => {
queue = new Queue(connection, {
name: 'react_native_rabbitmq_queue',
passive: false,
durable: false,
autoDelete: true,
autoAck: true
});
// exchange 配置
exchange = new Exchange(connection, {
name: 'SZXDataInterface',
type: 'fanout',
durable: true,
autoDelete: false,
internal: false
});
// 绑定
queue.bind(exchange, '');
// Receive one message when it arrives
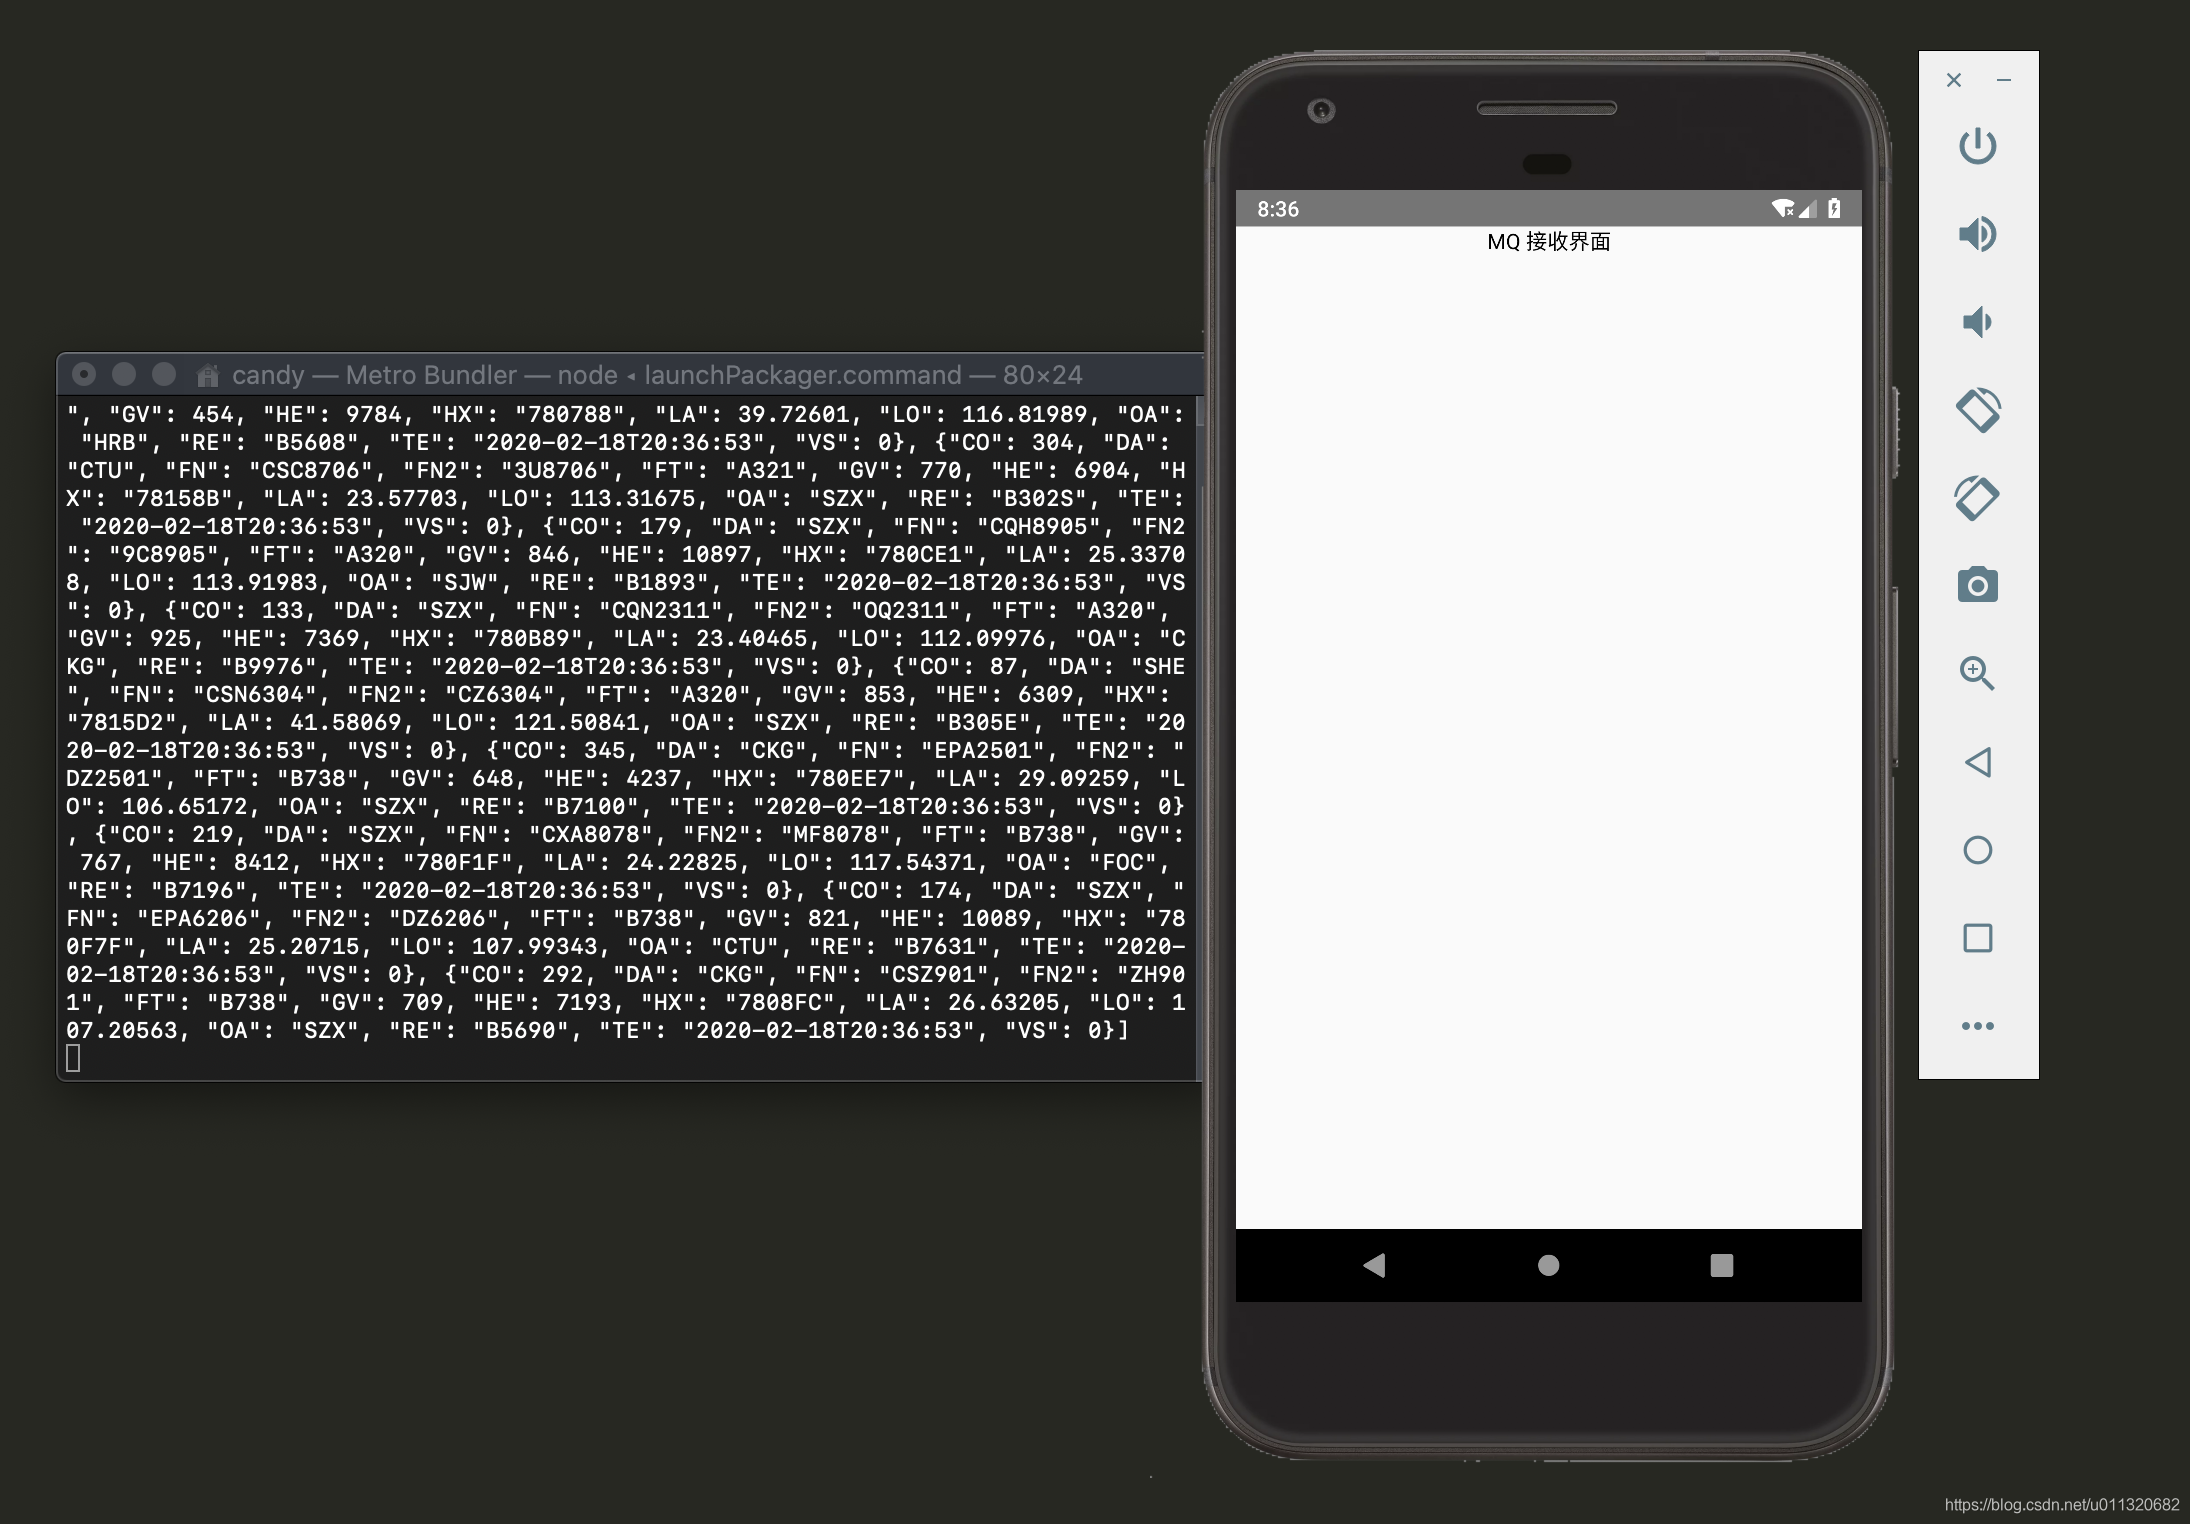
queue.on('message', (data222) => {
let mqMsg = data222.message.substring(1, data222.message.length - 1);
let aaa = JSON.parse(LZString.decompressFromBase64(mqMsg));
console.info(aaa);
});
});
connection.on('error', event => {
connected = false;
console.info(connection);
console.info(event);
console.info('you are not connected');
});
}
render() {
return (
<View style={styles.rightContainer}>
<Text style={styles.year}>MQ 接收界面</Text>
</View>
);
}
}
const styles = StyleSheet.create({
year: {
textAlign: "center"
},
});
在 index.js 中指定启动文件,执行 react-native run-android 运行项目。
import Rabbitmq from './app/rabbitmq/RabbitMQ'
AppRegistry.registerComponent(appName, () => Rabbitmq);
AlaSQL、easy-toast
github地址AlaSQL
github地址easy-toast
yarn add alasql
yarn add react-native-easy-toast
备注:如果发现在alasql在测试过程中报错,则需添加 fs 和 fetch-blob 两个依赖
yarn add react-native-fs
yarn add react-native-fetch-blob
引入方式:
import alasql from "alasql";
import Toast, {DURATION} from 'react-native-easy-toast'
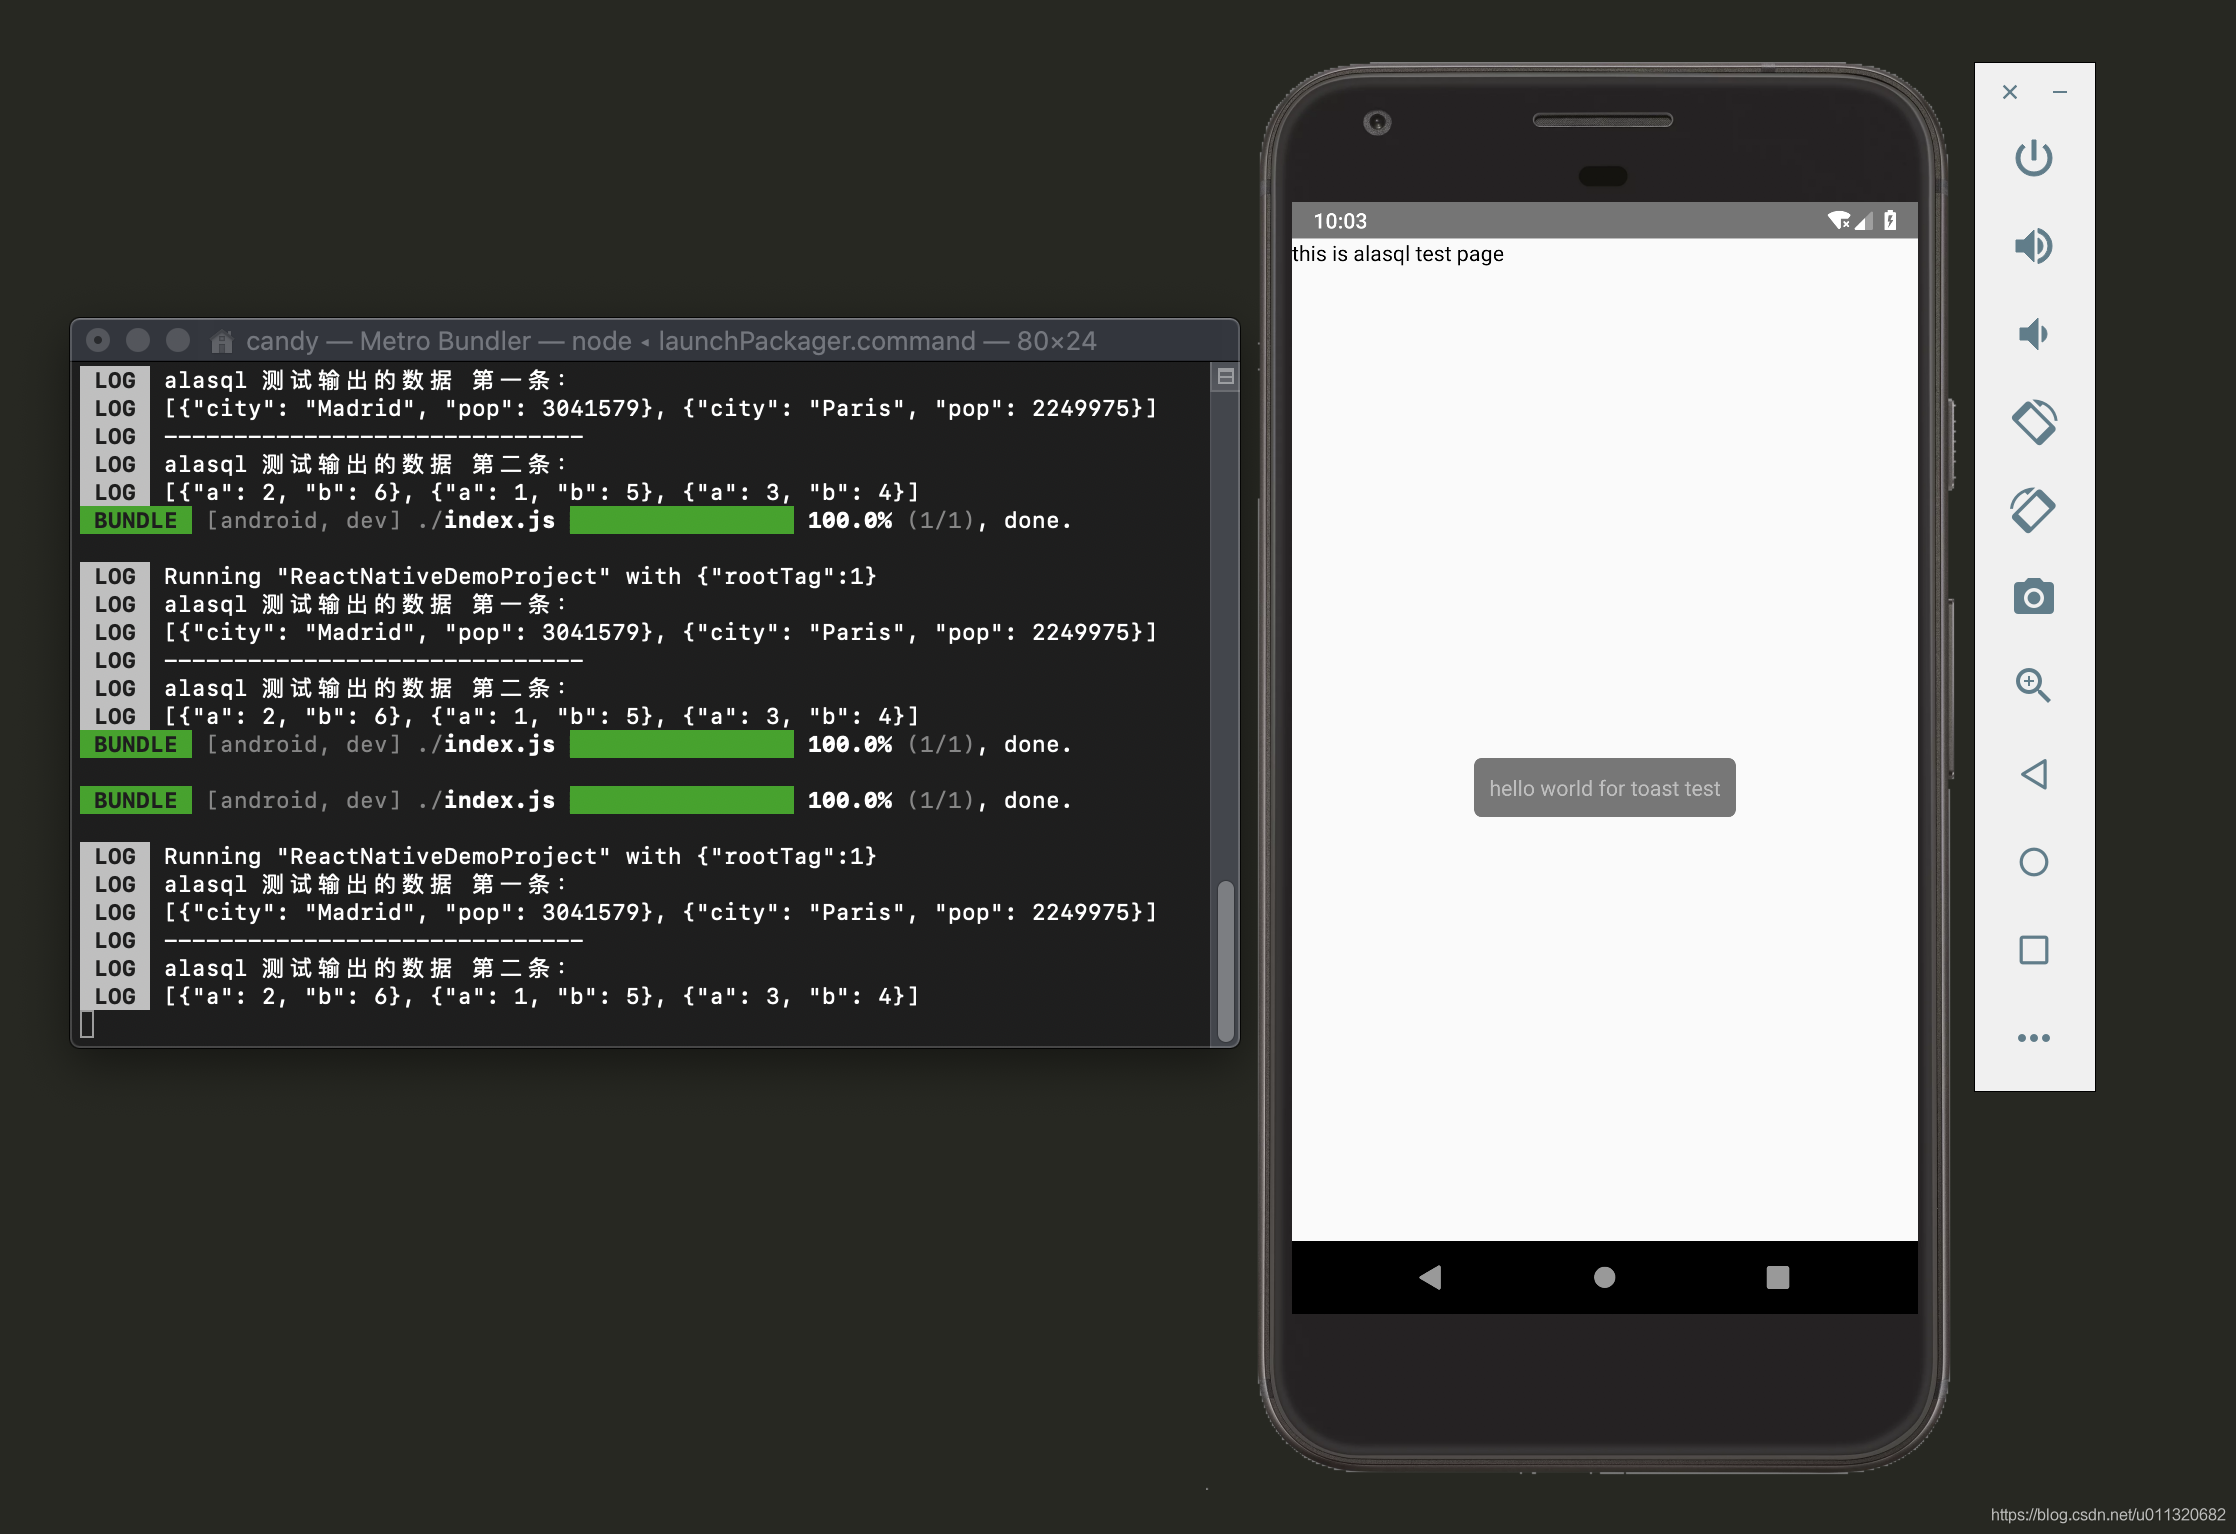
使用示例:
import React, {Component} from "react";
import {Text, View} from "react-native";
import alasql from "alasql";
import Toast, {DURATION} from 'react-native-easy-toast'

export default class AlaSQL extends Component {
    constructor(props) {
        super(props);
        this.state = {
            reaceiveMQInfo: "",
        };
    }

    componentDidMount() {
        this.initAlaSQL();
    }

    initAlaSQL() {
        /* create SQL Table and add data */
        alasql("CREATE TABLE cities (city string, pop number)");

        alasql("INSERT INTO cities VALUES ('Paris',2249975),('Berlin',3517424),('Madrid',3041579)");

        /* execute query */
        let ress = alasql("SELECT * FROM cities WHERE pop < 3500000 ORDER BY pop DESC");
        console.log("alasql 测试输出的数据 第一条: ");
        console.log(ress);

        console.log("------------------------------");

        alasql("CREATE TABLE example1 (a INT, b INT)");

        // alasql's data store for a table can be assigned directly
        alasql.tables.example1.data = [
            {a: 2, b: 6},
            {a: 3, b: 4}
        ];

        // ... or manipulated with normal SQL
        alasql("INSERT INTO example1 VALUES (1,5)");

        var res = alasql("SELECT * FROM example1 ORDER BY b DESC");
        console.log("alasql 测试输出的数据 第二条: ");
        console.log(res); // [{a:2,b:6},{a:1,b:5},{a:3,b:4}]
    }

    render() {
        return (
            <View>
                <Text onPress={() => {
                    this.refs.toast.show('hello world for toast test', 500)
                }}>this is alasql test page</Text>
                <Toast ref="toast" position='center' opacity={.8}/>
            </View>
        );
    }
}
在 index.js 中指定启动文件,执行 react-native run-android 运行项目。
import AlaSQL from './app/alasql/AlaSQL'
AppRegistry.registerComponent(appName, () => AlaSQL);