前提你的电脑上需要安装了git
一、 安装gitflow
mac上安装的方式有多种方法,这里介绍两个,本人用的第一个:
- 使用Homebrew安装
brew install git-flow - 使用macPorts安装
port install git-flow
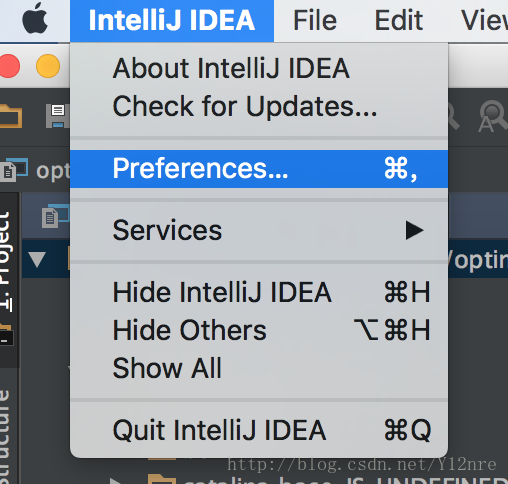
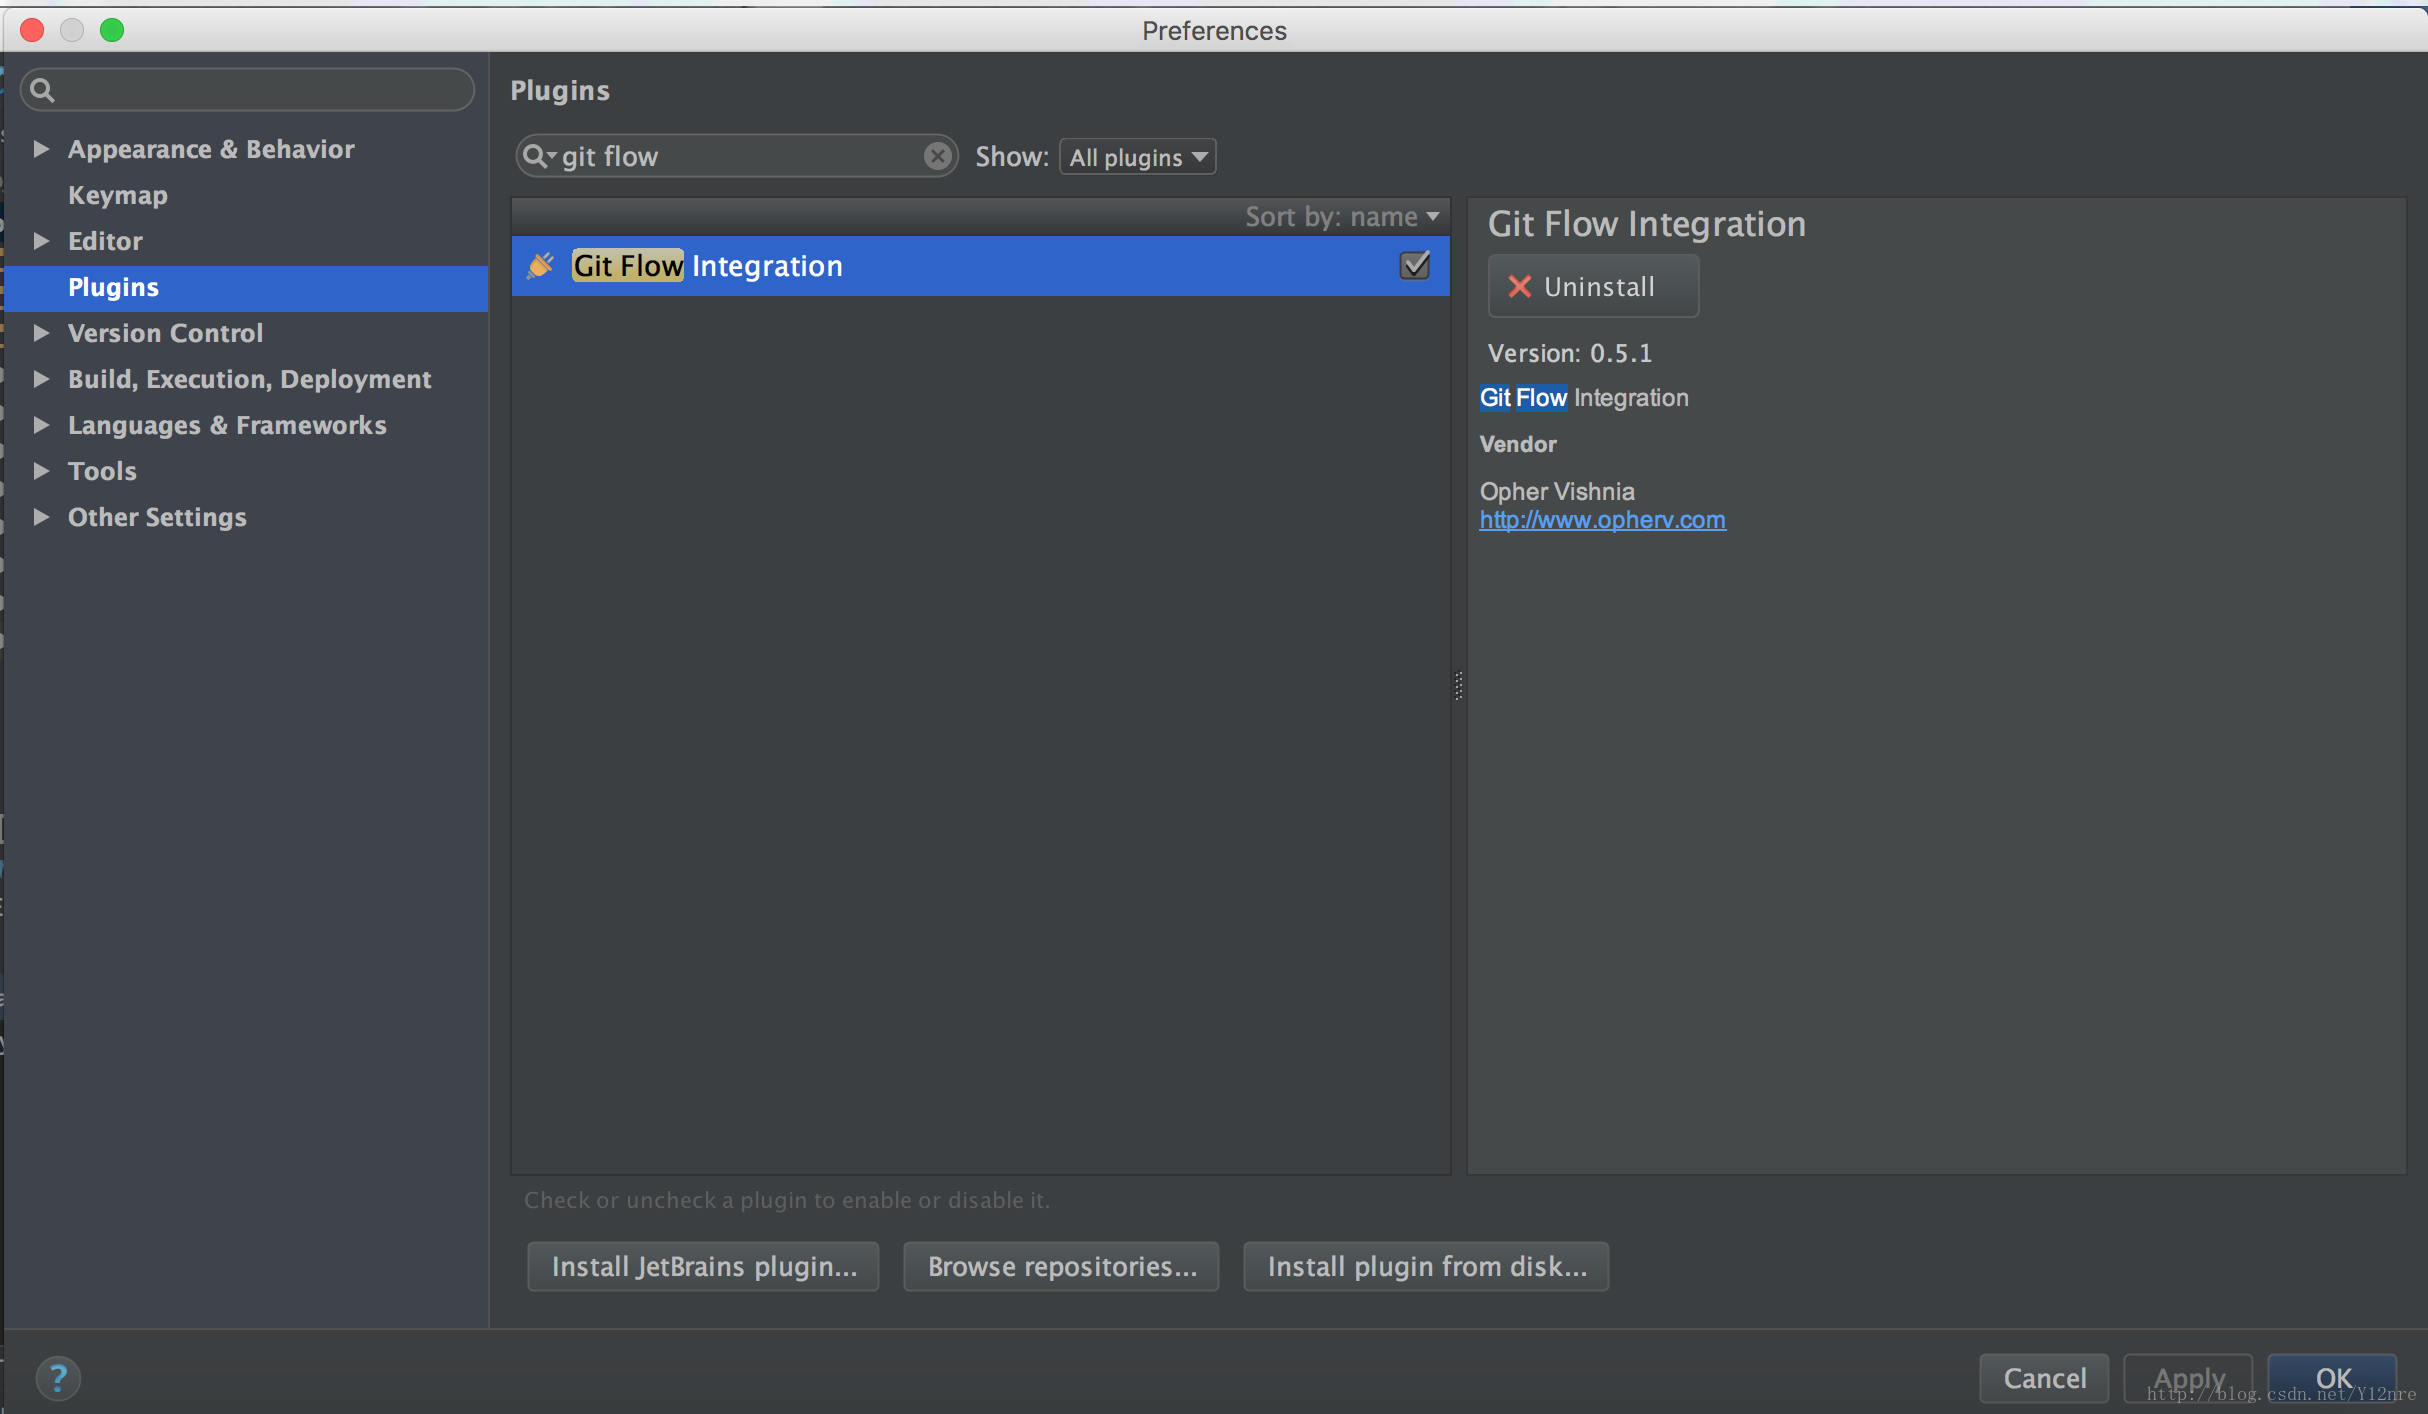
二、IDEA安装gitflow插件
IDEA–> preference–>plugins,搜索git flow ,如果找不到就在中间的空白区域的蓝色链接点击安装
三、安装成功之后restart一下IDEA
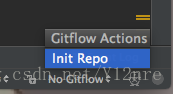
四、点击IDEA右下角的No flow初始化一下

点击OK
五、如果出现gitflow了,就表示完成了,可以使用

六、错误的处理
在安装的过程中本人出现了写错误,再次总结一下,有同样错误的小伙伴可以参考一下
①

fatal: Working tree contains unstaged changes. Aborting.因为本地还有没有提交的代码,提交一下这个错误就不会出现了
② 本人的运气不太好,然后就又遇到了另外一个错误

Production and integration branches should differ.这是因为我在初始化gitflow的时候branch name for production releases和branch name for “next release” development选的是同一个分支,将next release分支改为develop分支就好了
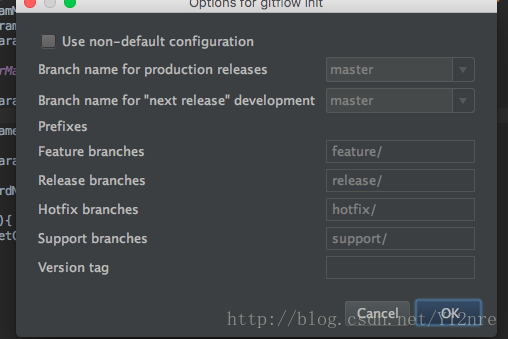
我上面都是master,所以改一下就可以了
成功时候gitflow会自动给你创建四个分支,分别如下
feature/
release/
hotfix/
support/