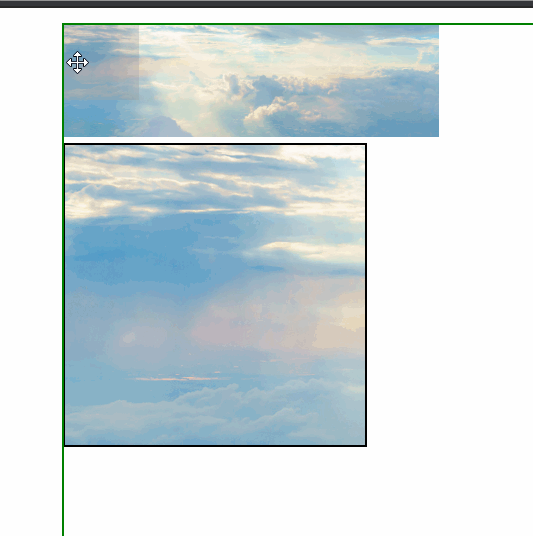
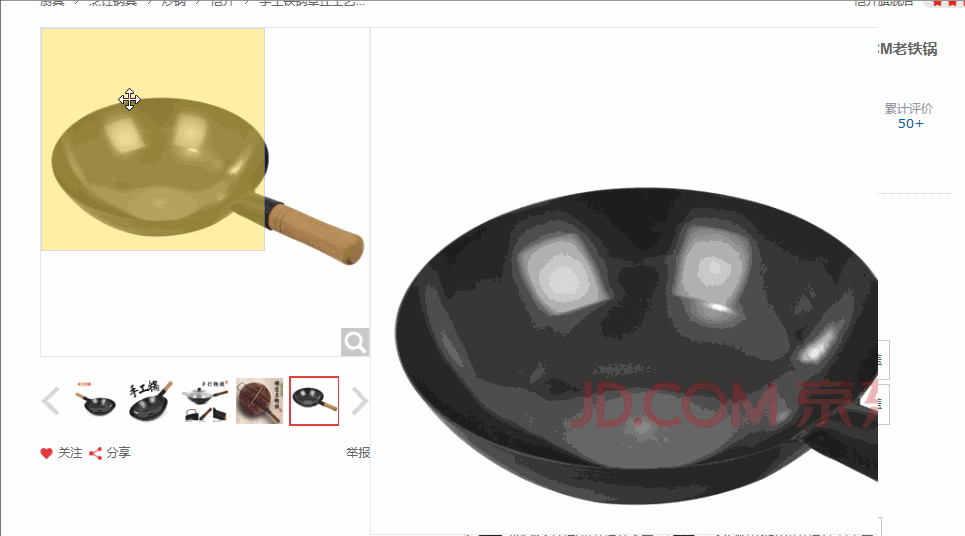
实现某东上面的商品放大镜效果
实现代码
<!DOCTYPE html>
<html lang="en">
    <head>
        <meta charset="UTF-8">
        <title>Title</title>
        <style type="text/css">
            *{                                          //清除浏览器原带的格式
                margin: 0;
                padding: 0;
            }
            #content{
                width: 800px;
                height: 800px;
                margin: 0 auto;
                border: 1px green solid;
                font-size: 12px;
            }
            #box{
                width: 200px;
                height: 60px;
                position: relative;                     /*整个大盒子,并设定相对定位好移动盒子内部的图片*/
            }
            #b4{
                width: 160px;                           /*注意b1,b2,b3,b4盒子的大小必须注意他们的比例*/
                height: 160px;                          /*b4大小是b1的4倍*/
                overflow: hidden;
                border: 1px black solid;
                display: none;                          /*开始时这个盒子是隐藏的*/
                position: relative;                     /*设定定位,利于b3移动*/
            }
            #b1{
                display: none;                          /*开始时这个盒子是隐藏的*/
                position: absolute;                     /*设定定位,利于b1移动*/
                width: 40px;                            /*设定盒子的大小*/
                height: 40px;
                background-color: rgba(150,150,150,0.3);
                cursor:move;                            /*改变鼠标光标样式*/
            }
            #b2{
                width: 100%;                            /*设定盒子的大小,为继承父标签大小,宽200px,高60px*/
                height:100%;
            }
            #b3{
                position:absolute;                      /*设定定位,利于b3移动*/
                width: 800px;                           /*大小为b2的4倍*/
                height: 240px;
            }
        </style>
        <script type="text/javascript" defer="">
            window.addEventListener('load',function () {
                var box=document.querySelector('#box');
                var b4=document.querySelector('#b4');
                box.addEventListener('mouseover',function () {          //鼠标移动到box上面的时候b1和b4显示
                    box.children[0].style.display='block';
                    b4.style.display='block';
                });
                box.addEventListener('mouseout',function () {           //鼠标移出box的时候b1和b4隐藏
                    box.children[0].style.display='none';
                    b4.style.display='none';
                });
                box.addEventListener('mousemove',function (e) {
                    var x=e.pageX-box.offsetLeft-box.children[0].offsetWidth/2;
                    var y=e.pageY-box.offsetTop-box.children[0].offsetHeight/2;

                    /*
                    *这里的x,y都是相对与box的left和top
                    * x=鼠标到网页左边框距离 - box的左边框到网页左边框距离 - b1宽的一半
                    * y=鼠标到网页上边框距离 - box的上边框到网页上边框距离 - b1高的一半
                    * 那么为什么要减去b1的宽一半或者高一半呢?
                    * 因为盒子开始定位的时候鼠标在盒子的左上角,而需要鼠标定位到盒子中间,所以需要这样
                     */

                    var xBig=box.children[1].offsetWidth-box.children[0].offsetWidth;
                    if(x<=0){
                        x=0;
                    }
                    else if(x >= xBig){
                        x=xBig;
                    }
                    if(y<=0){               //顶顶顶
                        y=0;
                    }
                    else if(y >= box.children[1].offsetHeight-box.children[0].offsetHeight){
                        y=box.children[1].offsetHeight-box.children[0].offsetHeight;
                    }

                    /*
                    * xBig(鼠标在x方向的最大移动距离)=b2的宽度 - b1的宽度
                    * x值不能小于0,当x小于0的时候,令x=0
                    * x值不能大于xBig,当x大于xBig的时候,令x=xBig
                    * y也是同理
                     */

                    box.children[0].style.left=x+'px';                  //给b1设定定位
                    box.children[0].style.top=y+'px';
                    var xMBig=b4.firstElementChild.offsetWidth-b4.offsetWidth;
                    b4.firstElementChild.style.left=-x*xMBig/xBig+'px';     //给b3设定定位
                    b4.firstElementChild.style.top=-y*xMBig/xBig+'px';

                    /*
                    * 因为b1,b2,b3,b4大小是相关的
                    * 所以b1在b2里面移动的x,y距离与b3在b4里面移动的距离有一定的倍数关系
                    * xMBig是b3在b4里面的最大移动距离
                    * 也要注意b3定位的ldft和top一定是负的
                     */

                });
            })
        </script>
    </head>
    <body>
        <div id="content">
            <div id="box">
                <div id="b1"></div>
                <img src="../images/image07.jpg" alt="" id="b2" title=""/>
                <div id="b4"><img src="../images/image07.jpg" id="b3" alt=""/></div>
            </div>
        </div>
    </body>
</html>
效果图: