1.新建一个springboot项目
可以看这里https://blog.csdn.net/qq_43560721/article/details/104653470
2.开始写简单的helloWord
新建一个controller

package com.example.officialwebsite.controller;

import org.springframework.web.bind.annotation.RequestMapping;
import org.springframework.web.bind.annotation.RestController;

@RestController
public class TestController{
    @RequestMapping("/hello")
    public String hello(){
        return "hello word spring boot!";
    }
}
注意启动类要加扫描包
package com.example.officialwebsite;

import org.springframework.boot.SpringApplication;
import org.springframework.boot.autoconfigure.SpringBootApplication;
import org.springframework.context.annotation.ComponentScan;

@SpringBootApplication
@ComponentScan("com.example.officialwebsite.*")
public class OfficialwebsiteApplication {

    public static void main(String[] args) {
        SpringApplication.run(OfficialwebsiteApplication.class, args);
        System.out.println("哈哈*=*");

    }

}
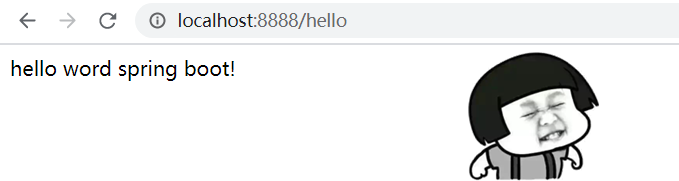
3.运行项目

浏览器输入:http://localhost:8888/hello
@RestController = @Controller + @ResponseBody
@RequestMapping :用来处理请求地址映射的注解,可用于类或方法上。也可以写作 GetMapping 、PostMapping、PutMapping 、DeleteMapping 、PatchMapping
@SpringBootApplication = (默认属性)@Configuration + @EnableAutoConfiguration + @ComponentScan。
@Configuration的注解类标识这个类可以使用Spring IoC容器作为bean定义的来源。@Bean注解告诉Spring,一个带有@Bean的注解方法将返回一个对象,该对象应该被注册为在Spring应用程序上下文中的bean。
@EnableAutoConfiguration:能够自动配置spring的上下文,试图猜测和配置你想要的bean类,通常会自动根据你的类路径和你的bean定义自动配置。
@ComponentScan:会自动扫描指定包下的全部标有@Component的类,并注册成bean,当然包括@Component下的子注解@Service,@Repository,@Controller。
