一、JSR107
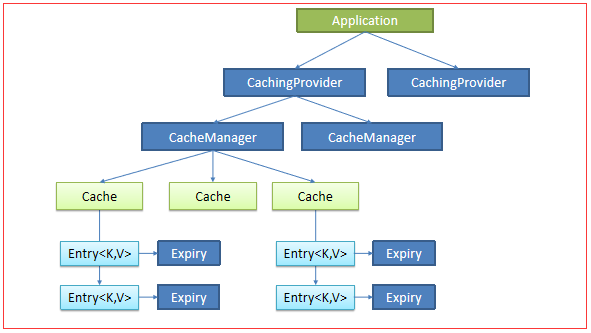
Java Caching定义了5个核心接口,分别是CachingProvider, CacheManager, Cache, Entry 和 Expiry。
1、CachingProvider定义了创建、配置、获取、管理和控制多个CacheManager。
一个应用可以在运行期访问多个CachingProvider。
2、CacheManager定义了创建、配置、获取、管理和控制多个唯一命名的Cache,
这些Cache存在于CacheManager的上下文中。一个CacheManager仅被一个CachingProvider所拥有。
3、Cache是一个类似Map的数据结构并临时存储以Key为索引的值。一个Cache仅被一个CacheManager所拥有。
4、Entry是一个存储在Cache中的key-value对。
5、 Expiry 每一个存储在Cache中的条目有一个定义的有效期。一旦超过这个时间,条目为过期的状态。
一旦过期,条目将不可访问、更新和删除。缓存有效期可以通过ExpiryPolicy设置。
使用比较麻烦
二、Spring缓存抽象
Spring从3.1开始定义了org.springframework.cache.Cache
和org.springframework.cache.CacheManager接口来统一不同的缓存技术;
并支持使用JCache(JSR-107)注解简化我们开发;
Cache接口为缓存的组件规范定义,包含缓存的各种操作集合;
Cache接口下Spring提供了各种xxxCache的实现;
如RedisCache,EhCacheCache , ConcurrentMapCache等;
每次调用需要缓存功能的方法时,Spring会检查检查指定参数的指定的目标方法是否已经被调用过;
如果有就直接从缓存中获取方法调用后的结果,如果没有就调用方法并缓存结果后返回给用户。
下次调用直接从缓存中获取。
使用Spring缓存抽象时我们需要关注以下两点;
1、确定方法需要被缓存以及他们的缓存策略
2、从缓存中读取之前缓存存储的数据
三、基本环境搭建:
代码实践讲解:
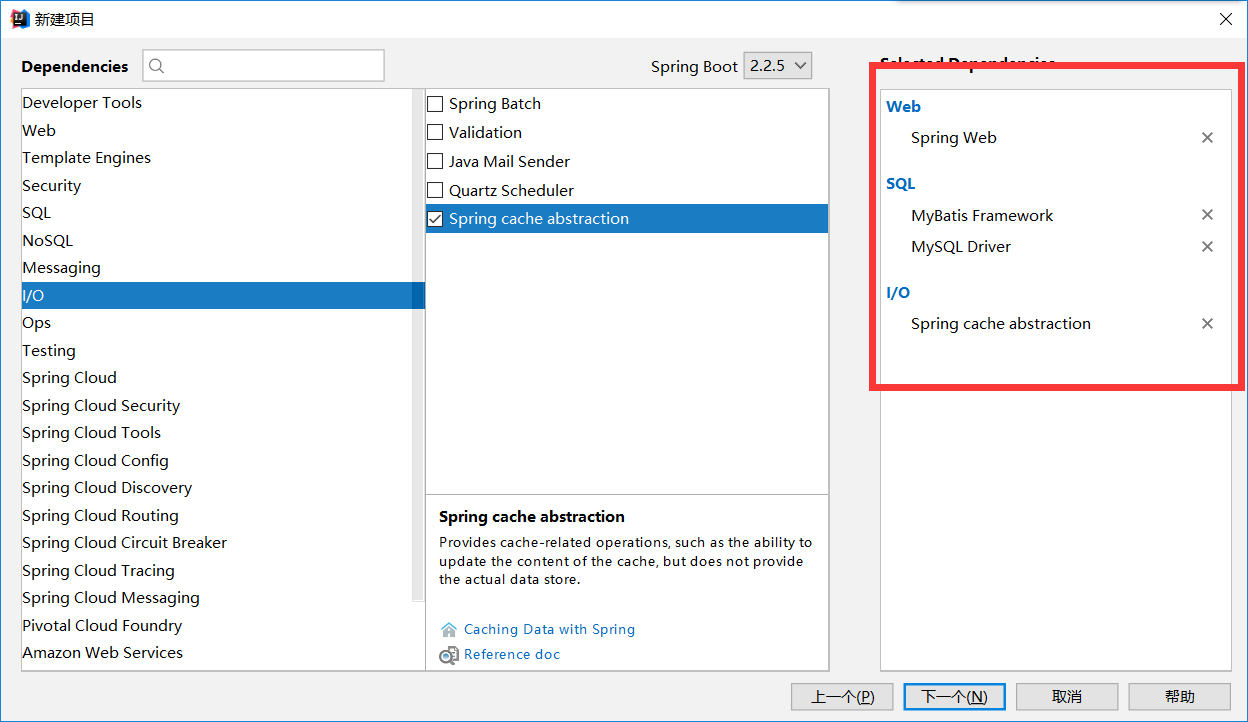
1、新建工程:
2、创建数据库、表以及相应的javabean
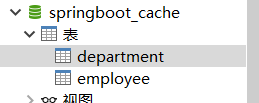
department表结构

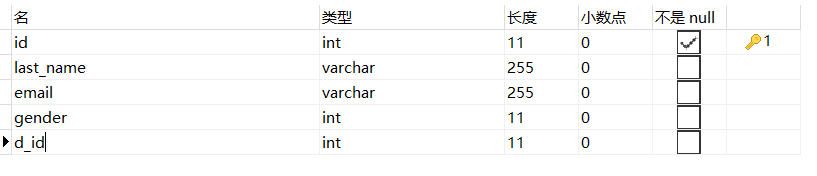
employee表结构

public class Department {
    private Integer id;
    private String departmentName;

    public Department() {
    }
....
}
public class Employee {
    private Integer id;
    private String lastName;
    private String email;
    private Integer gender;
    private Integer dId;

    public Employee() {
    }
.....
}
3、整合mybatis操作数据库
在application.xml中配置数据源基本信息
spring.datasource.url=jdbc:mysql://localhost:3306/springboot_cache?serverTimezone=UTC
spring.datasource.username=root
spring.datasource.password=123
spring.datasource.driver-class-name=com.mysql.cj.jdbc.Driver

#开启驼峰命名
mybatis.configuration.map-underscore-to-camel-case=true
添加对应实体类的mapper接口
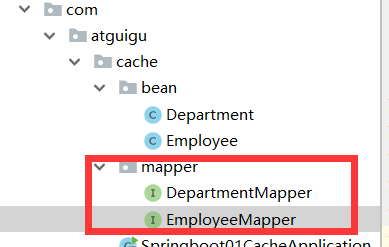
暂时先写一个EmployeeMapper测试
//@Mapper     //在springbooot启动类中配置了@MapperScan,所以这里就不用再配置@Mapper了
public interface EmployeeMapper {

    @Select("select * from employee where id = #{id}")
    public Employee getEmpById(Integer id);

    @Update("update employee set last_name=#{lastName},email=#{email},gender=#{gender},d_id=#{dId} where id=#{id}")
    public void updateEmp(Employee employee);

    @Delete("delete employee where id=#{id}")
    public void deleteEmpById(Integer id);

    @Insert("insert into employee(last_name,email,gender,d_id) values(#{lastName},#{email},#{gender},#{d_id})")
    public void insertEmp(Employee employee);
}
在springbooot启动类中配置了@MapperScan指定扫描哪个包下的mapper,mapper接口就不用再配置@Mapper了
@MapperScan("com.atguigu.cache.mapper")
@SpringBootApplication
public class Springboot01CacheApplication {

    public static void main(String[] args) {
        SpringApplication.run(Springboot01CacheApplication.class, args);
    }

}
手动插入一条记录

在测试类中进行查询测试操作
@SpringBootTest
class Springboot01CacheApplicationTests {

    @Autowired
    EmployeeMapper employeeMapper;

    @Test
    void contextLoads() {
        Employee emp = employeeMapper.getEmpById(1);
        System.out.println(emp);
    }
}
控制台输出:

说明整合mybatis成功
4、创建service层和controller层进行测试

@RestController
public class EmployeeController {

    @Autowired
    EmployeeService employeeService;

    @RequestMapping("/emp/{id}")
    public Employee getEmployee(@PathVariable("id") Integer id){
        Employee emp = employeeService.getEmp(id);
        return emp;
    }
}
@Service
public class EmployeeService {

    @Autowired
    EmployeeMapper employeeMapper;

    public Employee getEmp(Integer id){
        System.out.println("查询"+id+"号员工");
        Employee employee = employeeMapper.getEmpById(id);
        return employee;
    }
}
此时在浏览器中访问:
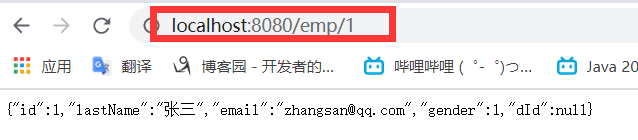
访问成功,说明基本环境搭建成功。