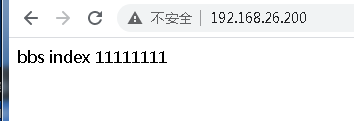
一、基于IP的虚拟主机配置
1.1添加临时IP
ifconfig ens33:200 192.168.26.200 netmask 255.255.255.0 up

编辑vim /application/apache/conf/extra/httpd-vhosts.conf
<VirtualHost 192.168.26.200:80>
    ServerAdmin [email protected]
    DocumentRoot "/var/bbs"
    ServerName 192.168.26.200
    ServerAlias bbsoldboy.etiantian.org
    ErrorLog "logs/bbs.etiantian.org-error_log"
    CustomLog "logs/bbs.etiantian.org-access_log" common
</VirtualHost>


#检查重启
apachectl -t
apachectl graceful

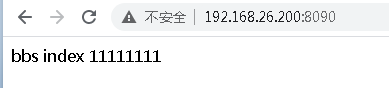
二、基于端口的虚拟主机配置
2.1添加监听的端口 (修改httpd.conf)
基于IP的
修改httpd.conf主配置文件,找到默认的 Listen 80的配置行,在下面添加
Listen 8080
Listen 8090
2.2 配置httpd-vhosts.conf
<VirtualHost 192.168.26.200:8090>
    ServerAdmin [email protected]
    DocumentRoot "/var/bbs"
    ServerName 192.168.26.200
    ServerAlias bbsoldboy.etiantian.org
    ErrorLog "logs/bbs.etiantian.org-error_log"
    CustomLog "logs/bbs.etiantian.org-access_log" common
</VirtualHost>

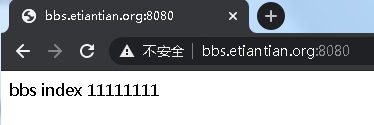
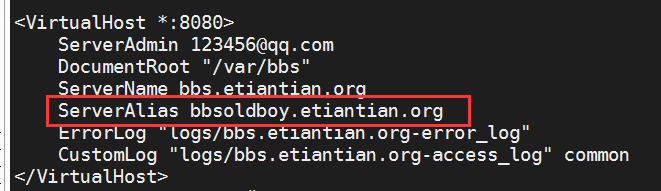
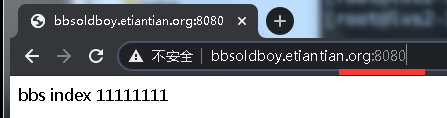
2.3基于域名的 非80端口
修改httpd-vhosts.conf
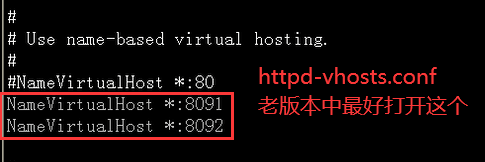
(不打开NameVirtualHost也没报错,没出问题)
<VirtualHost *:8080>
    ServerAdmin [email protected]
    DocumentRoot "/var/bbs"
    ServerName bbs.etiantian.org
    ServerAlias bbsoldboy.etiantian.org
    ErrorLog "logs/bbs.etiantian.org-error_log"
    CustomLog "logs/bbs.etiantian.org-access_log" common
</VirtualHost>

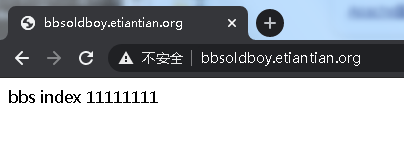
2.4 Apache的别名alias

在hosts添加解析

三、Apache的mod_deflate模块(压缩的)
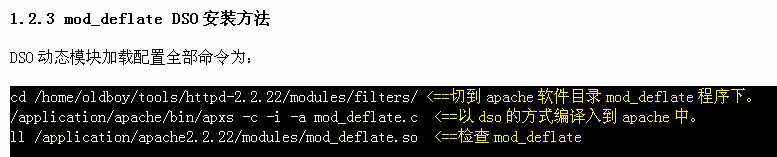
#检查是否安装 mod_deflate模块
ls /application/apache/modules | grep deflate
apachectl -l | grep deflate
apachectl -M | grep deflate
3.1 deflate在httpd.conf中应用:

vim /application/apache/conf/extra/httpd-vhosts.conf ,在其中一个 <VirtualHost *.80>结构体里面添加
<ifmodule mod_defalte.c>
    DeflateCompressionLevel 9
    SetOutputFilter DEFLATE
    AddOutputFilterByType DEFLATE text/html text/plain text/xml
    AddOutputFilterByType DEFLATE application/javascript
    AddOutputFilterByType DEFLATE text/css
</ifmodule>
apachectl -t
apachectl graceful


四、Apache的mod_expire模块(缓存的)
mod_expires (缓存的技术)
#检查mod_expires模块是否安装
apachectl -l | grep mod_expire

ll /application/apache/modules/ | grep mod_expire
-rwxr-xr-x 1 root root  44192 Feb 19 17:56 mod_expires.so

grep mod_expires.so /application/apache/conf/httpd.conf
LoadModule expires_module     modules/mod_expires.so

#如果最开始编译安装./configure的时候加上了 --enable-expires ,则就会安装mod_expires
mod_expire DSO安装方法
cd /server/tools/httpd-2.4.46/modules/metadata
/application/apache/bin/apxs -c -i -a mod_expires.c
ll /application/apache/modules/mod_expires.so

查看当前http headers
[root@lvs2-139 metadata]# curl -I blog.etiantian.org
HTTP/1.1 200 OK
Date: Sat, 20 Feb 2021 03:16:46 GMT
Server: Apache/2.4.46 (Unix)
Last-Modified: Thu, 18 Feb 2021 08:21:43 GMT
ETag: "23-5bb98068ff62c"
Accept-Ranges: bytes
Content-Length: 35
Content-Type: text/html
expires在httpd.conf中应用
将下面内容复制到httpd.conf结尾保存即可。
ExpiresActive on
ExpiresDefault "access plus 12 month"
ExpiresByType text/html "access plus 12 month"
ExpiresByType text/css "access plus 12 month"
ExpiresByType image/gif "access plus 12 month"
ExpiresByType text/jpeg "access plus 12 month"
ExpiresByType text/jpg "access plus 12 month"
ExpiresByType text/png "access plus 12 month"
ExpiresByType application/x-shockwave-flash "access plus 12 month"
ExpiresByType application/x-javascript "access plus 12 month"
ExpiresByType video/x-flv "access plus 12 month"
expires在httpd-vhosts.conf中应用
将上面内容复制到httpd-vhosts.conf的其中一个结构体里面即可

配置完后检查语法,重启apache
apachectl -t
apachectl graceful
此时传一张图片到 /var/blog , expires.jpg
[root@lvs2-139 extra]# curl -I blog.etiantian.org/expires.jpg
HTTP/1.1 200 OK
Date: Sat, 20 Feb 2021 03:57:51 GMT
Server: Apache/2.4.46 (Unix)
Last-Modified: Sat, 20 Feb 2021 03:56:21 GMT
ETag: "3567a-5bbbc8d44df5c"
Accept-Ranges: bytes
Content-Length: 218746
Cache-Control: max-age=31104000
Expires: Tue, 15 Feb 2022 03:57:51 GMT
Content-Type: image/jpeg
可以看到上面的 Cache-Control: max-age=31104000和Expires: Tue, 15 Feb 2022 03:57:51 GMT信息,这里就是缓存了12个月。
还可以用火狐/Chrome的YSlow插件来查看。

expire模块语法和Etag(了解)

五、Apache的优化
5.1 更改apache默认用户 (略)
User apache
User apache
5.2 work模式,提升并发数(可到2000~5000) (略)
./configure的时候操作
--with-mpm=worker
5.3 屏蔽apache版本等敏感信息

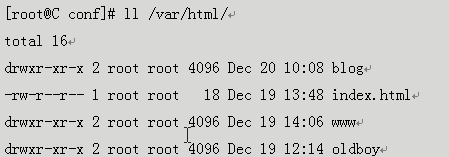
5.4 apache目录文件权限设置(root,目录755,文件644)
apache的网站目录属组是root,权限是755; 文件属组是root,权限是644 (不能给777这种危险权限)
5.5 开启httpd-mpm.conf增加连接数

5.6 apache防盗链功能
https://blog.51cto.com/oldboy/909696 《应对IDC机房带宽突然暴涨问题》
https://blog.51cto.com/9075724/2315039
修改的httpd.conf

5.7 apache禁止目录index

5.8 禁止用户覆盖(重载)
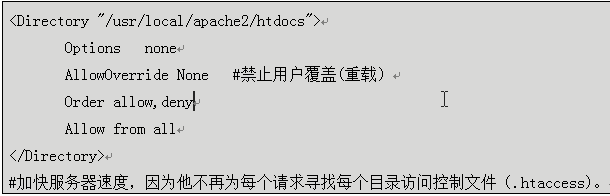
5.9 避免使用.htaccess文件(分布式配置文件)


使用CDN (网宿,蓝汛,快网)

后面的优化点 就懒狗截图了 + - +
END