using System.Collections;
using System.Collections.Generic;
using UnityEngine;
[ExecuteAlways]
public class LookAtTest : MonoBehaviour
{
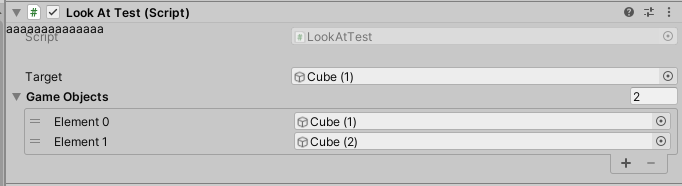
public GameObject target;
void Start()
{
}
void Update()
{
transform.LookAt(target.transform);
Debug.Log(Application.IsPlaying(this));
}
}
自定义编辑器是一个单独脚本,可将此默认布局替换为您选择的任何编辑器控件。
为了开始为 LookAtPoint 脚本创建自定义编辑器,应创建同名(但是附加“Editor”)的另一脚本
[CustomEditor(typeof(LookAtTest))]
[CanEditMultipleObjects]
public class LookAtTestEditor : Editor
{


    public override void OnInspectorGUI()
    {


      	//在这里可以完全自定义 Inspector 面板如何显示
    }
}
ExecuteAlways 可以在非play模式里运行
非常方便
上面这个例子就是让对象永远朝向target
Application.IsPlaying 就是判断是在什么模式
如果你想在场景里做文章 可以这样
public void OnSceneGUI()
    {


        LookAtTest t = target as LookAtTest;

        if (t == null || t.GameObjects == null)
            return;

        // grab the center of the parent
        Vector3 center = t.transform.position;

        // iterate over game objects added to the array...
        for (int i = 0; i < t.GameObjects.Length; i++)
        {


            // ... and draw a line between them
            if (t.GameObjects[i] != null)
                Handles.DrawLine(center, t.GameObjects[i].transform.position);
        }
    }
这个会让对象之间画线
想绘制什么可以看这里
https://docs.unity3d.com/cn/current/ScriptReference/Handles.html

如果你希望 自定义的某个class 在任何地方显示的时候都是你自定义的样子就用下面这个
using System;
using UnityEngine;

[Serializable]
public class Test1
{


    public string name;
    public int amount = 1;
}
using System;
using UnityEditor;
using UnityEngine;

[CustomPropertyDrawer(typeof(Test1))]
public class Test2Drawer : PropertyDrawer
{


    public override void OnGUI(Rect position, SerializedProperty property, GUIContent label)
    {


        Handles.Label(new Vector3(0, 0, 0), "aaaaaaaaaaaaaa");
    }
}
大家可以看出来 这个Test2Drawer 名字可以随便起 和editor的规则不一样