OpenCV with Python in 4 Hours-course-master(一)
编译环境:Jupyter Notebook (Anaconda3)
调用的包:matplotlib,cv2
一、资料地址
https://github.com/Wattson1128/OpenCV教程&Demos
Demos中不能理解得英文单词我直接贴得原文。
二、Section_1
1. basic_functions.py
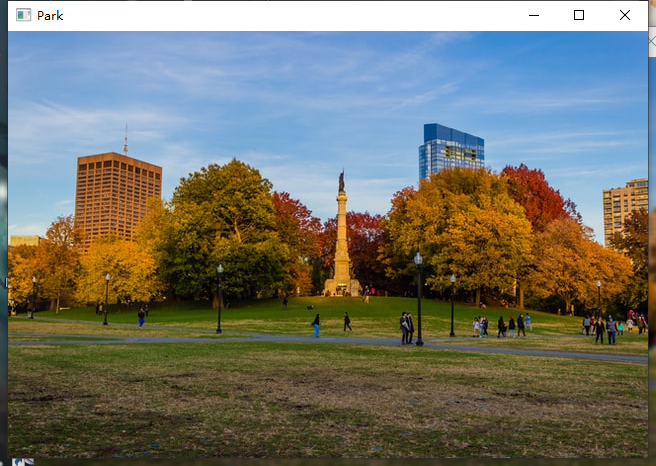
读取图片:
import cv2 as cv
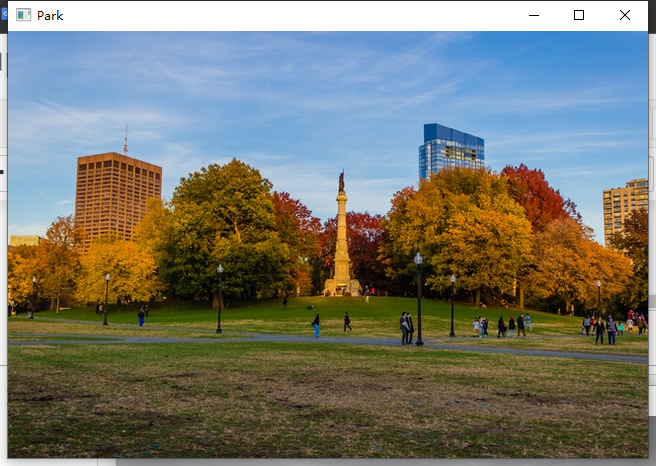
# Read in an image
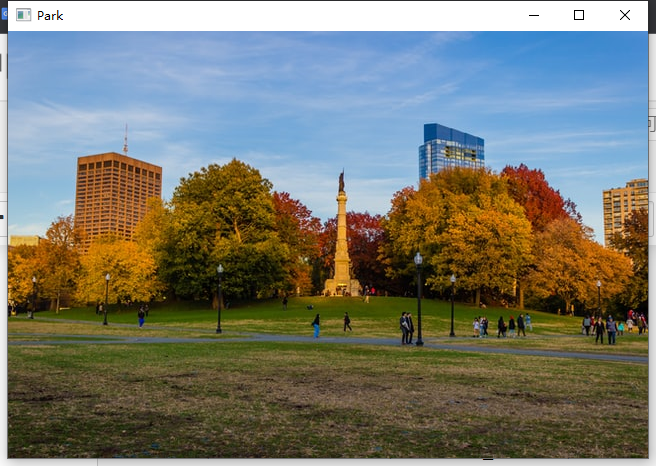
img = cv.imread('D:/IDE/Python38_Files/OpenCV Demos/opencv-course-master/Resources/Photos/park.jpg')
#D:\IDE\Python38_Files\OpenCV Demos\opencv-course-master\Resources
cv.imshow('Park', img)
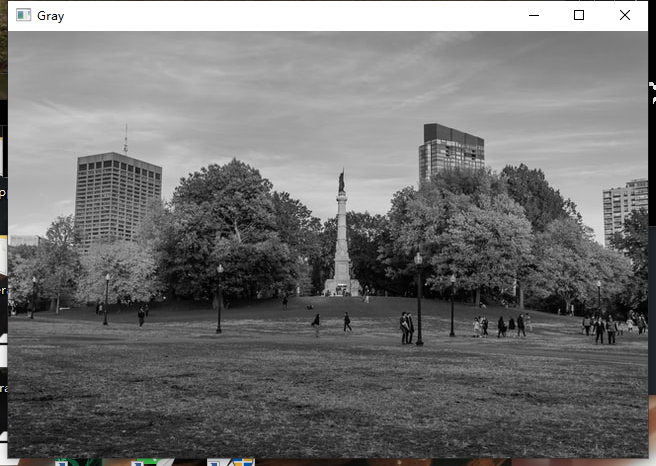
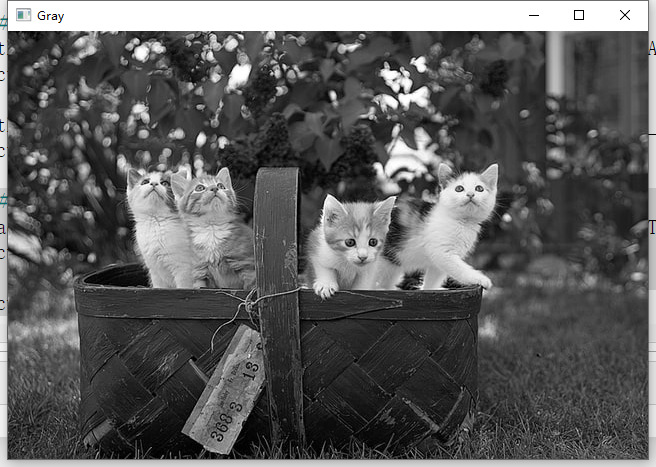
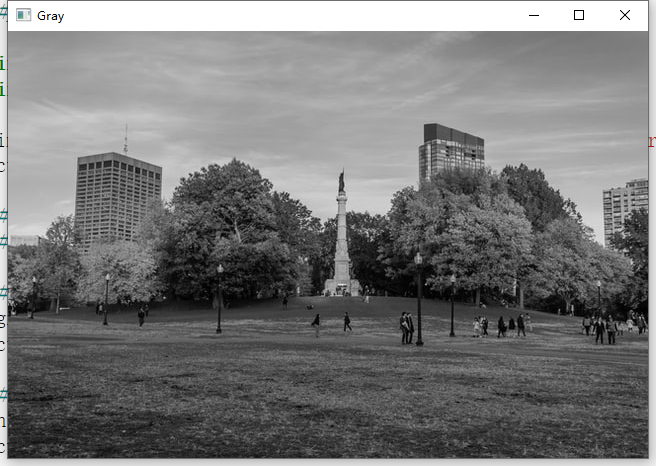
读取灰度图片:
# Converting to grayscale
gray = cv.cvtColor(img, cv.COLOR_BGR2GRAY)
cv.imshow('Gray', gray)
模糊图片:
# Blur
blur = cv.GaussianBlur(img, (7,7), cv.BORDER_DEFAULT)
cv.imshow('Blur', blur)
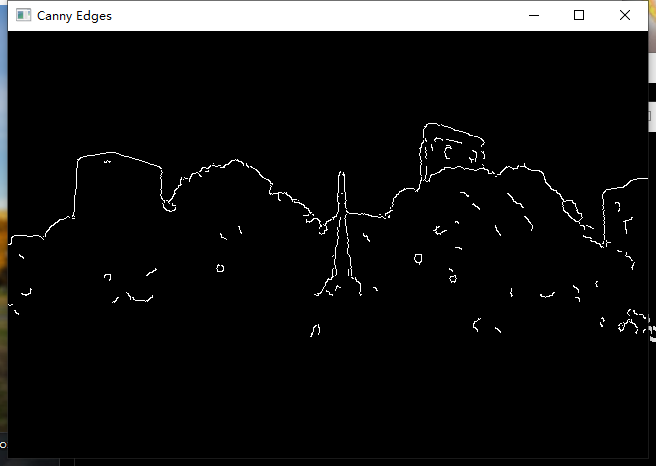
边缘图片:
# Edge Cascade
canny = cv.Canny(blur, 125, 175)
cv.imshow('Canny Edges', canny)
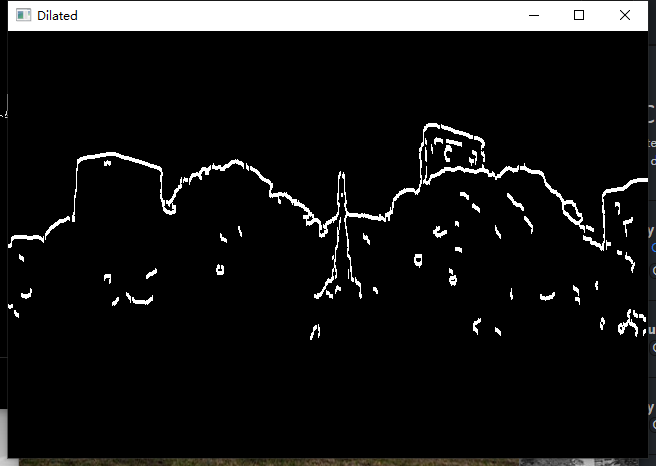
稀释边缘?:
# Dilating the image
dilated = cv.dilate(canny, (7,7), iterations=3)
cv.imshow('Dilated', dilated)
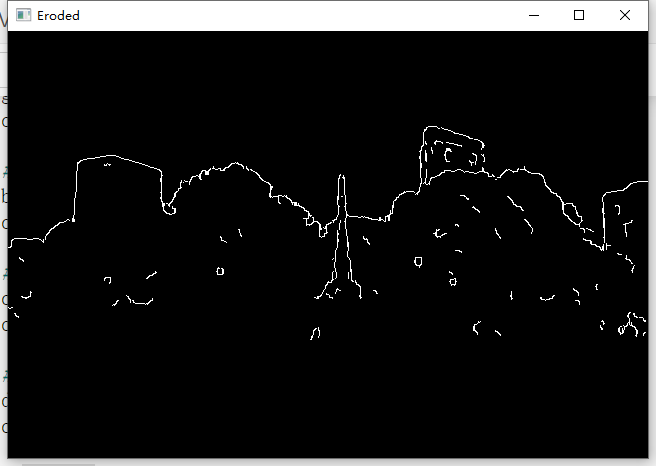
Eroding:
# Eroding
eroded = cv.erode(dilated, (7,7), iterations=3)
cv.imshow('Eroded', eroded)
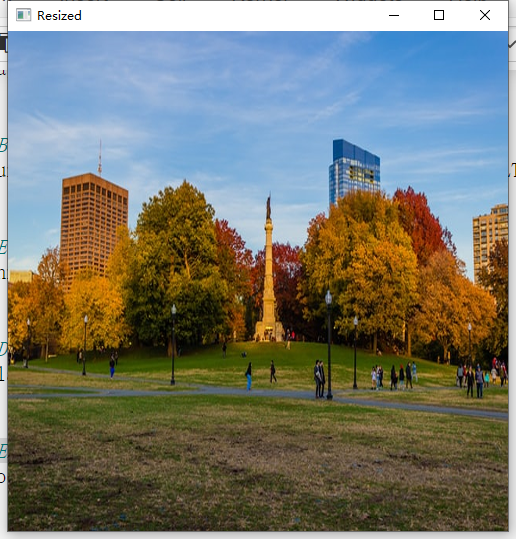
缩放图片:
# Resize
resized = cv.resize(img, (500,500), interpolation=cv.INTER_CUBIC)
cv.imshow('Resized', resized)
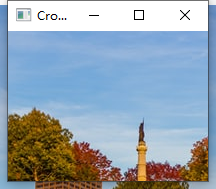
裁剪图片:
# Cropping
cropped = img[50:200, 200:400]
cv.imshow('Cropped', cropped)
关闭窗口:
cv.waitKey(0)
2. contours.py
读取图片:
import cv2 as cv
import numpy as np
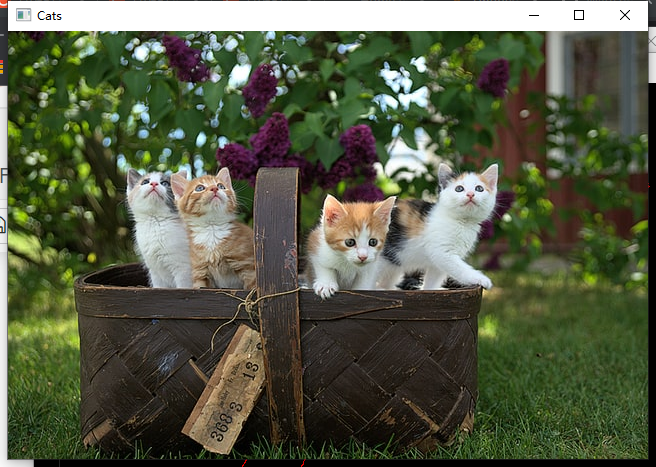
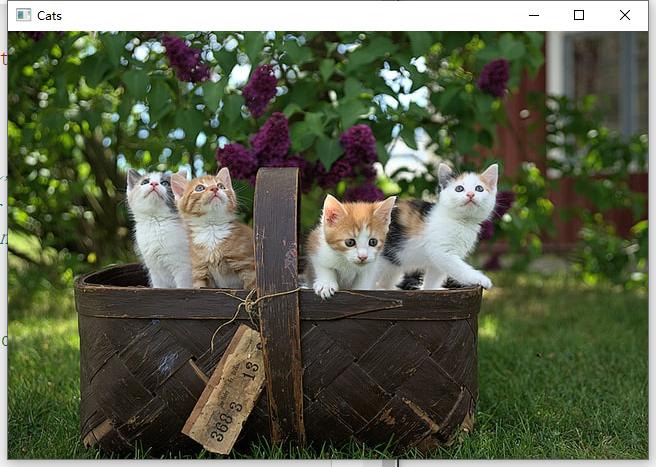
img = cv.imread('D:/IDE/Python38_Files/OpenCV Demos/opencv-course-master/Resources/Photos/cats.jpg')
cv.imshow('Cats', img)
blank:
blank = np.zeros(img.shape, dtype='uint8')
cv.imshow('Blank', blank)
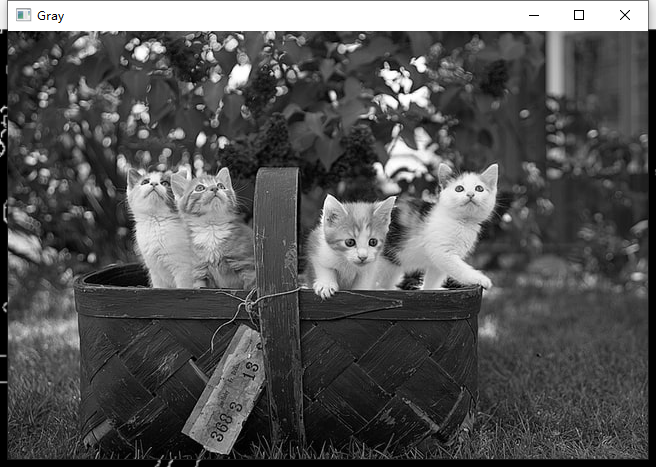
读取灰度图片:
gray = cv.cvtColor(img, cv.COLOR_BGR2GRAY)
cv.imshow('Gray', gray)
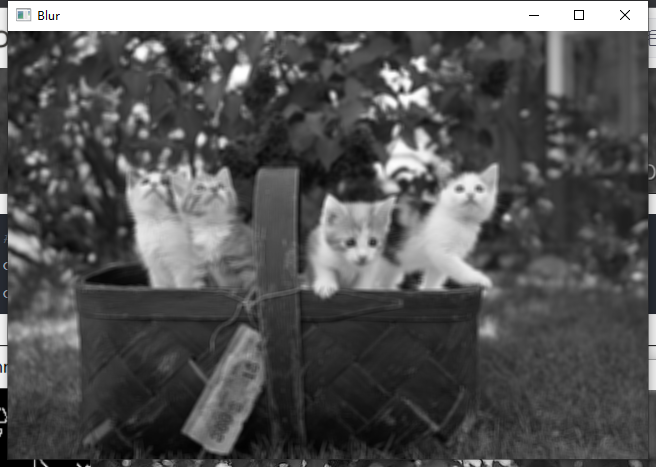
读取模糊图片:
blur = cv.GaussianBlur(gray, (5,5), cv.BORDER_DEFAULT)
cv.imshow('Blur', blur)
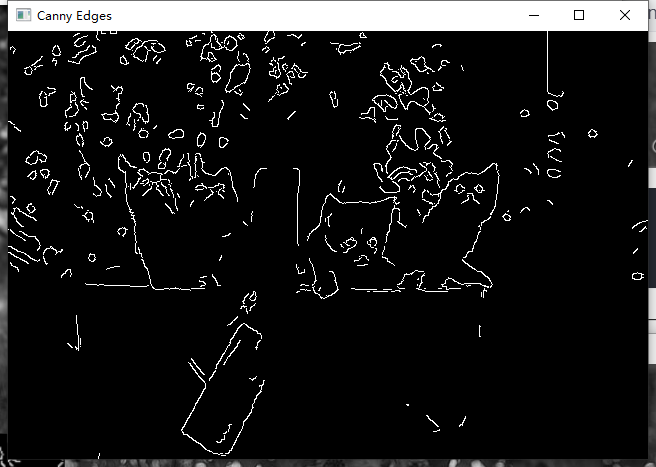
边缘化:
canny = cv.Canny(blur, 125, 175)
cv.imshow('Canny Edges', canny)
找出轮廓点:
contours, hierarchies = cv.findContours(canny, cv.RETR_LIST, cv.CHAIN_APPROX_SIMPLE)
print(f'{

      len(contours)} contour(s) found!')

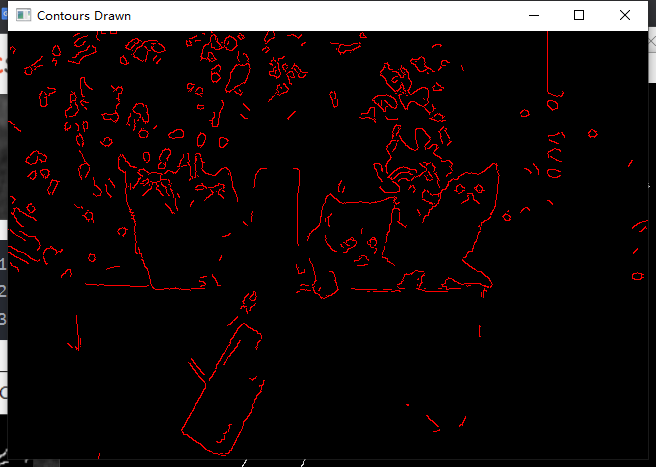
绘出轮廓:
cv.drawContours(blank, contours, -1, (0,0,255), 1)
cv.imshow('Contours Drawn', blank)
3. draw.py
Blank:
import cv2 as cv
import numpy as np

blank = np.zeros((500,500,3), dtype='uint8')
cv.imshow('Blank', blank)
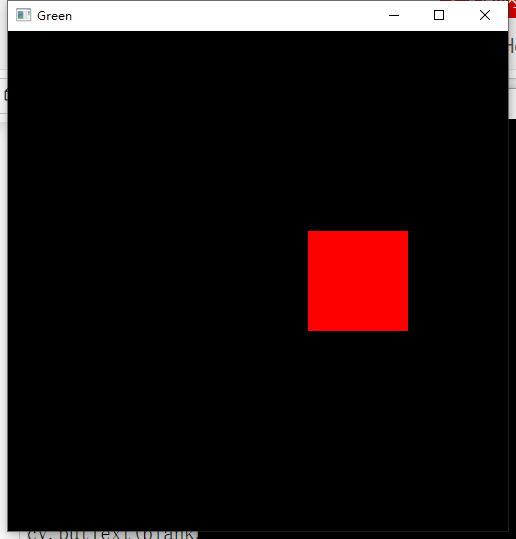
绘制第一个矩形:
# 1. Paint the image a certain colour
blank[200:300, 300:400] = 0,0,255
cv.imshow('Green', blank)
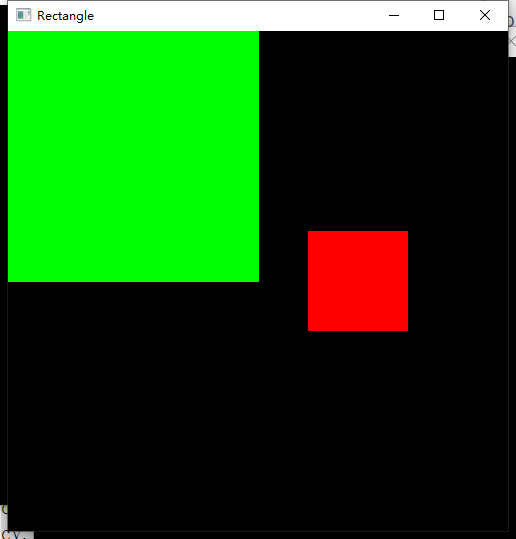
绘制第二个矩形:
# 2. Draw a Rectangle
cv.rectangle(blank, (0,0), (blank.shape[1]//2, blank.shape[0]//2), (0,255,0), thickness=-1)
cv.imshow('Rectangle', blank)
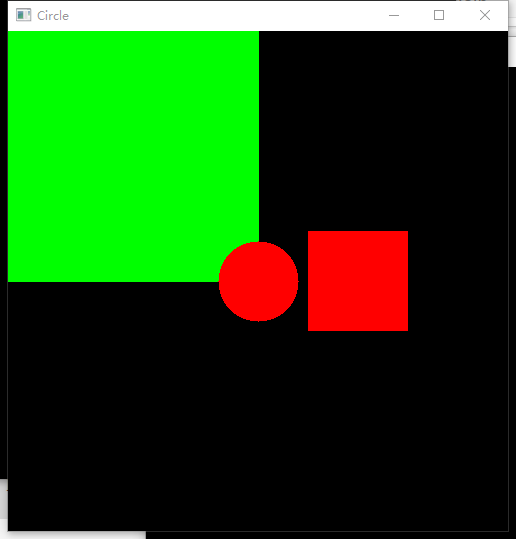
绘制圆形:
# 3. Draw A circle
cv.circle(blank, (blank.shape[1]//2, blank.shape[0]//2), 40, (0,0,255), thickness=-1)
cv.imshow('Circle', blank)
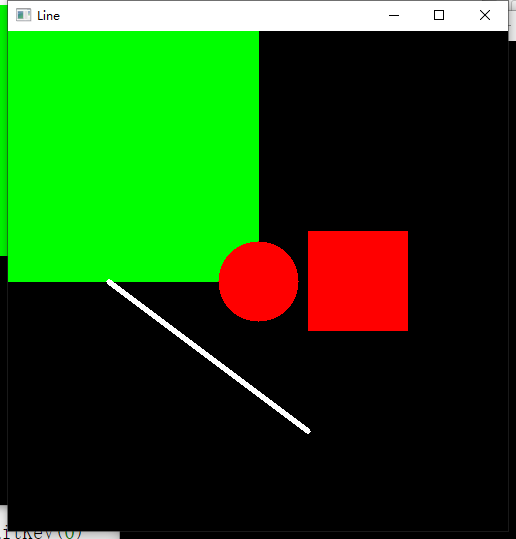
绘制线:
# 4. Draw a line
cv.line(blank, (100,250), (300,400), (255,255,255), thickness=3)
cv.imshow('Line', blank)
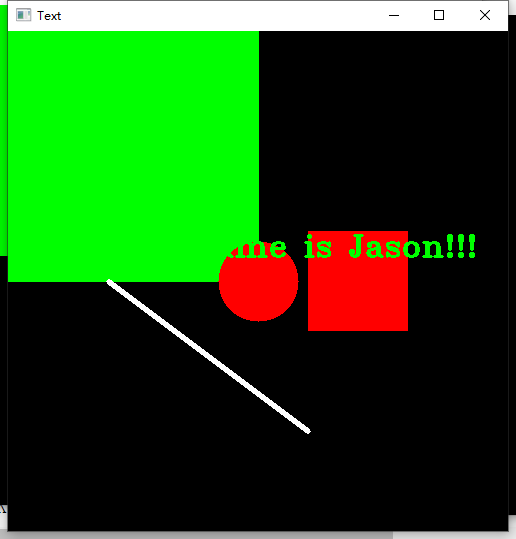
绘制文本:
# 5. Write text
cv.putText(blank, 'Hello, my name is Jason!!!', (0,225), cv.FONT_HERSHEY_TRIPLEX, 1.0, (0,255,0), 2)
cv.imshow('Text', blank)
4. read.py
读取图片后按0播放视频:
#pylint:disable=no-member

import cv2 as cv

img = cv.imread('D:/IDE/Python38_Files/OpenCV Demos/opencv-course-master/Resources/Photos/cats.jpg')
cv.imshow('Cats', img)

cv.waitKey(0)

# Reading Videos
capture = cv.VideoCapture('D:/IDE/Python38_Files/OpenCV Demos/opencv-course-master/Resources/Videos/dog.mp4')

while True:
    isTrue, frame = capture.read()

    # if cv.waitKey(20) & 0xFF==ord('d'):
    # This is the preferred way - if `isTrue` is false (the frame could
    # not be read, or we're at the end of the video), we immediately
    # break from the loop.
    if isTrue:
        cv.imshow('Video', frame)
        if cv.waitKey(20) & 0xFF==ord('d'):
            break
    else:
        break

capture.release()
cv.destroyAllWindows()

5. thresh.py
读取BGR灰度图片:
import cv2 as cv

img = cv.imread('D:/IDE/Python38_Files/OpenCV Demos/opencv-course-master/Resources/Photos/cats.jpg')

gray = cv.cvtColor(img, cv.COLOR_BGR2GRAY)
cv.imshow('Gray', gray)
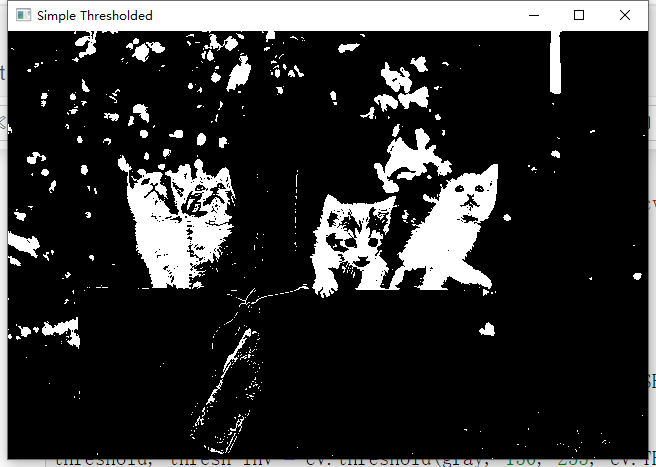
Simple Thresholded:
# Simple Thresholding
threshold, thresh = cv.threshold(gray, 150, 255, cv.THRESH_BINARY )
cv.imshow('Simple Thresholded', thresh)
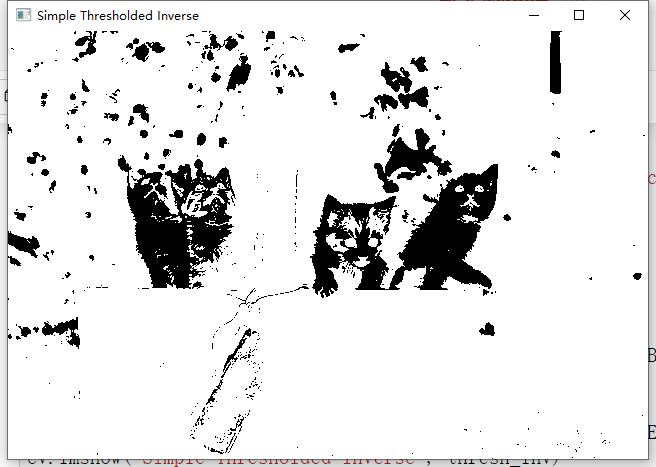
Simple Thresholded Inverse:
threshold, thresh_inv = cv.threshold(gray, 150, 255, cv.THRESH_BINARY_INV )
cv.imshow('Simple Thresholded Inverse', thresh_inv)
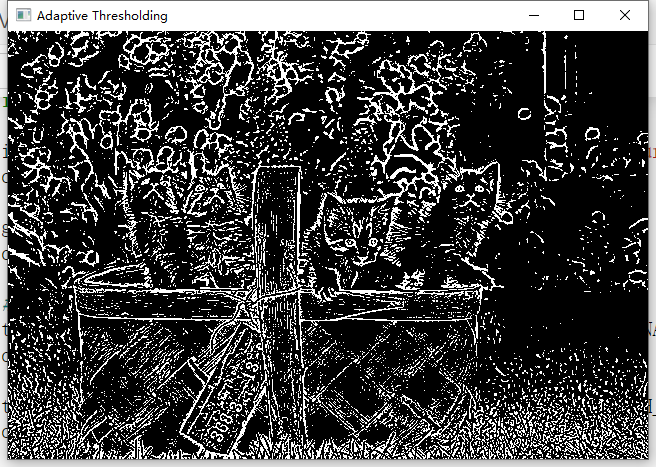
Adaptive Thresholding:
# Adaptive Thresholding
adaptive_thresh = cv.adaptiveThreshold(gray, 255, cv.ADAPTIVE_THRESH_GAUSSIAN_C, cv.THRESH_BINARY_INV, 11, 9)
cv.imshow('Adaptive Thresholding', adaptive_thresh)
6. transformations.py
读取图片:
#pylint:disable=no-member

import cv2 as cv
import numpy as np

img = cv.imread('D:/IDE/Python38_Files/OpenCV Demos/opencv-course-master/Resources/Photos/park.jpg')
cv.imshow('Park', img)
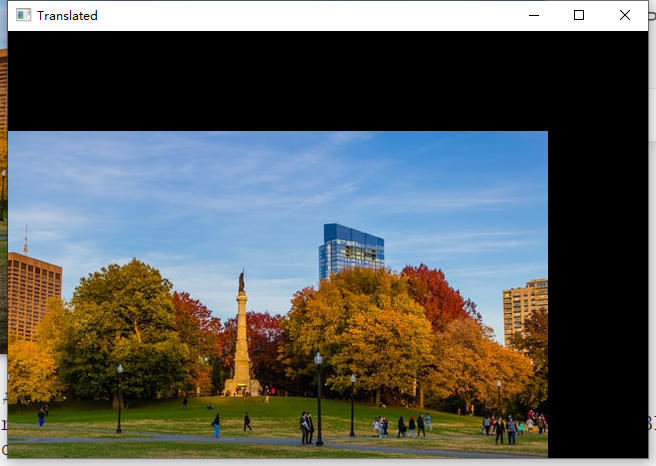
移动图片:
def translate(img, x, y):
    transMat = np.float32([[1,0,x],[0,1,y]])
    dimensions = (img.shape[1], img.shape[0])
    return cv.warpAffine(img, transMat, dimensions)

# -x --> Left
# -y --> Up
# x --> Right
# y --> Down

translated = translate(img, -100, 100)
cv.imshow('Translated', translated)
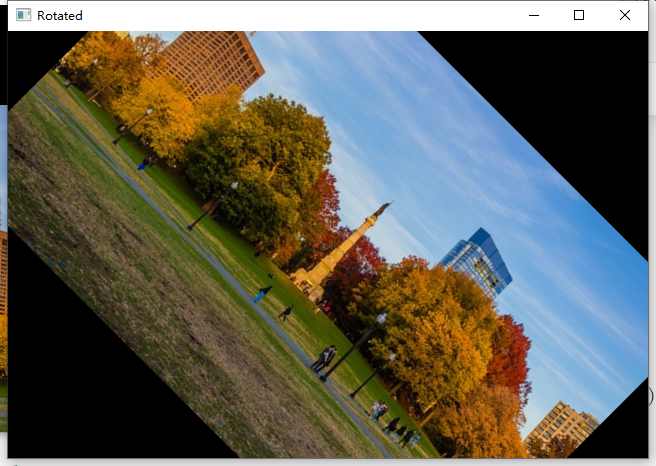
旋转图片:
translated = translate(img, -100, 100)
cv.imshow('Translated', translated)

# Rotation
def rotate(img, angle, rotPoint=None):
    (height,width) = img.shape[:2]

    if rotPoint is None:
        rotPoint = (width//2,height//2)

    rotMat = cv.getRotationMatrix2D(rotPoint, angle, 1.0)
    dimensions = (width,height)

    return cv.warpAffine(img, rotMat, dimensions)

rotated = rotate(img, -45)
cv.imshow('Rotated', rotated)

rotated_rotated = rotate(img, -90)
cv.imshow('Rotated Rotated', rotated_rotated)
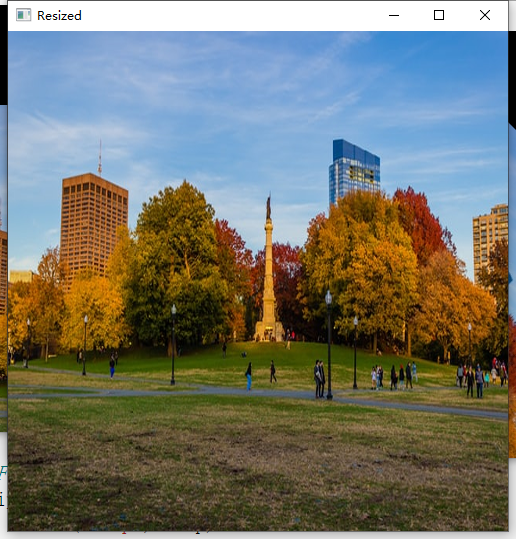
缩放图片:
# Resizing
resized = cv.resize(img, (500,500), interpolation=cv.INTER_CUBIC)
cv.imshow('Resized', resized)
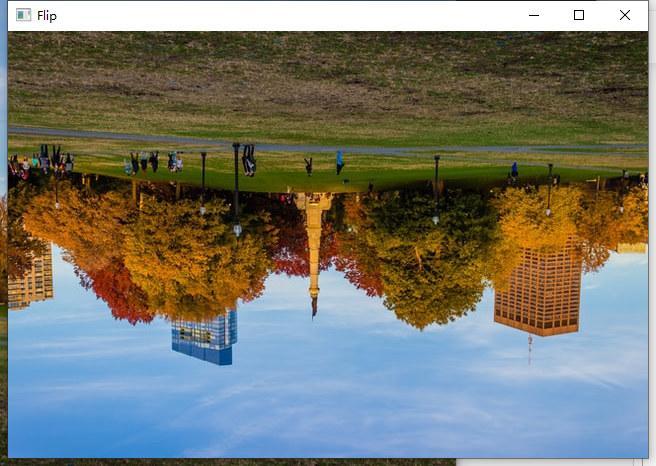
倒转图片:
# Flipping
flip = cv.flip(img, -1)
cv.imshow('Flip', flip)
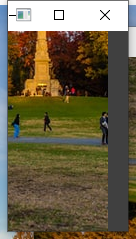
裁剪图片:
# Cropping
cropped = img[200:400, 300:400]
cv.imshow('Cropped', cropped)
三、Section_2
1. bitwise.py
绘制底层图片:
#pylint:disable=no-member

import cv2 as cv
import numpy as np

blank = np.zeros((400,400), dtype='uint8')
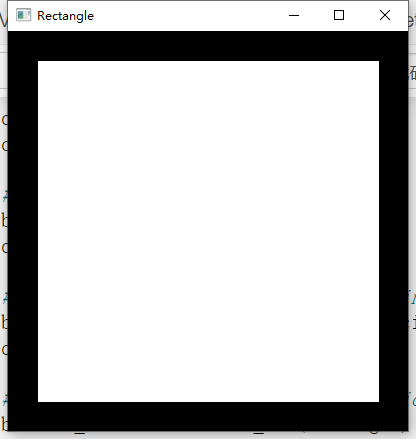
绘制矩形与原型:
rectangle = cv.rectangle(blank.copy(), (30,30), (370,370), 255, -1)
circle = cv.circle(blank.copy(), (200,200), 200, 255, -1)

cv.imshow('Rectangle', rectangle)
cv.imshow('Circle', circle)

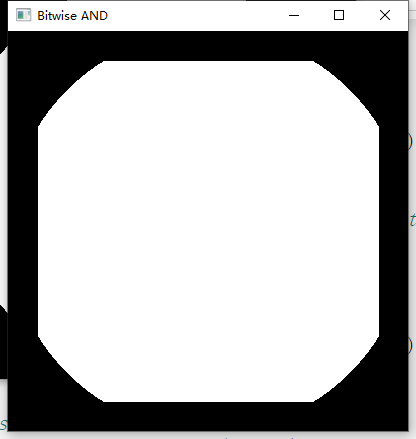
绘制圆角矩形(融合矩形与圆形):
# bitwise AND --> intersecting regions
bitwise_and = cv.bitwise_and(rectangle, circle)
cv.imshow('Bitwise AND', bitwise_and)
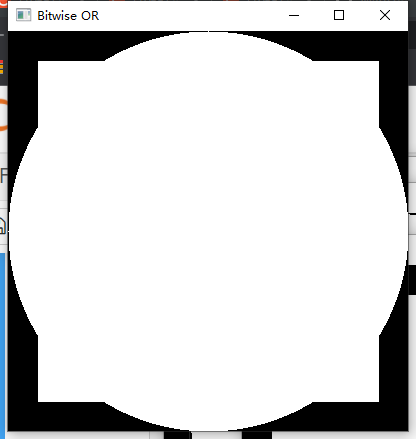
重叠矩形与圆形:
# bitwise OR --> non-intersecting and intersecting regions
bitwise_or = cv.bitwise_or(rectangle, circle)
cv.imshow('Bitwise OR', bitwise_or)
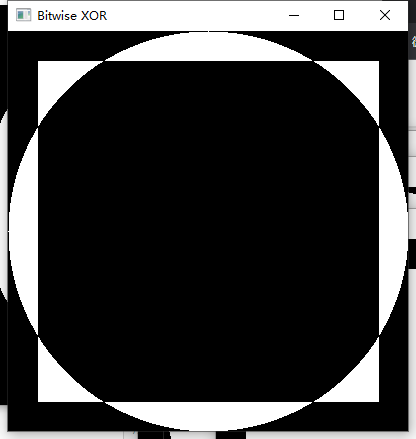
重叠矩形与圆形(挖出重叠部分):
# bitwise XOR --> non-intersecting regions
bitwise_xor = cv.bitwise_xor(rectangle, circle)
cv.imshow('Bitwise XOR', bitwise_xor)
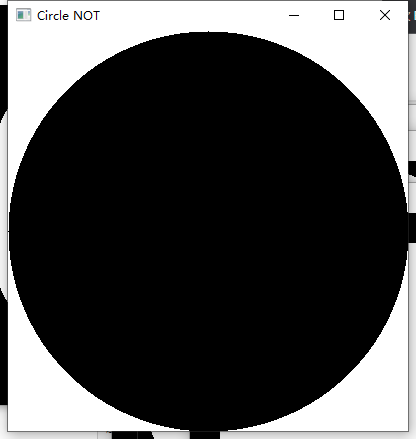
填充非圆形部分:
# bitwise NOT
bitwise_not = cv.bitwise_not(circle)
cv.imshow('Circle NOT', bitwise_not)
2. blurring.py
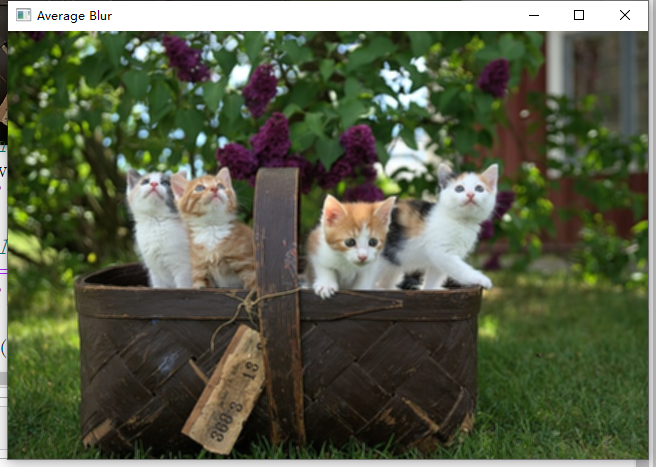
平均模糊:
# Averaging
average = cv.blur(img, (3,3))
cv.imshow('Average Blur', average)
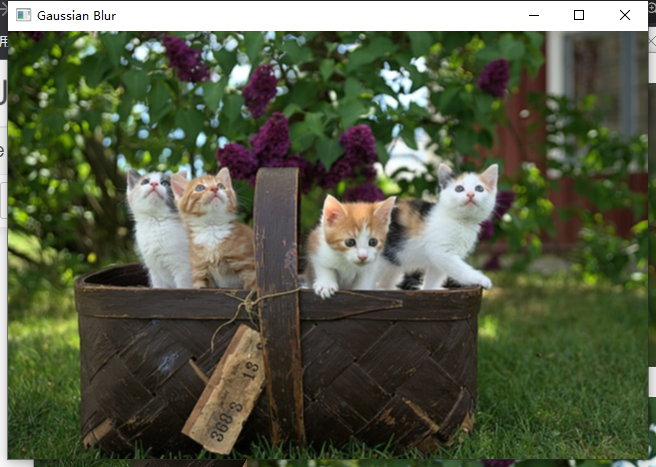
高斯模糊:
# Gaussian Blur
gauss = cv.GaussianBlur(img, (3,3), 0)
cv.imshow('Gaussian Blur', gauss)
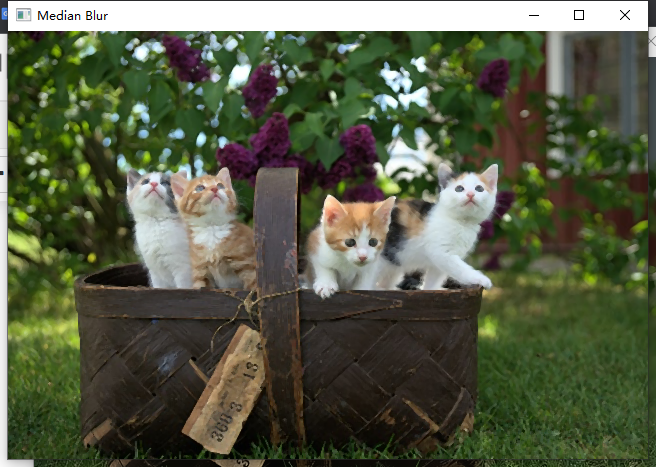
中值模糊:
# Median Blur
median = cv.medianBlur(img, 3)
cv.imshow('Median Blur', median)
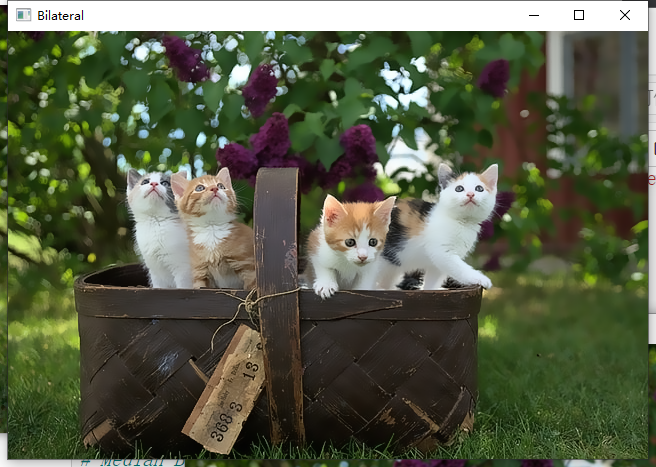
Bilateral:
# Bilateral
bilateral = cv.bilateralFilter(img, 10, 35, 25)
cv.imshow('Bilateral', bilateral)
3. colour_spaces.py
读取BGR灰度图片:
import cv2 as cv
import matplotlib.pyplot as plt

img = cv.imread('D:/IDE/Python38_Files/OpenCV Demos/opencv-course-master/Resources/Photos/park.jpg')
cv.imshow('Park', img)

# plt.imshow(img)
# plt.show()

# BGR to Grayscale
gray = cv.cvtColor(img, cv.COLOR_BGR2GRAY)
cv.imshow('Gray', gray)
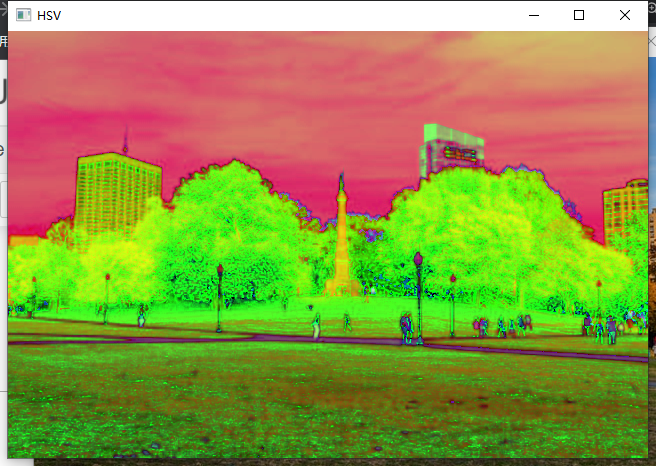
BGR转HSV:
# BGR to HSV
hsv = cv.cvtColor(img, cv.COLOR_BGR2HSV)
cv.imshow('HSV', hsv)
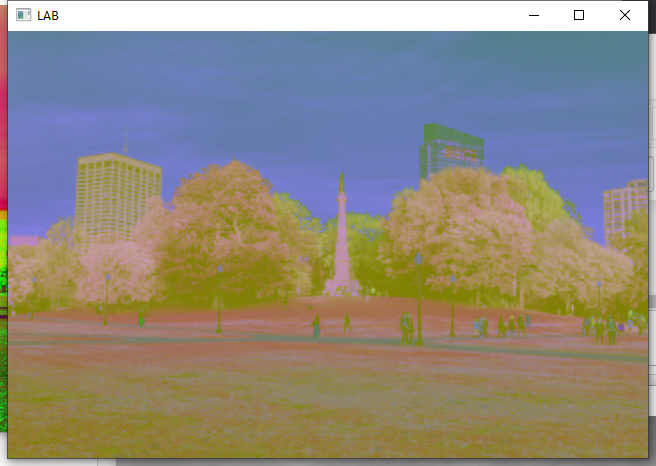
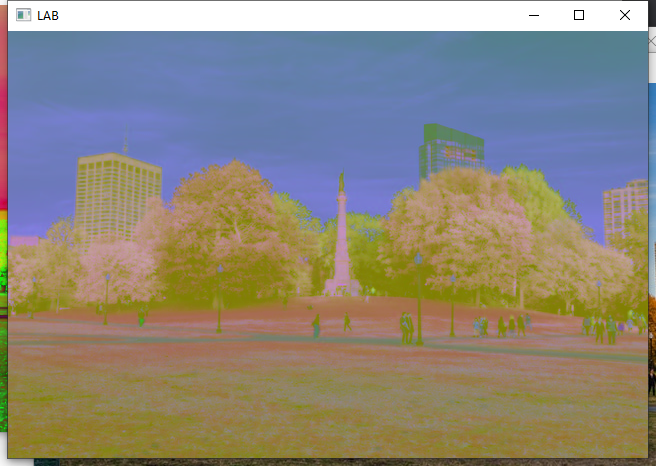
BGR转LAB:
# BGR to L*a*b
lab = cv.cvtColor(img, cv.COLOR_BGR2LAB)
cv.imshow('LAB', lab)
BGR转RGB:
# BGR to RGB
rgb = cv.cvtColor(img, cv.COLOR_BGR2RGB)
cv.imshow('RGB', rgb)

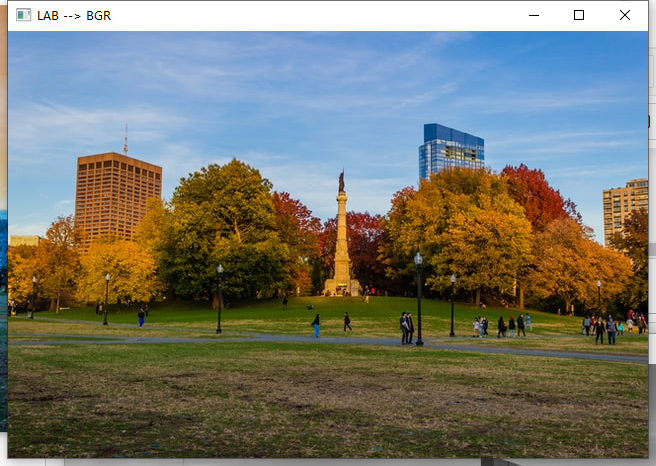
LAB转BGR:
# HSV to BGR
lab_bgr = cv.cvtColor(lab, cv.COLOR_LAB2BGR)
cv.imshow('LAB --> BGR', lab_bgr)
4. gradients.py
读取灰度图片并转为Laplacian:
#pylint:disable=no-member
import cv2 as cv
import numpy as np
img = cv.imread('D:/IDE/Python38_Files/OpenCV Demos/opencv-course-master/Resources/Photos/park.jpg')
cv.imshow('Park', img)
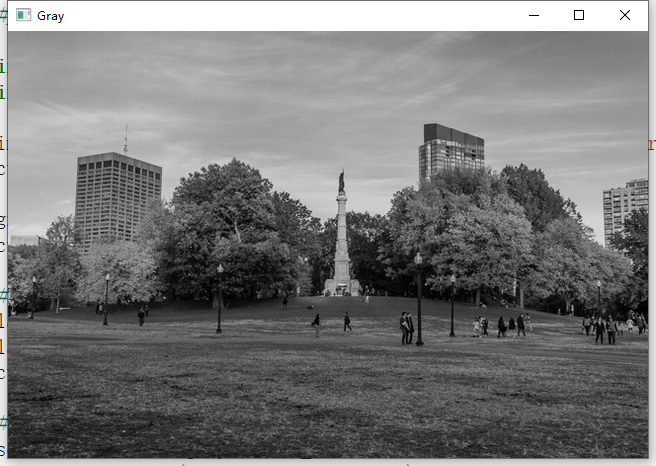
gray = cv.cvtColor(img, cv.COLOR_BGR2GRAY)
cv.imshow('Gray', gray)
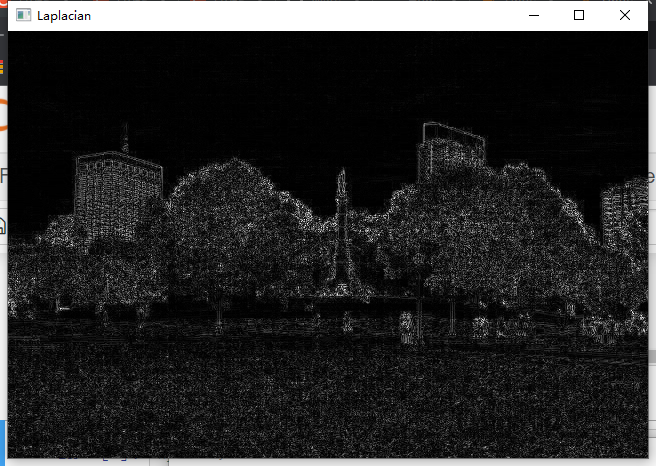
# Laplacian
lap = cv.Laplacian(gray, cv.CV_64F)
lap = np.uint8(np.absolute(lap))
cv.imshow('Laplacian', lap)
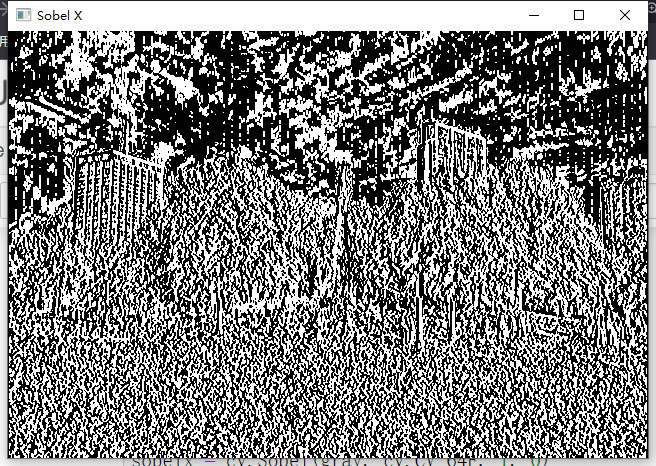
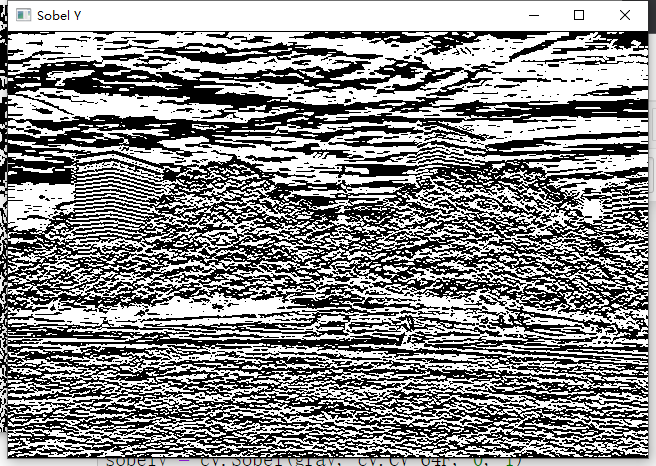
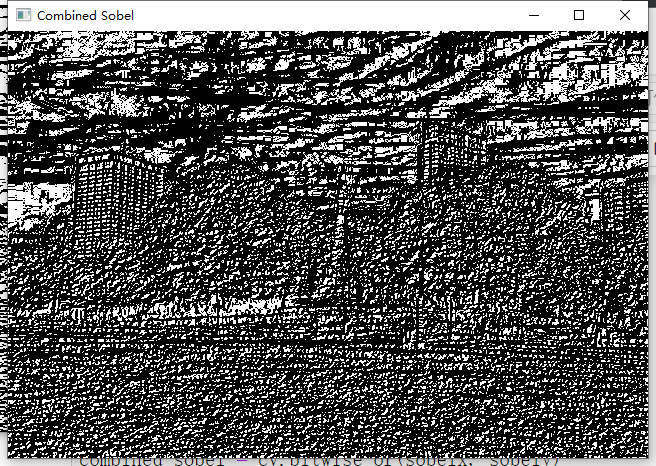
Sobel:
# Sobel
sobelx = cv.Sobel(gray, cv.CV_64F, 1, 0)
sobely = cv.Sobel(gray, cv.CV_64F, 0, 1)
combined_sobel = cv.bitwise_or(sobelx, sobely)

cv.imshow('Sobel X', sobelx)
cv.imshow('Sobel Y', sobely)
cv.imshow('Combined Sobel', combined_sobel)
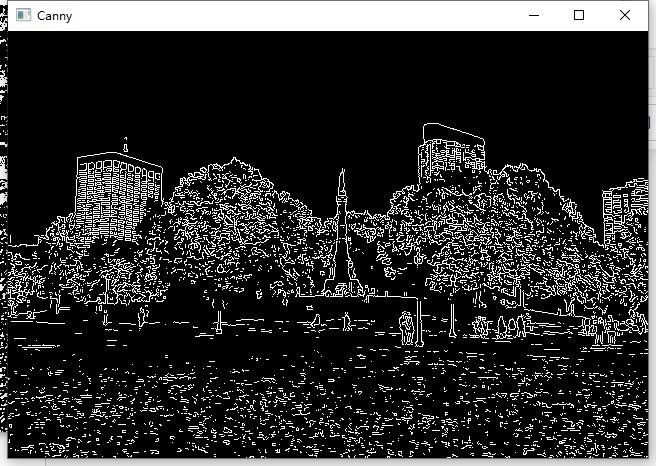
描边灰度图片:
canny = cv.Canny(gray, 150, 175)
cv.imshow('Canny', canny)
5. histogram.py
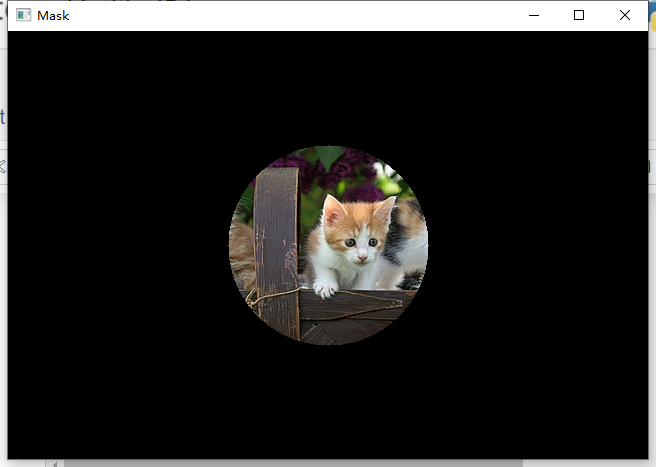
绘制圆框图片:
import cv2 as cv
import matplotlib.pyplot as plt
import numpy as np

img = cv.imread('D:/IDE/Python38_Files/OpenCV Demos/opencv-course-master/Resources/Photos/cats.jpg')
cv.imshow('Cats', img)

blank = np.zeros(img.shape[:2], dtype='uint8')

# gray = cv.cvtColor(img, cv.COLOR_BGR2GRAY)
# cv.imshow('Gray', gray)

mask = cv.circle(blank, (img.shape[1]//2,img.shape[0]//2), 100, 255, -1)

masked = cv.bitwise_and(img,img,mask=mask)
cv.imshow('Mask', masked)
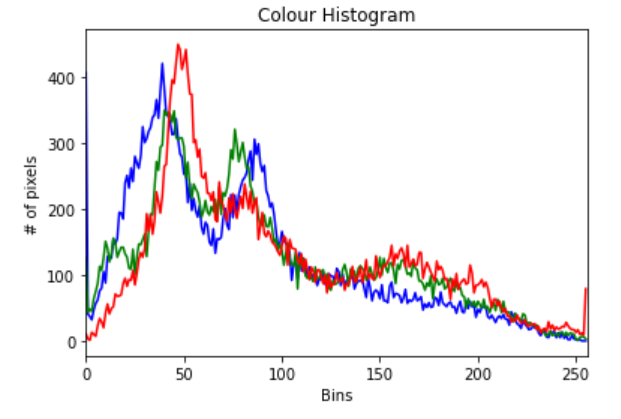
绘制图片色彩分布:
# Colour Histogram

plt.figure()
plt.title('Colour Histogram')
plt.xlabel('Bins')
plt.ylabel('# of pixels')
colors = ('b', 'g', 'r')
for i,col in enumerate(colors):
    hist = cv.calcHist([img], [i], mask, [256], [0,256])
    plt.plot(hist, color=col)
    plt.xlim([0,256])

plt.show()

cv.waitKey(0)
6. masking.py
读取图片并绘制底层:
#pylint:disable=no-member

import cv2 as cv
import numpy as np

img = cv.imread('D:/IDE/Python38_Files/OpenCV Demos/opencv-course-master/Resources/Photos/cats 2.jpg')
cv.imshow('Cats', img)

blank = np.zeros(img.shape[:2], dtype='uint8')
cv.imshow('Blank Image', blank)
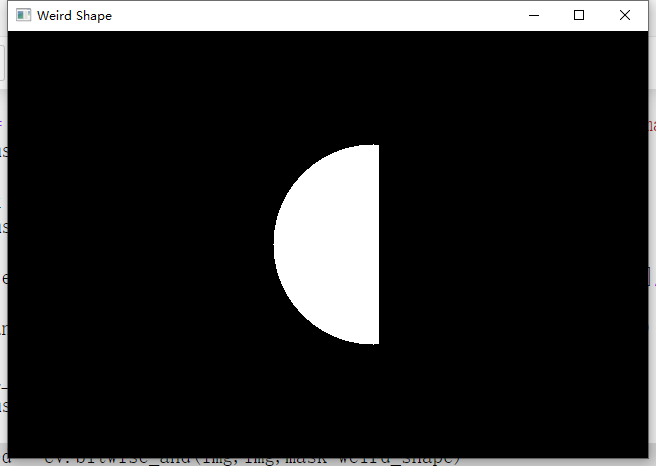
绘制半圆:
circle = cv.circle(blank.copy(), (img.shape[1]//2 + 45,img.shape[0]//2), 100, 255, -1)

rectangle = cv.rectangle(blank.copy(), (30,30), (370,370), 255, -1)

weird_shape = cv.bitwise_and(circle,rectangle)
cv.imshow('Weird Shape', weird_shape)
结合半圆与猫:
masked = cv.bitwise_and(img,img,mask=weird_shape)
cv.imshow('Weird Shaped Masked Image', masked)

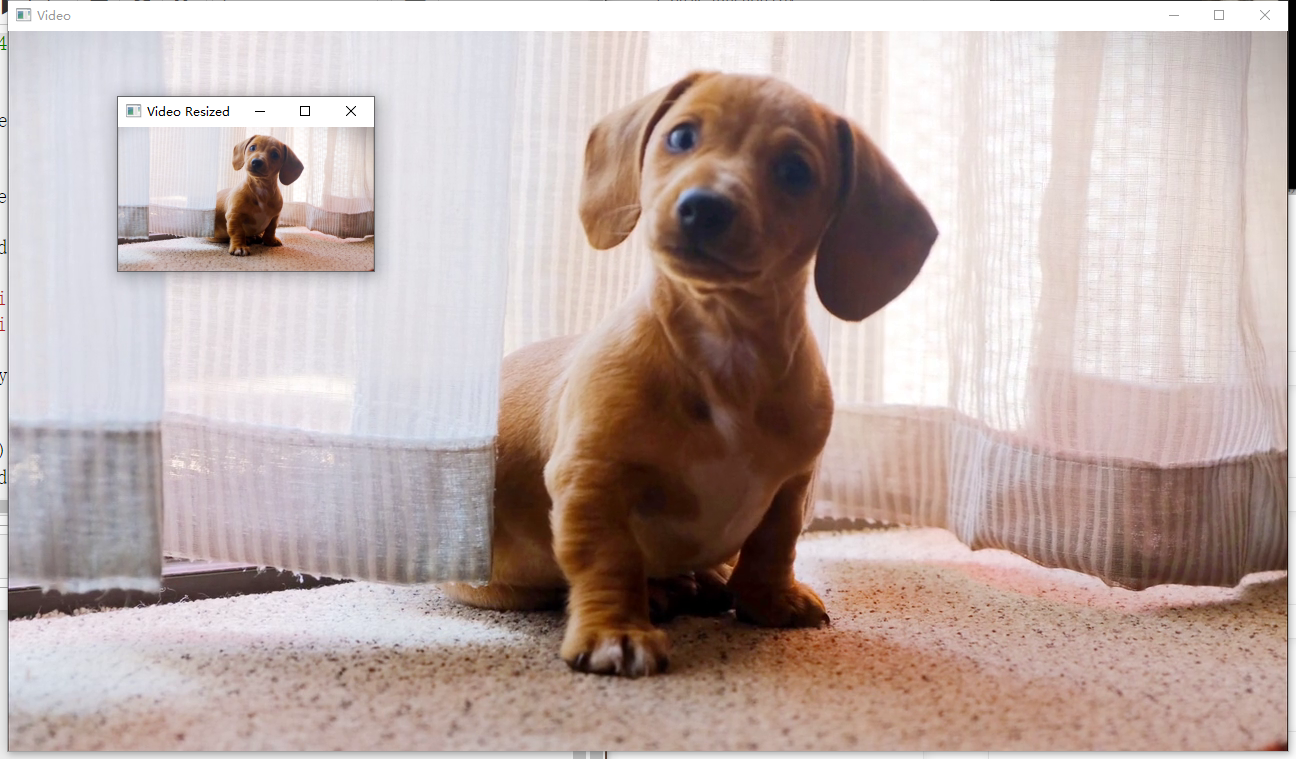
7. rescale_resize.py
读取视频:
capture = cv.VideoCapture('D:/IDE/Python38_Files/OpenCV Demos/opencv-course-master/Resources/Videos/dog.mp4')
绘制视频边框:
def rescaleFrame(frame, scale=0.75):
    # Images, Videos and Live Video
    width = int(frame.shape[1] * scale)
    height = int(frame.shape[0] * scale)

    dimensions = (width,height)

    return cv.resize(frame, dimensions, interpolation=cv.INTER_AREA)
播放视频:
while True:
    isTrue, frame = capture.read()

    frame_resized = rescaleFrame(frame, scale=.2)

    cv.imshow('Video', frame)
    cv.imshow('Video Resized', frame_resized)

    if cv.waitKey(20) & 0xFF==ord('d'):
        break

capture.release()
cv.destroyAllWindows()
8. splitmerge.py
读取图片:
#pylint:disable=no-member

import cv2 as cv
import numpy as np

img = cv.imread('D:/IDE/Python38_Files/OpenCV Demos/opencv-course-master/Resources/Photos/park.jpg')
cv.imshow('Park', img)
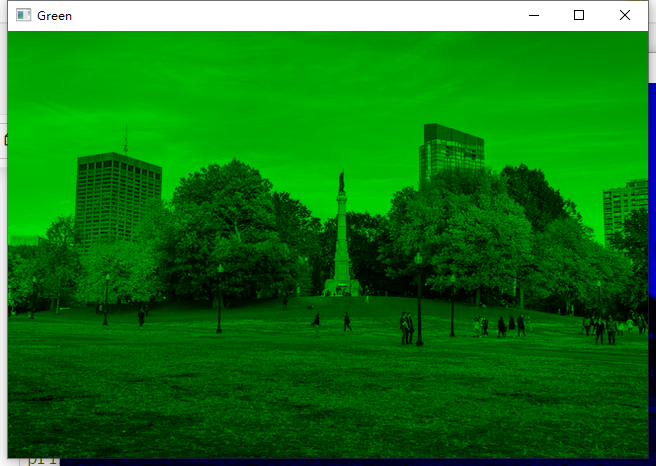
分离blue green red:
blank = np.zeros(img.shape[:2], dtype='uint8')

b,g,r = cv.split(img)

blue = cv.merge([b,blank,blank])
green = cv.merge([blank,g,blank])
red = cv.merge([blank,blank,r])


cv.imshow('Blue', blue)
cv.imshow('Green', green)
cv.imshow('Red', red)


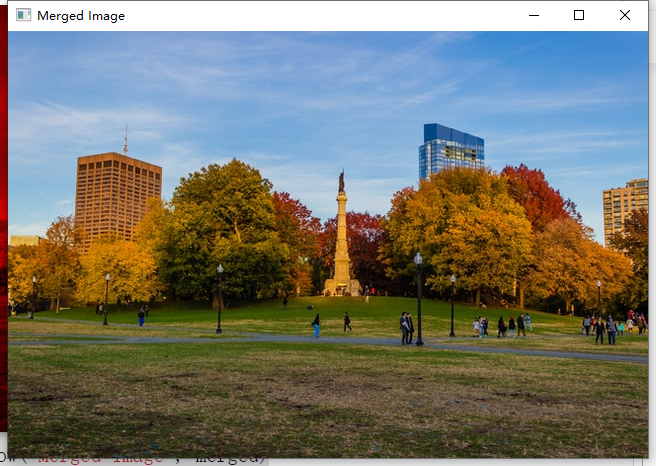
合并BGR:
merged = cv.merge([b,g,r])
cv.imshow('Merged Image', merged)
四、总结
通过学习本篇资料学习了OpenCV的基本函数与图形编程的基础知识。
五、参考文章
OpenCV with Python in 4 Hours-course-master
六、源代码
https://github.com/Wattson1128/Artificial-Intelligence-Machine-Learning