目录
四、程序开关其他脚本(Scripts)或物体(GameObject)
前言
我们在写unity脚本的时候,有时会碰到无法单纯使用手工拖拽或导入资产,需要程序脚本直接生成或控制一些资产的情况,因此本文的目的在于汇总这些操作方法。
一、程序生成贴图Texture
using System.Collections;
using System.Collections.Generic;
using UnityEngine;

public class ParamTexture : MonoBehaviour
{
    public Texture2D proceduralTex;
    public Color texColor;
    private int width = 100;
    private int height = 100;
    // Start is called before the first frame update
    void Start()
    {
        texColor = new Color(1.0f, 0, 0, 0);
        proceduralTex = new Texture2D(width, height);
        for(int i = 0; i < width/2; i++) {
            for(int j = 0; j < height; j++) {
                proceduralTex.SetPixel(i, j, texColor);
            }
        }
        proceduralTex.Apply();
    }

    // Update is called once per frame
    void Update()
    {

    }
}
说明:
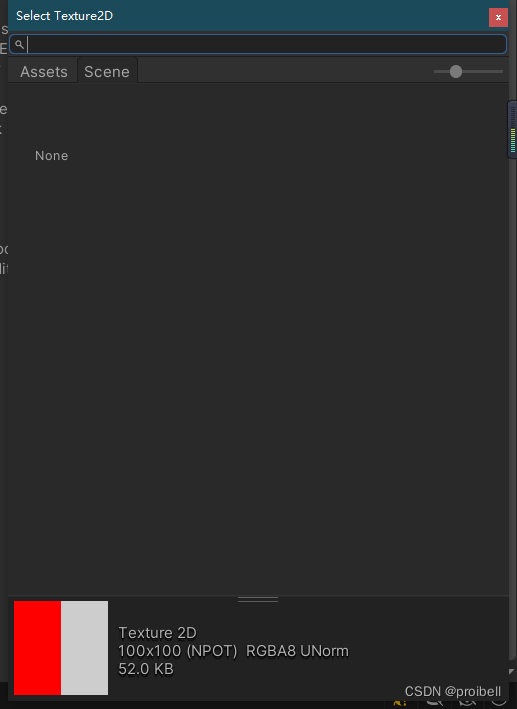
需要新建一张贴图new Texture2D,然后使用for循环和SetPixel给每个像素上色。最后记得加上Apply应用。
把该脚本挂在主相机下,运行效果如下:
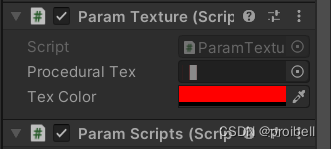
贴图如下:
二、程序生成材质Material
生成材质就是在有贴图的情况下新建一个材质并把贴图作为主贴图(MainTexture)赋给材质。
using System.Collections;
using System.Collections.Generic;
using UnityEngine;

public class ParamMaterial : MonoBehaviour
{
    public Texture2D proceduralTex;
    public Material proceduralMat;
    public Color texColor;
    private int width = 100;
    private int height = 100;
    public GameObject ball0;
    // Start is called before the first frame update
    void Start() {
        texColor = new Color(1.0f, 0, 0, 0);
        proceduralTex = new Texture2D(width, height);
        proceduralMat = new Material(Shader.Find("Transparent/Diffuse"));
        for (int i = 0; i < width / 2; i++) {
            for (int j = 0; j < height / 2; j++) {
                proceduralTex.SetPixel(i, j, texColor);
            }
        }
        proceduralTex.Apply();

        proceduralMat.mainTexture = proceduralTex;
        ball0.GetComponent<MeshRenderer>().material = proceduralMat;
    }

    // Update is called once per frame
    void Update() {

    }
}
说明:
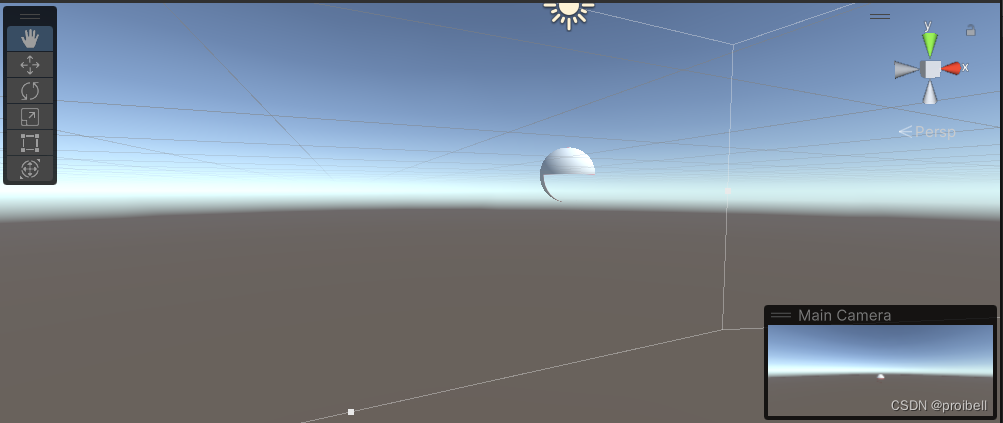
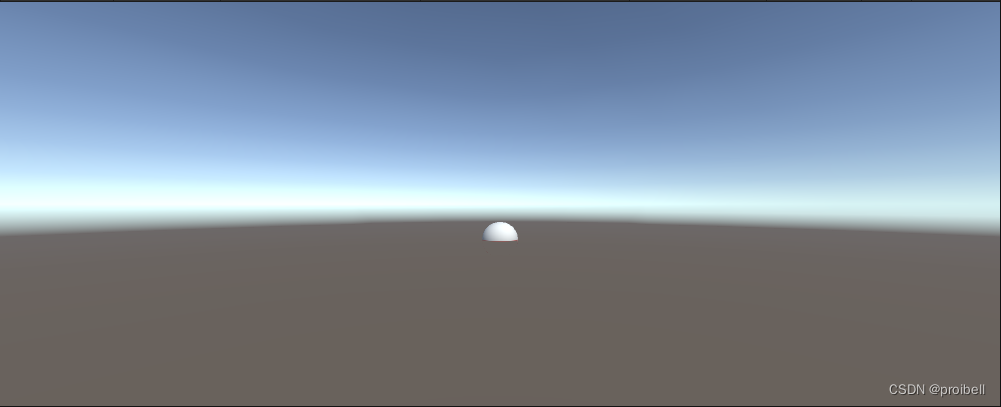
在Unity中新建一个球Sphere, 将该脚本挂在球上,需要注意的是材质需要指定一个shader,这里使用的是Transparent/Diffuse,将贴图指定给材质的mainTexture,最后记得给物体附上材质,获取MeshRenderer下面的material,将材质赋给它。
效果如下:
 三、程序挂载脚本Scripts
首先准备一个需要挂载的脚本testScript.cs,效果是打开时会将物体尺寸放大5倍
using System.Collections;
using System.Collections.Generic;
using UnityEngine;

public class testScript : MonoBehaviour
{

    // Start is called before the first frame update
    void Start()
    {
        this.transform.localScale = new Vector3(5, 5, 5);
    }

    // Update is called once per frame
    void Update()
    {

    }
}
主代码如下:
using System.Collections;
using System.Collections.Generic;
using UnityEngine;

public class ParamScripts : MonoBehaviour
{
    // Start is called before the first frame update
    void Start()
    {
        GameObject temp = GameObject.Find("Sphere");
        testScript script = temp.AddComponent<testScript>();
    }

    // Update is called once per frame
    void Update()
    {

    }
}
说明:
主代码挂载在主相机上,启动项目时根据名称获取物体(“Sphere”),然后添加Component
效果如下: 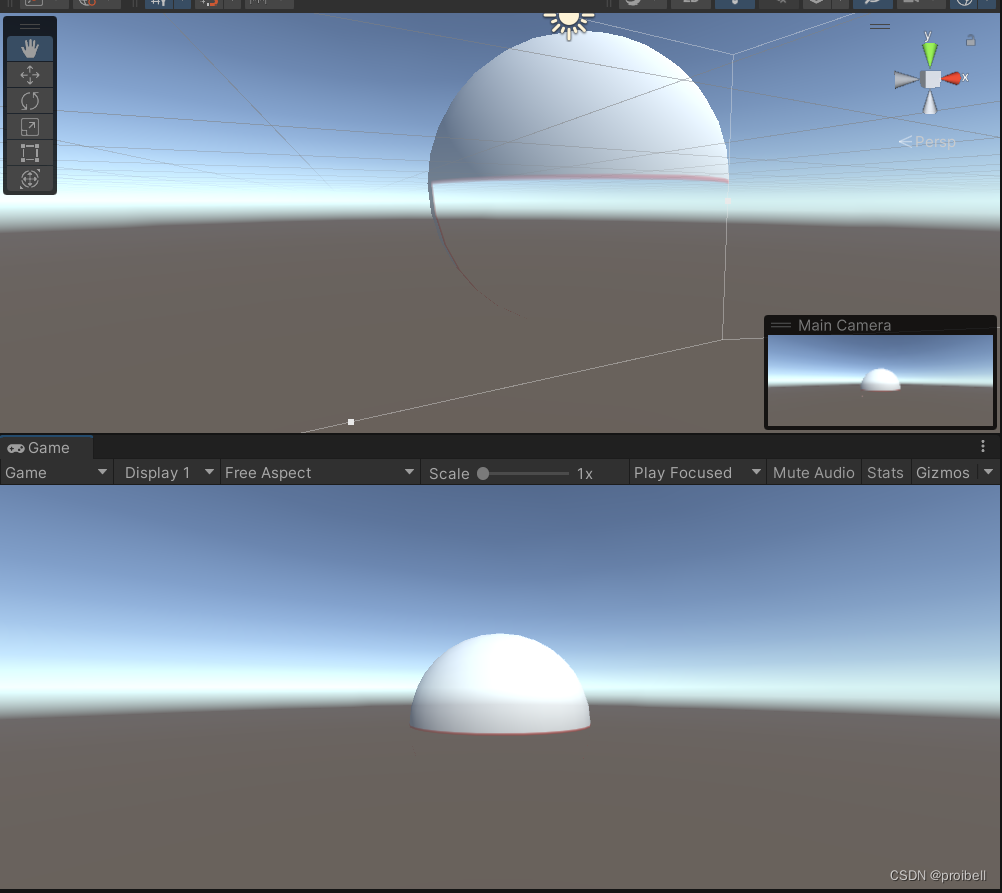
四、程序开关其他脚本(Scripts)或物体(GameObject)
开关脚本只需要在上一个案例中主代码添加一行
script.enabled = false;using System.Collections;
using System.Collections.Generic;
using UnityEngine;
public class ParamScripts : MonoBehaviour
{
// Start is called before the first frame update
void Start()
{
GameObject temp = GameObject.Find("Sphere");
testScript script = temp.AddComponent<testScript>();
script.enabled = false;
}
// Update is called once per frame
void Update()
{
}
}
开关物体略有不同,需要在物体下添加一行
temp.SetActive(false);五、程序生成网格
思路如下:
首先根据顶点vertices、UV、三角关系triangles新建一个Mesh;
然后新建一个物体GameObject挂载MeshFilter和MeshRenderer,将第一步的Mesh赋给MeshFilter的mesh
代码如下:
using System.Collections;
using System.Collections.Generic;
using UnityEngine;

public class ParamMesh : MonoBehaviour
{
    // Start is called before the first frame update
    void Start()
    {
        //这里我们创建一个正方形网格,所以需要4个顶点、4个UV点和6条边
        Vector3[] vertices = new Vector3[4];
        Vector2[] uv = new Vector2[4];
        int[] triangles = new int[6];
        //声明顶点的位置
        vertices[0] = new Vector3(0, 1);
        vertices[1] = new Vector3(1, 1);
        vertices[2] = new Vector3(0, 0);
        vertices[3] = new Vector3(1, 0);
        //声明UV的位置
        uv[0] = new Vector2(0, 1);
        uv[1] = new Vector2(1, 1);
        uv[2] = new Vector2(0, 0);
        uv[3] = new Vector2(1, 0);
        //声明三角边,这里三角边是根据上面的顶点来进行连接的,每三个顶点构成一个三角边
        //这里后面的int类型参数对应 vertices[]数组中的顶点
        triangles[0] = 0;
        triangles[1] = 1;
        triangles[2] = 2;
        triangles[3] = 2;
        triangles[4] = 1;
        triangles[5] = 3;
        Mesh mesh = new Mesh();
        //将设置好的参数进行赋值
        mesh.vertices = vertices;
        mesh.uv = uv;
        mesh.triangles = triangles;
        GameObject gameObject = new GameObject("Mesh", typeof(MeshFilter), typeof(MeshRenderer));
        gameObject.transform.localScale = new Vector3(30, 30, 1);
        gameObject.GetComponent<MeshFilter>().mesh = mesh;
    }

    // Update is called once per frame
    void Update()
    {

    }
}
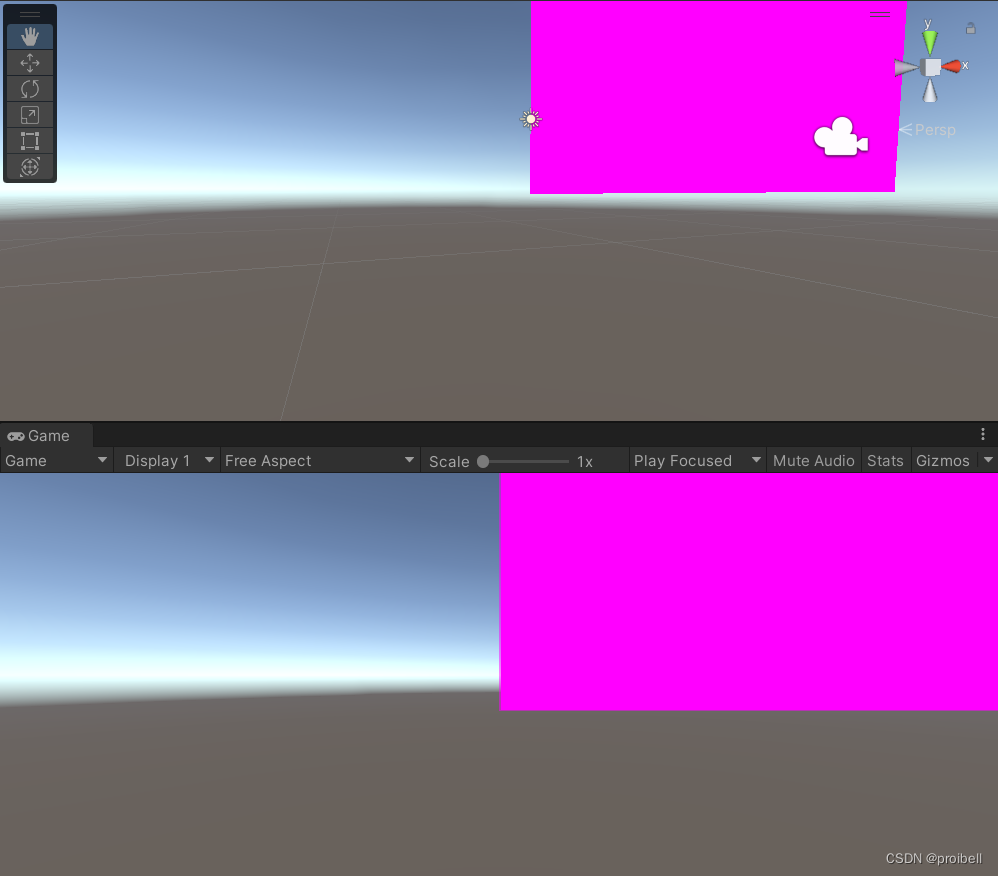
将该脚本挂在主相机下,运行效果如下(未添加材质因此显示为洋红色):
