使用的引擎为unity,管线为默认渲染管线
涉及世界观的设计,该demo主要为2.5D和3D,场景大部分为2.5D纸片,只有人物以及部分场景物为3D模型。因此此案例中除了人物需要考虑到光照情况外,其他的并无考虑到光照和阴影情况。场景虽然有6个,但打包的速度也是挺快的。
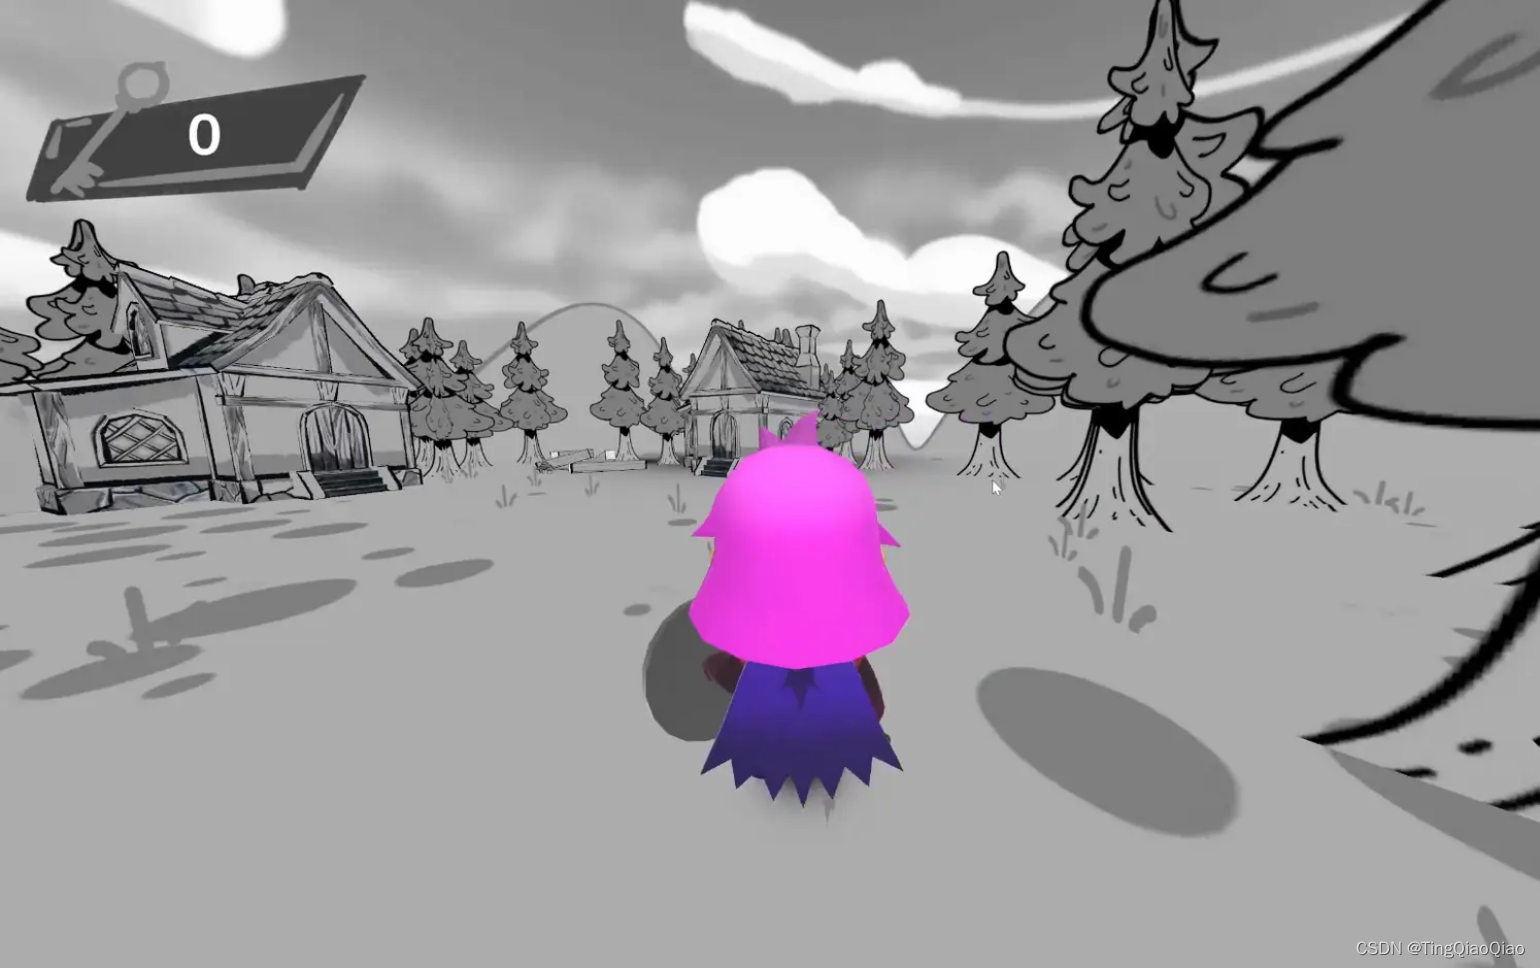
效果预览


着色器
主要需要实现的材质所需着色器主要分为外描边、广告牌、天空球、透明着色器、不透明着色器这五个板块。但因为大多网上都有,所以记录一些感觉比较有意思的。
外描边
外描边用的是将模型背面的顶点偏移,从而实现描边效果。

Shader "Unlit/outLine"
{
    //外描边
    Properties
    {
        _MainTex ("Texture", 2D) = "white" {}
        _OutLineCol("外描边颜色", Color) = (0.0, 0.0, 0.0, 0.0)
        _OutLine("外描边宽度", float) = 0.5
    }
    SubShader
    {
        Tags { "RenderType"="Opaque" }
        LOD 100
        //描边pass
        Pass       {
           //剔除正面
            Cull Front

            CGPROGRAM
            #pragma vertex vert
            #pragma fragment frag

            #include "UnityCG.cginc"

            //参数
            uniform fiexed4 _OutLineCol;
            uniform float _OutLine;

            struct appdata
            {
                float4 vertex : POSITION;
                float4 normal : NORMAL;
            };

            struct v2f
            {
                float4 vertex : SV_POSITION;
            };


            v2f vert (appdata v)
            {
                v2f o;
                //模型空间下的顶点坐标
                float3 posM = v.vertex;
                //扩展顶点
                posM = posM * (1 + _OutLine);
                //齐次裁剪空间下的顶点坐标
                o.vertex = UnityObjectToClipPos(posM);
                return o;
            }

            fixed4 frag (v2f i) : SV_Target
            {
                fixed3 Linecol = _OutLineCol.rgb;
                return fixed4(Linecol, 1.0);
            }
            ENDCG
        }

        //mainTex Pass
        Pass
        {
            //剔除背面
            // Cull Back
            CGPROGRAM
            #pragma vertex vert
            #pragma fragment frag

            #include "UnityCG.cginc"

            //参数
            uniform sampler2D _MainTex;
            uniform float4 _MainTex_ST;

            struct appdata
            {
                float4 vertex : POSITION;
                float2 uv : TEXCOORD0;
            };

            struct v2f
            {
                float2 uv : TEXCOORD0;
                float4 vertex : SV_POSITION;
            };


            v2f vert (appdata v)
            {
                v2f o;
                o.vertex = UnityObjectToClipPos(v.vertex);
                o.uv = TRANSFORM_TEX(v.uv, _MainTex);
                return o;
            }

            fixed4 frag (v2f i) : SV_Target
            {
                fixed4 col = tex2D(_MainTex, i.uv);
                return col;
            }
            ENDCG
        }
    }
}
广告牌
用来实现场景中的植物方向可以跟随镜头的转动而发生转动,让其正面始终面向摄像机,让场景看起来可以更加立体一点。


Shader "Unlit/Billboard"
{
    Properties
     {
          _MainTex ("Texture", 2D) = "white" {}
           _VerticalBillboring("角度改变",Range(-50, 0)) = 2
      }
     SubShader
     {
         //对顶点进行变换需禁用批处理
         Tags{ "Queue" = "Transparent" "RenderType" = "Transparent" "IgnoreProjector" = "true" "DisableBatching" = "True" }
         LOD 100

         Pass
         {
             //透明度混合
             ZWrite off
             Blend SrcAlpha OneMinusSrcAlpha
             Cull off

             CGPROGRAM
             #pragma vertex vert
             #pragma fragment frag

            #include "UnityCG.cginc"

             sampler2D _MainTex;
             float4 _MainTex_ST;
             float _VerticalBillboring;

             struct appdata
            {
                float4 vertex : POSITION;
               float2 uv : TEXCOORD0;
            };

           struct v2f
            {
               float2 uv : TEXCOORD0;
               float4 vertex : SV_POSITION;
            };


            v2f vert (appdata v)
          {
              v2f o;
                //计算模型空间中的视线方向
              float3 objViewDir = mul(unity_WorldToObject, float4(_WorldSpaceCameraPos, 1));

               //计算旋转矩阵的各个基向量
              float3 normalDir =normalize(objViewDir);
              normalDir.y = normalDir.y * _VerticalBillboring;
              normalDir = normalize(normalDir);
              float3 upDir =abs(normalDir.y) > 0.999 ? float3(0, 0, 1): float3(0, 1, 0);;
              float3 rightDir = normalize(cross(normalDir, upDir));//归一化
              upDir = normalize(cross(normalDir, rightDir));

                //用旋转矩阵对顶点进行偏移
              float3 localPos =rightDir * v.vertex.x + upDir * v.vertex.y + normalDir * v.vertex.z;

                //将偏移之后的值作为新的顶点传递计算
              o.vertex = UnityObjectToClipPos(float4(localPos,1));
              o.uv = TRANSFORM_TEX(v.uv, _MainTex);
              return o;
           }

             fixed4 frag (v2f i) : SV_Target
            {
                 fixed4 col = tex2D(_MainTex, i.uv);
                 return col;
             }
             ENDCG
         }
 }
  fallback "Transparent/VertexLit"
}
LOD分级着色器
在这里添加了可以通过脚本修改shaderLOD从而实现贴图颜色的转变的效果。
然后里面有点坑的点在于LOD大于等于400才有操作空间,低于400,unity会自动显示最高的LOD效果。
Shader "Unlit/changableShaderLOD"
{
    Properties
    {
        _MainTex ("Texture", 2D) = "white" {}
    }

    SubShader
    {
        Tags {"Queue"="Transparent" "IgnoreProjector"="True" "RenderType"="Transparent" }
        //shader 一定要控制在大于等于400才有操作空间
        LOD 400
        ZWrite Off
        Cull off
        Blend SrcAlpha OneMinusSrcAlpha
        Pass
        {
            CGPROGRAM
            #pragma vertex vert
            #pragma fragment frag

            #include "UnityCG.cginc"

            struct appdata
            {
                float4 vertex : POSITION;
                float2 uv : TEXCOORD0;
            };

            struct v2f
            {
                float2 uv : TEXCOORD0;
                float4 vertex : SV_POSITION;
            };

            sampler2D _MainTex;
            float4 _MainTex_ST;

            v2f vert (appdata v)
            {
                v2f o;
                o.vertex = UnityObjectToClipPos(v.vertex);
                o.uv = TRANSFORM_TEX(v.uv, _MainTex);
                return o;
            }

            fixed4 frag (v2f i) : SV_Target
            {
                // sample the texture
                fixed4 col = tex2D(_MainTex, i.uv);
                return col;
            }
            ENDCG
        }
    }

    SubShader
    {
        Tags {"Queue"="Transparent" "IgnoreProjector"="True" "RenderType"="Transparent"}
        LOD 100
        ZWrite Off
        Cull off
        Blend SrcAlpha OneMinusSrcAlpha
        Pass
        {
            CGPROGRAM
            #pragma vertex vert
            #pragma fragment frag

            #include "UnityCG.cginc"

            struct appdata
            {
                float4 vertex : POSITION;
                float2 uv : TEXCOORD0;
            };

            struct v2f
            {
                float2 uv : TEXCOORD0;
                float4 vertex : SV_POSITION;
            };

            sampler2D _MainTex;
            float4 _MainTex_ST;

            v2f vert (appdata v)
            {
                v2f o;
                o.vertex = UnityObjectToClipPos(v.vertex);
                o.uv = TRANSFORM_TEX(v.uv, _MainTex);
                return o;
            }

            fixed4 frag (v2f i) : SV_Target
            {
                // sample the texture
                fixed4 col = tex2D(_MainTex, i.uv);
                fixed finalCol = col.b;
                return fixed4(finalCol, finalCol, finalCol, col.a);
            }
            ENDCG
        }
    }
}
TIPS
这个小DEMO中,最坑的点在于,因为都是使用面片作为场景的主要成分,包括树木、草丛和作为挡板的山脉,但是因为队列为透明列队(因为有些树丛需要透明混合,我把山脉和树丛那些都用了同一个着色器),从而所设置的ZWrite为Off,即其深度无法写入。因此在渲染的过程中,如果不修改渲染顺序,很容易发生渲染错乱。

所需要修改的是把山脉的Render Queue设置为Transparent-1,这样可以保证山脉永远都在树丛后面,不会发生重叠现象。

脚本
控制shaderLOD转变,通过点击物体,从而实现。
using System.Collections;
using System.Collections.Generic;
using UnityEngine;

public class ShaderLODtest : MonoBehaviour
{
    //public int lod;
    public Shader shader;
    public GameObject target;
    public GameObject shining;

    void Start()
    {
          shader.maximumLOD = 200; //设置全局Lod, 比它小的Shader能够渲染
         // shader = gameObject.GetComponent<MeshRenderer>().material.shader;
          Debug.Log(this.shader.maximumLOD);
          shining.SetActive(false);
    }

    void Update()
    {

        if (Input.GetMouseButtonDown(0))
            //判断鼠标点击,触屏判断使用Input.touchCount
        {
            Ray ray = Camera.main.ScreenPointToRay(Input.mousePosition);
            //这是鼠标
            RaycastHit hitInfo;
            if (Physics.Raycast(ray, out hitInfo))
            {

                if (hitInfo.collider.gameObject.tag != null)
                {
                    Debug.Log("ClickObjict:" + hitInfo.collider.gameObject);
                    if (hitInfo.collider.gameObject.tag == "NPC")
                    {
                        Debug.Log("tag is NPC");
                        this.shader.maximumLOD = 400;
                        Debug.Log(this.shader.maximumLOD);
                        shining.SetActive(true);
                    }
                }
            }
        }
    }
}
针对于摄像机视角的操作
using System.Collections;
using System.Collections.Generic;
using UnityEngine;

public class controlPlayer : MonoBehaviour
{
    //旋转最大角度
    public int yMinLimit = -20;
    public int yMaxLimit = 80;
    //旋转速度
    public float xSpeed = 250.0f;
    public float ySpeed = 120.0f;
    //旋转角度
    private float x = 0.0f;
    private float y = 0.0f;

    void Update()
    {
        if (Input.GetMouseButton(0))
        {
            //Input.GetAxis("MouseX")获取鼠标移动的X轴的距离
            x += Input.GetAxis("Mouse X") * xSpeed * 0.02f;
            y -= Input.GetAxis("Mouse Y") * ySpeed * 0.02f;
            y = ClampAngle(y, yMinLimit, yMaxLimit);
            //欧拉角转化为四元数
            Quaternion rotation = Quaternion.Euler(x, y, 0);
            transform.rotation = rotation;
        }
        else if (Input.GetAxis("Mouse ScrollWheel") != 0)
        {
            //鼠标滚动滑轮 值就会变化
            if (Input.GetAxis("Mouse ScrollWheel") < 0)
            {
                //范围值限定
                if (Camera.main.fieldOfView <= 100)
                    Camera.main.fieldOfView += 2;
                if (Camera.main.orthographicSize <= 20)
                    Camera.main.orthographicSize += 0.5F;
            }
            if (Input.GetAxis("Mouse ScrollWheel") > 0)
            {
                //范围值限定
                if (Camera.main.fieldOfView > 2)
                    Camera.main.fieldOfView -= 2;
                if (Camera.main.orthographicSize >= 1)
                    Camera.main.orthographicSize -= 0.5F;
            }
        }
    }
    //角度范围值限定
    static float ClampAngle(float angle, float min, float max)
    {
        if (angle < -360)
            angle += 360;
        if (angle > 360)
            angle -= 360;
        return Mathf.Clamp(angle, min, max);
    }
}