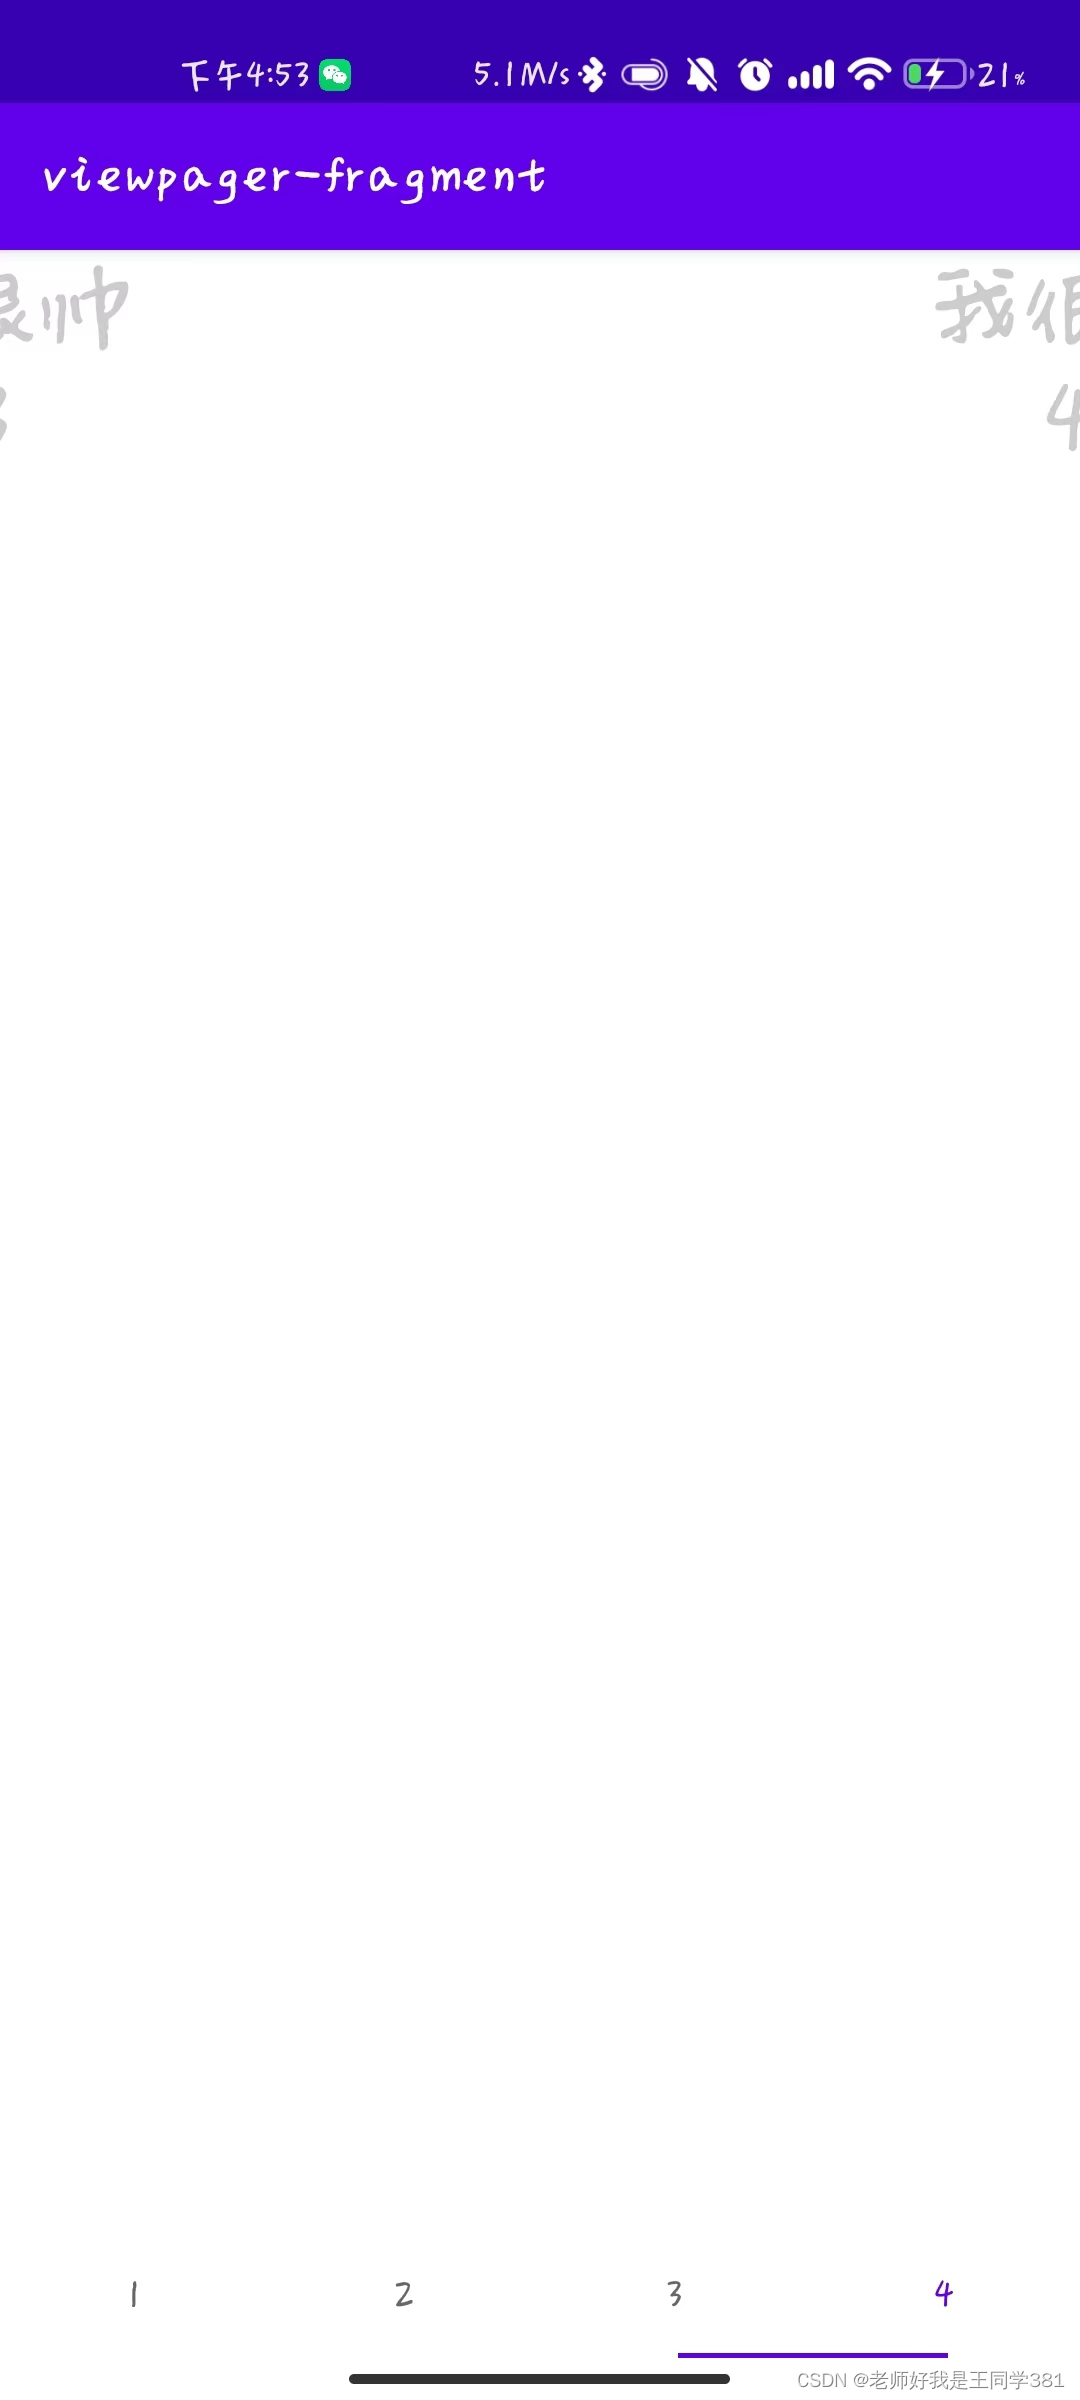
这是实现效果
最简单的水平翻页
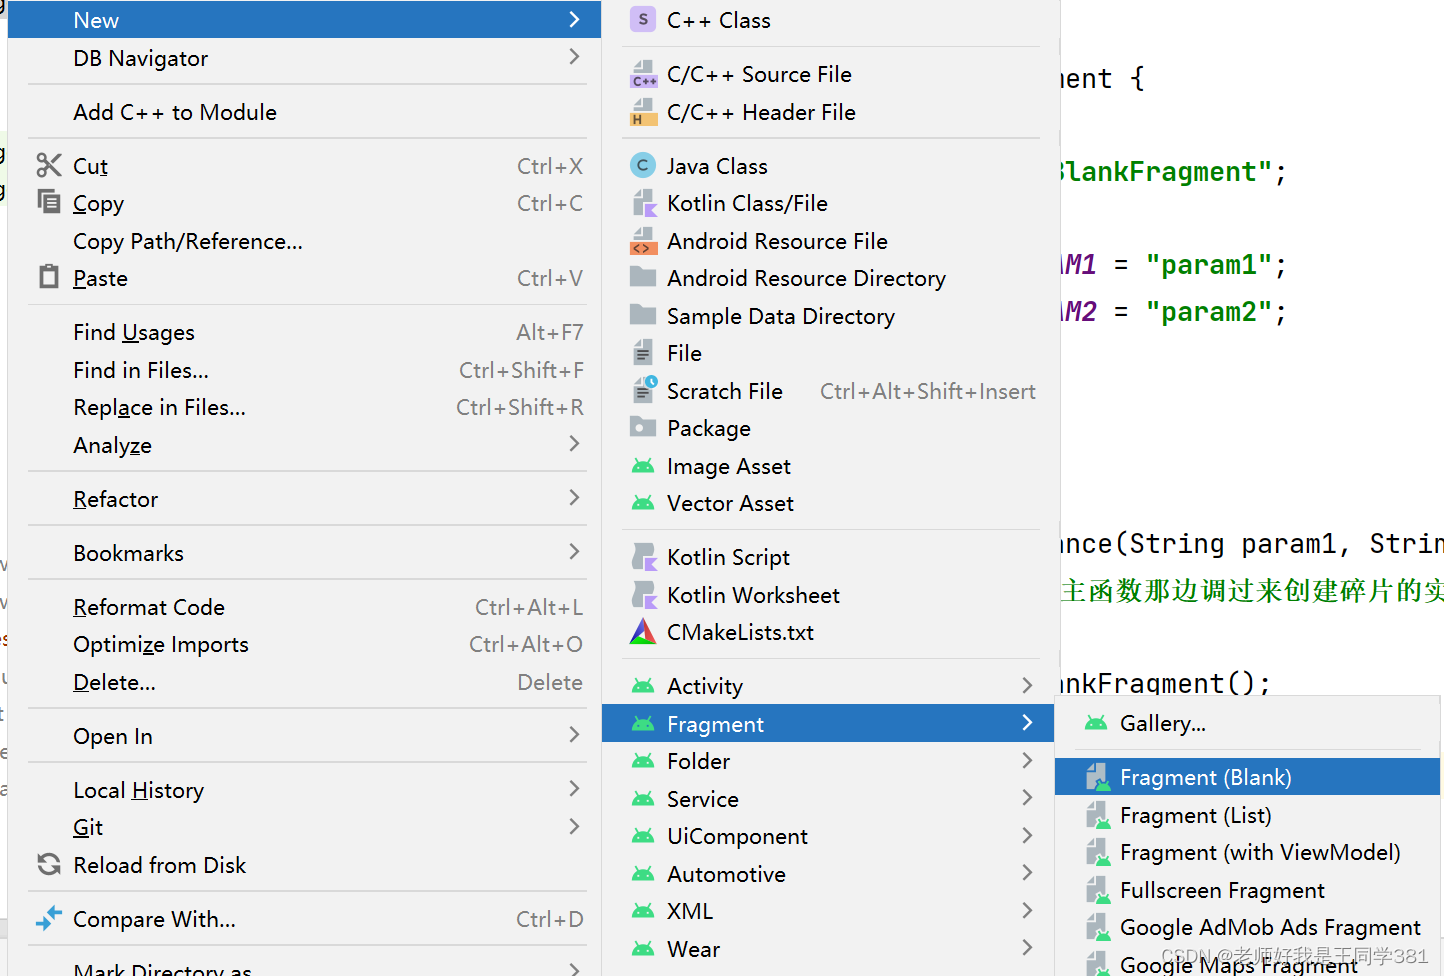
学习ViewPager2之前,建议先学习使用Fragment
ViewPager2属于新增的配件,需要在项目的中添加相应的依赖.
implementation 'androidx.viewpager2:viewpager2:1.0.0'1.碎片布局
首先先创建一个碎片
<?xml version="1.0" encoding="utf-8"?>
<LinearLayout xmlns:android="http://schemas.android.com/apk/res/android"
    xmlns:tools="http://schemas.android.com/tools"
    android:layout_width="match_parent"
    android:layout_height="match_parent"
    android:background="@color/white"
    tools:context=".BlankFragment"
    android:orientation="vertical">

    <TextView
        android:id="@+id/mTextView"
        android:layout_width="match_parent"
        android:layout_height="wrap_content"
        android:textSize="36sp"
        android:gravity="center"/>

    <TextView
        android:layout_width="match_parent"
        android:layout_height="wrap_content"
        android:textSize="36sp"
        android:id="@+id/anotherTextView"
        android:gravity="center"/>


</LinearLayout>
在这里创建了两个TextView
public class BlankFragment extends Fragment {
private static final String TAG = "BlankFragment";
private static final String ARG_PARAM1 = "param1";
private static final String ARG_PARAM2 = "param2";
String mTextString1 = "xxx";
String mTextString2 = "xxx";
View rootView;
public static BlankFragment newInstance(String param1, String param2) {
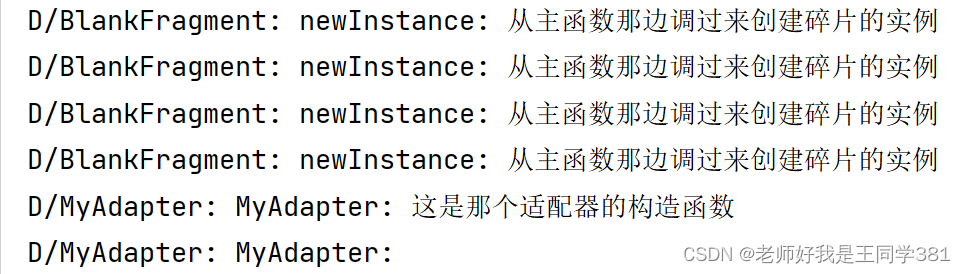
Log.d(TAG, "newInstance: 从主函数那边调过来创建碎片的实例");
BlankFragment fragment = new BlankFragment();
Bundle args = new Bundle();
args.putString(ARG_PARAM1, param1);
args.putString(ARG_PARAM2, param2);
fragment.setArguments(args);
return fragment;
}
@Override
public void onCreate(Bundle savedInstanceState) {
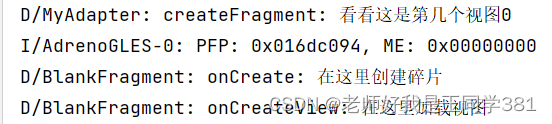
Log.d(TAG, "onCreate: 在这里创建碎片");
super.onCreate(savedInstanceState);
if (getArguments() != null) {
mTextString1 = getArguments().getString(ARG_PARAM1);
mTextString2 = getArguments().getString(ARG_PARAM2);
}
}
@Override
public View onCreateView(LayoutInflater inflater, ViewGroup container,
Bundle savedInstanceState) {
Log.d(TAG, "onCreateView: 在这里加载视图");
if(rootView == null) {
rootView = inflater.inflate(R.layout.fragment_blank, container, false);
}
initView();
return rootView;
}
private void initView() {
TextView textView = rootView.findViewById(R.id.mTextView);
TextView textView1 = rootView.findViewById(R.id.anotherTextView);
textView.setText(mTextString1);
textView1.setText(mTextString2);
}
}
这里使用了newInstance来给碎片传入信息,确保传递给碎片的信息不会丢失.
如果你使用了碎片的构造函数来给碎片传递信息,如果此时旋转屏幕,会发生什么呢?
活动的销毁和创建,与此对应碎片也会销毁和创建,系统会自动帮你创建一个碎片,但是在创建碎片的时候只会调用碎片的无参构造函数,此时你向碎片中传递的信息就会丢失.
所以建议使用newInstance来给碎片传递信息
2.适配器
public class MyAdapter extends FragmentStateAdapter {

    private static final String TAG = "MyAdapter";
    List<Fragment> fragments = new ArrayList<>();

    public MyAdapter(@NonNull FragmentManager fragmentManager, @NonNull Lifecycle lifecycle, List<Fragment> fragments) {
        super(fragmentManager, lifecycle);
        Log.d(TAG, "MyAdapter: 这是那个适配器的构造函数");
        this.fragments = fragments;
        Log.d(TAG, "MyAdapter: ");
    }

    @NonNull
    @Override
    public Fragment createFragment(int position) {
        Log.d(TAG, "createFragment: 看看这是第几个视图" + position);
        return fragments.get(position);
    }

    @Override
    public int getItemCount() {
        return fragments.size();
    }
}
3.主布局
<?xml version="1.0" encoding="utf-8"?>
<LinearLayout xmlns:android="http://schemas.android.com/apk/res/android"
    xmlns:app="http://schemas.android.com/apk/res-auto"
    xmlns:tools="http://schemas.android.com/tools"
    android:layout_width="match_parent"
    android:layout_height="match_parent"
    android:orientation="vertical"
    tools:context=".MainActivity">

    <androidx.viewpager2.widget.ViewPager2
        android:layout_width="match_parent"
        android:layout_height="0dp"
        android:layout_weight="1"
        android:id="@+id/myViewPager"
        android:background="@color/purple_500"
        />

</LinearLayout>
public class MainActivity extends AppCompatActivity {
    ViewPager2 viewPager2;

    private List<Fragment> fragments = new ArrayList<>();

    @Override
    protected void onCreate(Bundle savedInstanceState) {
        super.onCreate(savedInstanceState);
        setContentView(R.layout.activity_main);

        initPage();
        viewPager2 = findViewById(R.id.myViewPager);
        MyAdapter myAdapter = new MyAdapter(getSupportFragmentManager(),
                getLifecycle(),fragments);
        viewPager2.setAdapter(myAdapter);
    }

    private void initPage() {
        fragments.add(BlankFragment.newInstance("我最帅","1"));
        fragments.add(BlankFragment.newInstance("我最丑","2"));
        fragments.add(BlankFragment.newInstance("我很帅","3"));
        fragments.add(BlankFragment.newInstance("我很丑","4"));
    }
}
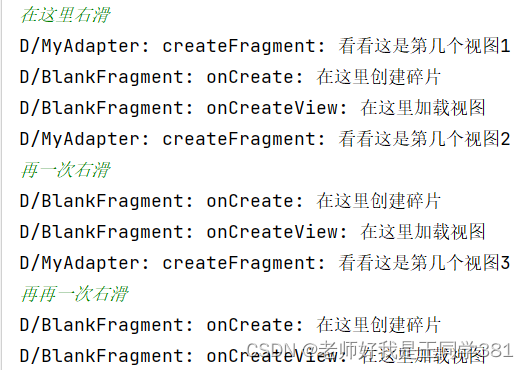
ViewPager的运行结果如下:
此时向右边滑动,进入下一个视图
和TabLayout联动
直接给主布局添加
<?xml version="1.0" encoding="utf-8"?>
<LinearLayout xmlns:android="http://schemas.android.com/apk/res/android"
    xmlns:app="http://schemas.android.com/apk/res-auto"
    xmlns:tools="http://schemas.android.com/tools"
    android:layout_width="match_parent"
    android:layout_height="match_parent"
    android:orientation="vertical"
    tools:context=".MainActivity">

    <androidx.viewpager2.widget.ViewPager2
        android:layout_width="match_parent"
        android:layout_height="0dp"
        android:layout_weight="1"
        android:id="@+id/myViewPager"
        android:background="@color/purple_500"
        />

    <com.google.android.material.tabs.TabLayout
        android:layout_width="match_parent"
        android:layout_height="wrap_content"
        android:id="@+id/tabLayout"/>

</LinearLayout>
给主活动添加
public class MainActivity extends AppCompatActivity {
    ViewPager2 viewPager2;
    TabLayout tabLayout;

    private List<Fragment> fragments = new ArrayList<>();
    private List<String> tablayoutdata = new ArrayList<>();

    @Override
    protected void onCreate(Bundle savedInstanceState) {
        super.onCreate(savedInstanceState);
        setContentView(R.layout.activity_main);

        initPage();
        viewPager2 = findViewById(R.id.myViewPager);
        MyAdapter myAdapter = new MyAdapter(getSupportFragmentManager(),
                getLifecycle(),fragments);
        viewPager2.setAdapter(myAdapter);

        tabLayout = findViewById(R.id.tabLayout);
        new TabLayoutMediator(tabLayout, viewPager2, new TabLayoutMediator.TabConfigurationStrategy() {
            @Override
            public void onConfigureTab(@NonNull TabLayout.Tab tab, int position) {
                tab.setText(tablayoutdata.get(position));
            }
        }).attach();

    }

    private void initPage() {
        fragments.add(BlankFragment.newInstance("我最帅","1"));
        fragments.add(BlankFragment.newInstance("我最丑","2"));
        fragments.add(BlankFragment.newInstance("我很帅","3"));
        fragments.add(BlankFragment.newInstance("我很丑","4"));

        tablayoutdata.add("1");
        tablayoutdata.add("2");
        tablayoutdata.add("3");
        tablayoutdata.add("4");
    }
}
TabLayout会随着ViewPager滑动滑动,点击TabLayout也会直接跳转到响应的碎片当中.