
前言
RawChip 的封装有如下:
- Chip
- InputChip
- ChoiceChip
- FilterChip
- ActionChip
一般使用RawChip 可以完成很多很多的
一、Clip 是什么?
夹子
二、使用步骤
1.使用
代码如下(示例):
import numpy as np
import pandas as pd
import matplotlib.pyplot as plt
import seaborn as sns
import warnings
warnings.filterwarnings('ignore')
import  ssl
ssl._create_default_https_context = ssl._create_unverified_context
2.读入数据
代码如下(示例):
import 'package:flutter/material.dart';
void main() {
runApp(const MyApp());
}
class MyApp extends StatelessWidget {
const MyApp({
super.key});
Widget build(BuildContext context) {
return MaterialApp(
title: 'Flutter Demo',
theme: ThemeData(
primarySwatch: Colors.blue,
),
home: const MyHomePage(title: 'Flutter Demo Home Page'),
);
}
}
class MyHomePage extends StatefulWidget {
const MyHomePage({
super.key, required this.title});
final String title;
State<MyHomePage> createState() => _MyHomePageState();
}
class _MyHomePageState extends State<MyHomePage> {
bool rawChipSelect = false; //RawChip 是否被选中的初始状态为未选择false
bool chipSelect = false; //RawChip 是否被选中的初始状态为未选择false
int choiceIndex = 0; //默认选中的
Widget build(BuildContext context) {
return Scaffold(
appBar: AppBar(
title: Text(widget.title),
),
body: Center(
child: Column(
mainAxisAlignment: MainAxisAlignment.center,
children: [
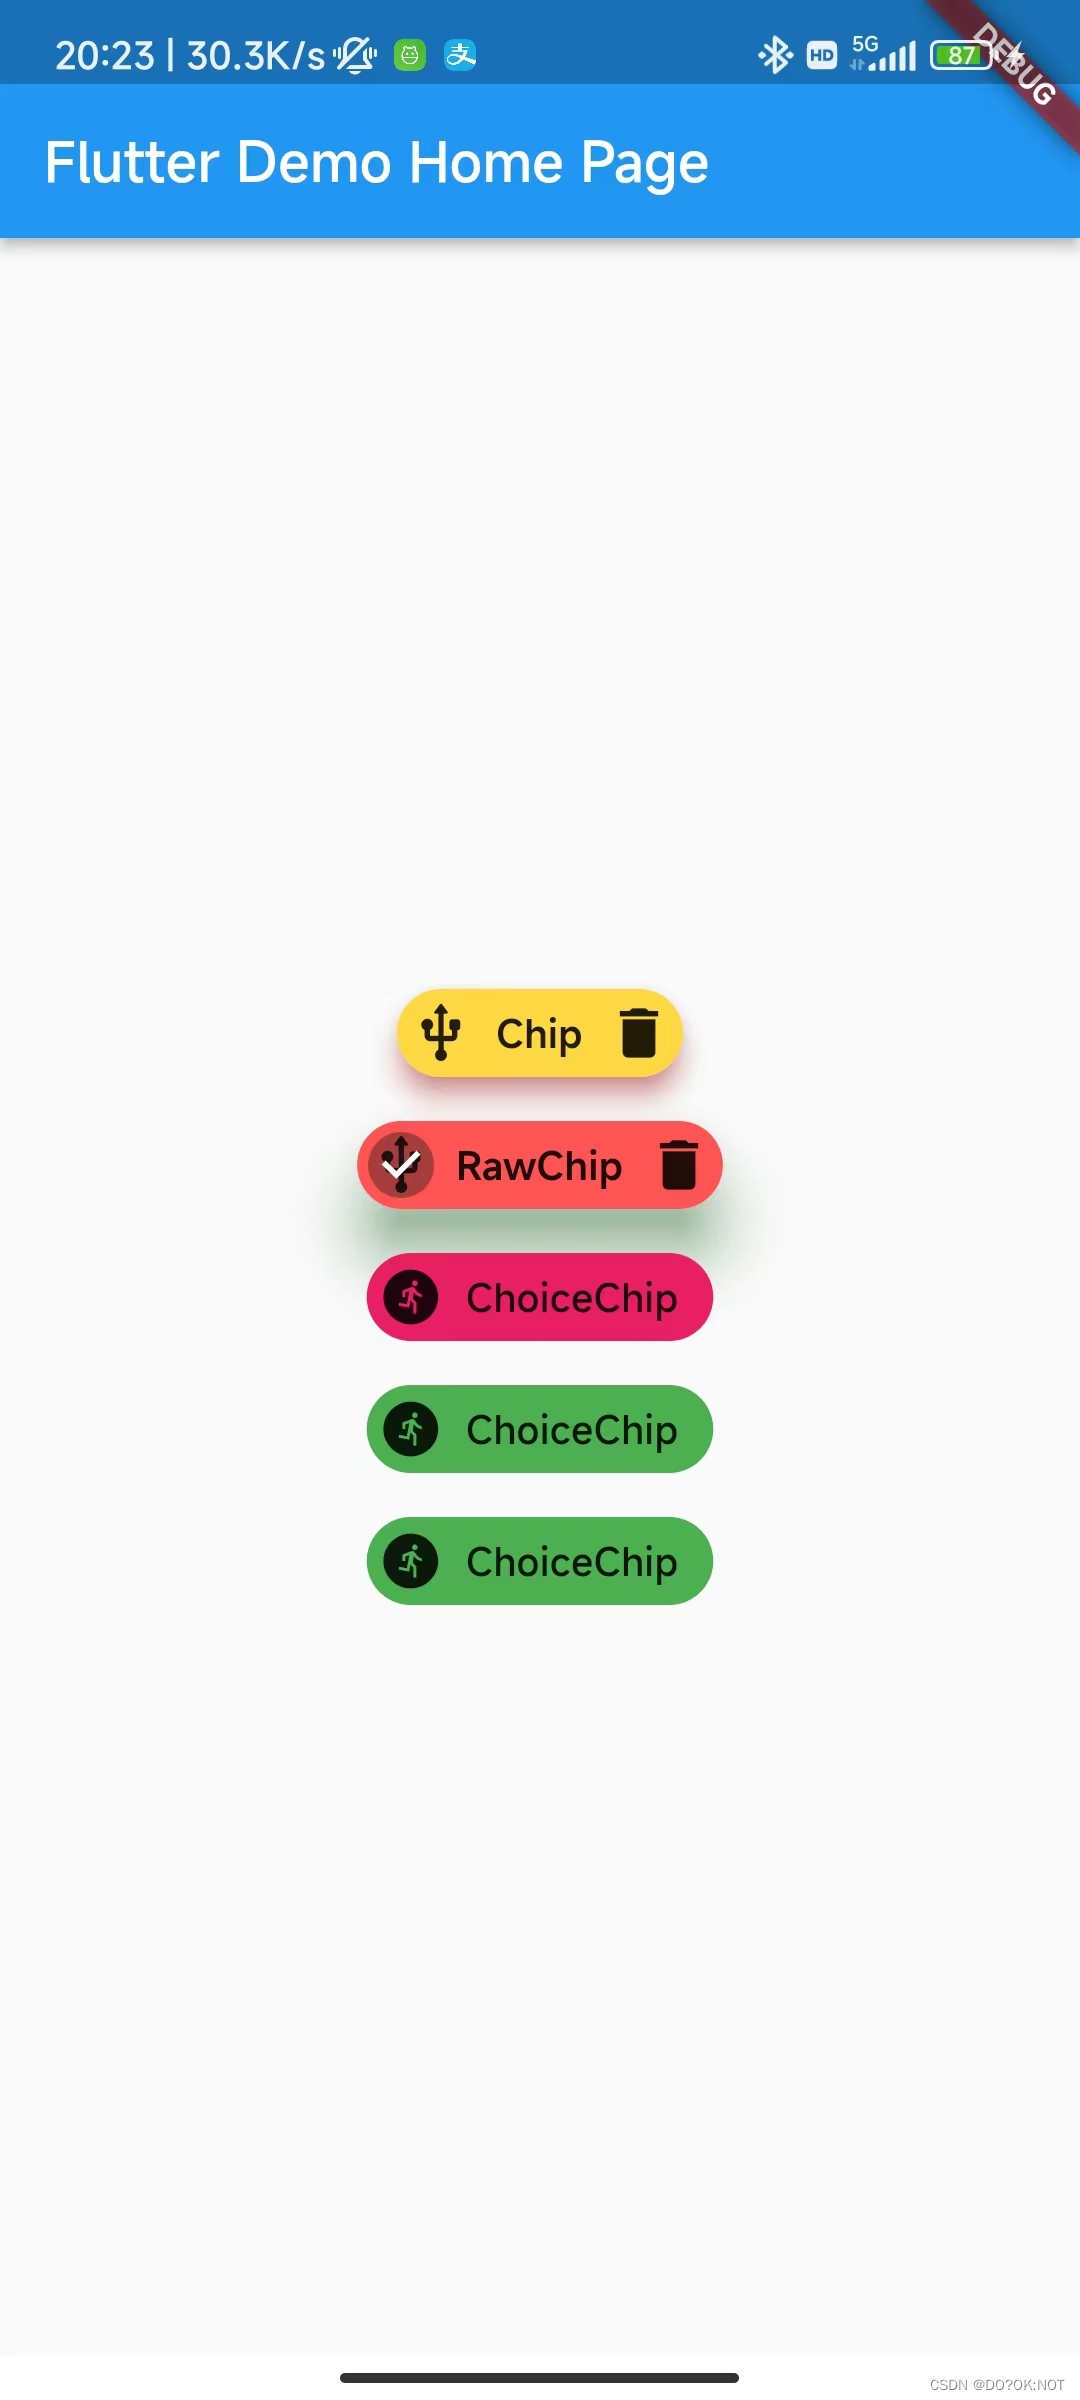
Chip(
label: const Text("Chip"),
backgroundColor: Colors.amberAccent,
labelStyle: const TextStyle(fontWeight: FontWeight.bold),
deleteIcon:
const Icon(Icons.delete), //删除图标,有 onDeleted 方法的时候才生效显示
avatar: const Icon(Icons.usb_rounded), //前置图标
deleteButtonTooltipMessage: '要删除的提示信息', //长按文本提示内容
onDeleted: () {
print('onDeleted');
},
elevation: 8,
shadowColor: Colors.redAccent, //阴影的颜色
),
RawChip(
backgroundColor: Colors.amberAccent,
labelStyle: const TextStyle(fontWeight: FontWeight.bold),
deleteIcon:
const Icon(Icons.delete), //删除图标,有 onDeleted 方法的时候才生效显示
avatar: const Icon(Icons.usb_rounded), //前置图标
onDeleted: () {
print('onDeleted');
setState(() {
rawChipSelect = false;
});
},
label: const Text("RawChip"),
onSelected: (value) {
debugPrint("onSelected $value");
rawChipSelect = value;
setState(() {
});
},
selected: rawChipSelect,
selectedColor: Colors.redAccent, //选择的原色
selectedShadowColor: Colors.green, //选择的时候的阴影的颜色
elevation: 20,
shadowColor: Colors.redAccent, //阴影的颜色
),
for (int i = 0; i < 3; i++)
ChoiceChip(
backgroundColor: Colors.green,
selectedColor: Colors.pink,
avatar: const Icon(Icons.run_circle),
label: const Text('ChoiceChip'),
selected: choiceIndex == i, //是否是被选中的状态
onSelected: (ValueKey) {
choiceIndex = i;
setState(() {
});
},
),
],
),
),
// This trailing comma makes auto-formatting nicer for build methods.
);
}
}
总结
欢迎关注,留言,咨询,交流!