引文
先简单了解一下Flutter页面之间路由,然后通过一个简答实例加深理解
入栈
从一个页面跳转到另一个页面,监听Button的onPressed方法,然后通过使用Navigator.push方法,将当前上下文和需要跳转的页面上下文传入,push方法顾名思义,在栈中使用频繁,将下一个页面添加到栈中,栈顶为下一个页面,但之前的页面只是在栈底,并未被销毁
child: ElevatedButton(
  style: ButtonStyle(backgroundColor: MaterialStateProperty.all(Colors.blue)),
  child: const Text('首页'),
  onPressed: () {
    Navigator.push(context, MaterialPageRoute(builder: (context) => const SecondPage()));
  },
)
出栈
进入第二个页面之后,可以使用Navigator.pop方法将当前栈顶元素出栈,即销毁当前页面,返回上一级页面
child: ElevatedButton(
          style: ButtonStyle(backgroundColor: MaterialStateProperty.all(Colors.blue)),
          child: const Text('第二页'),
          onPressed: (){
            Navigator.pop(context);
          },
        ),
实战
效果图

释
此处只是一个简单的例子,数据都为静态数据,只为做一个展示
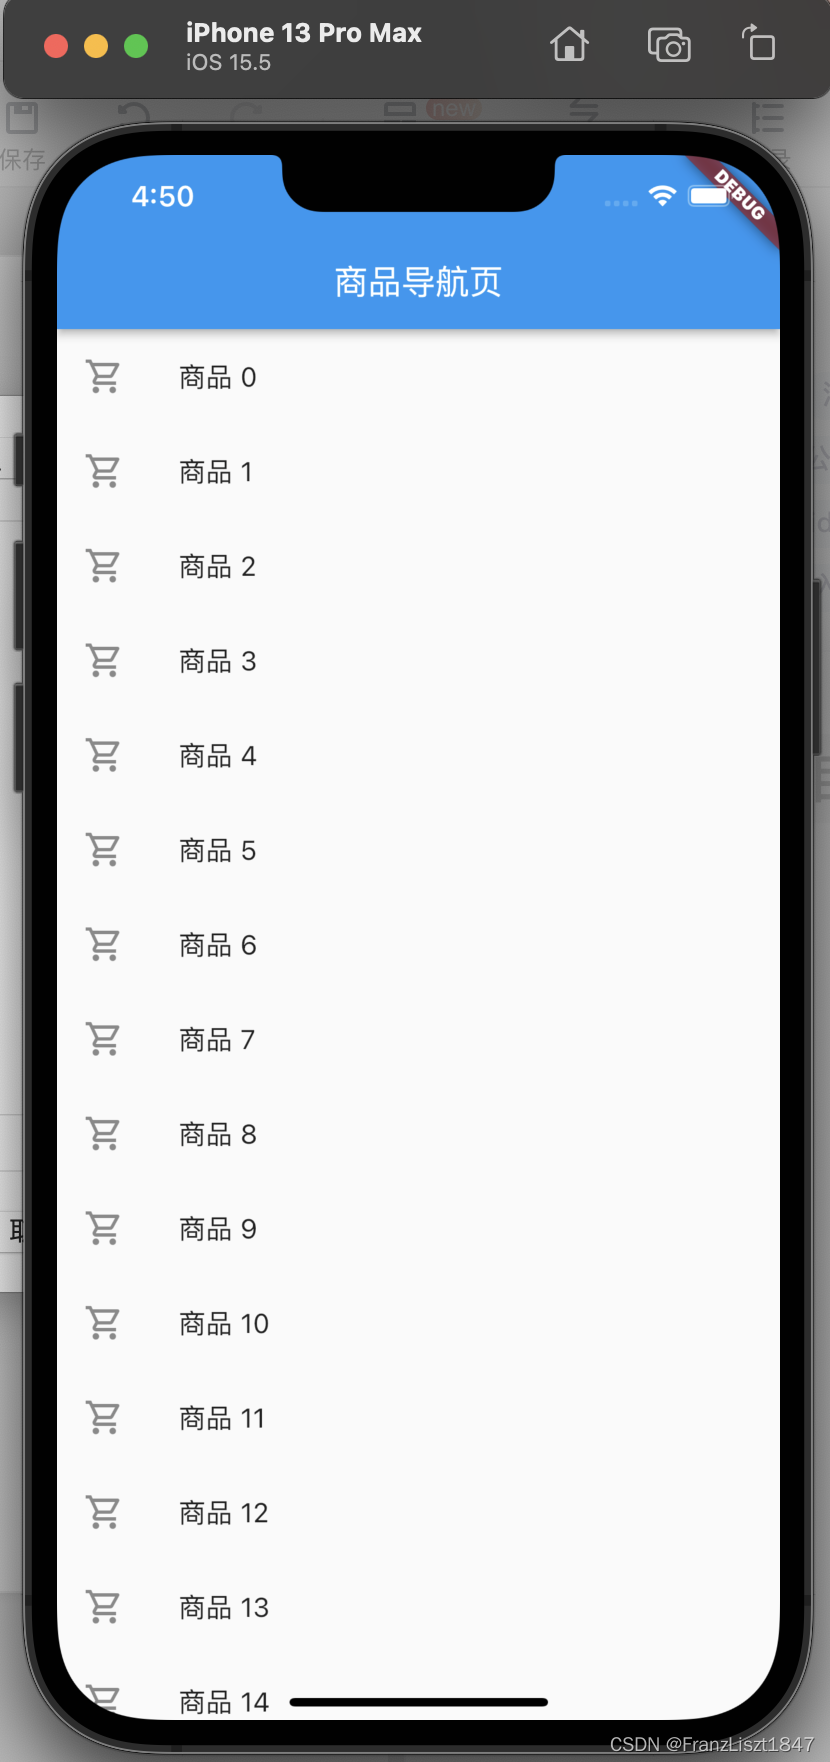
商品导航页
此页面由ListView列表排列而成
商品实体类
/**
 * 商品类
 * 包括:商品名称、商品描述、商品价格三个信息*/
class Goods{
  late String goodsName;
  late String goodsDescribe;
  late double goodsPrice;

  Goods(this.goodsName,this.goodsDescribe,this.goodsPrice);
}
商品展示
将建立的数组作为实参传入自定义组件Navigation中
void main(){
  runApp(MaterialApp(
    title: 'Navigation',
    home: Navigation(
      goodsList: List.generate(20, (index) => Goods('商品 $index', '这是第 $index 个商品,商品描述与商品无关,仅作为文案布局使用,古人云:君子慎独,不欺暗室,卑以自牧,不欺于心', index*10.0)),
    ) ,
  ));
}
然后在自定义组件中使用ListView显示数组中数据,并对每一个Itme进行点击事件监听,然后将对应的Item的实体类数据作为参数传给下一个页面
class Navigation extends StatelessWidget {
  final List<Goods> goodsList;

  const Navigation({Key? key,required this.goodsList }) : super(key: key);

  @override
  Widget build(BuildContext context) {
    return Scaffold(
      appBar: AppBar(title: const Text('商品导航页')),
      body: ListView.builder(
        itemCount: goodsList.length,
          itemBuilder: (context,index){
            return ListTile(
              title: Text(goodsList[index].goodsName),
              leading: const Icon(Icons.local_grocery_store_outlined),
              onTap: (){
                Navigator.push(context, MaterialPageRoute(builder: (context) => GoodsDetail(goods: goodsList[index])));
              },
            );
          }
      )
    );
  }
}
商品详情页
在详情页中声明商品实体类成员,然后在构造方法中进行赋值,布局通过Column进行展示,分为商品图片和商品信息两部分
class GoodsDetail extends StatelessWidget {
  final Goods goods;
  const GoodsDetail({Key? key,required this.goods}) : super(key: key);

  @override
  Widget build(BuildContext context) {
    return Scaffold(
      appBar: AppBar(title: const Text('商品详情页')),
       body: Column(
          crossAxisAlignment: CrossAxisAlignment.start,
          children: [
            goodsImg,
            getGoodsInfo(goods)
          ],
        )
    );
  }
}
商品图片
此处较为简单,使用的就是Image组件,其中
- fit属性代表着图片的展示形式,
BoxFit.cover即溢出部分进行裁剪 - 如果我们想要将图片填满父布局,可以使用
double.infinity作为宽度或者高度
var goodsImg = Image.network('https://g-search1.alicdn.com/img/bao/uploaded/i4/imgextra/i2/13024167/O1CN01E5zP0v1geXBf7EDp9_!!0-saturn_solar.jpg_580x580Q90.jpg',
    fit: BoxFit.cover,
    width: double.infinity,
    height: 300.0);
商品信息
将所有内容包裹在一个Card布局中,然后对价格、名称、描述进行垂直排列
Container getGoodsInfo(Goods goods){
   return Container(
     width: double.infinity,
       margin: const EdgeInsets.only(top: 20.0),
       child: Card(
         child: Column(
           crossAxisAlignment: CrossAxisAlignment.start,
           children: [
             getText('¥ ${goods.goodsPrice}', 20.0, FontWeight.bold, Colors.deepOrangeAccent,10.0),
             getText(goods.goodsName, 16.0, FontWeight.bold, Colors.black,5.0),
             getText(goods.goodsDescribe, 12.0, FontWeight.normal, Colors.grey,0.0),
           ],
         ),
       )
   );
}

Container getText(String text, double size, FontWeight weight, Color color,double top) {
  return Container(
    margin: EdgeInsets.only(top: top,left: 15.0),
    child: Text(
    text,
    style: TextStyle(fontSize: size, fontWeight: weight, color: color),
  ));
}